Intro
Why should we even bother with creating terrain when we could use a flat surface? First of all, terrain with a bit of variety simply looks better. Second — some of your scenes might need mountains, islands, hills, etc, and this tutorial will come in handy.
There are many ways to create a voxel terrain, and in this tutorial we are going to explore 3 of them. There’s no one definitely “correct” way to create terrain, so feel free to mix & match the tips from this tutorial.
Flat Terrain
First kind of terrain we are going to create is the easiest to make and works well as a base for other things. It’s more flat than tall.
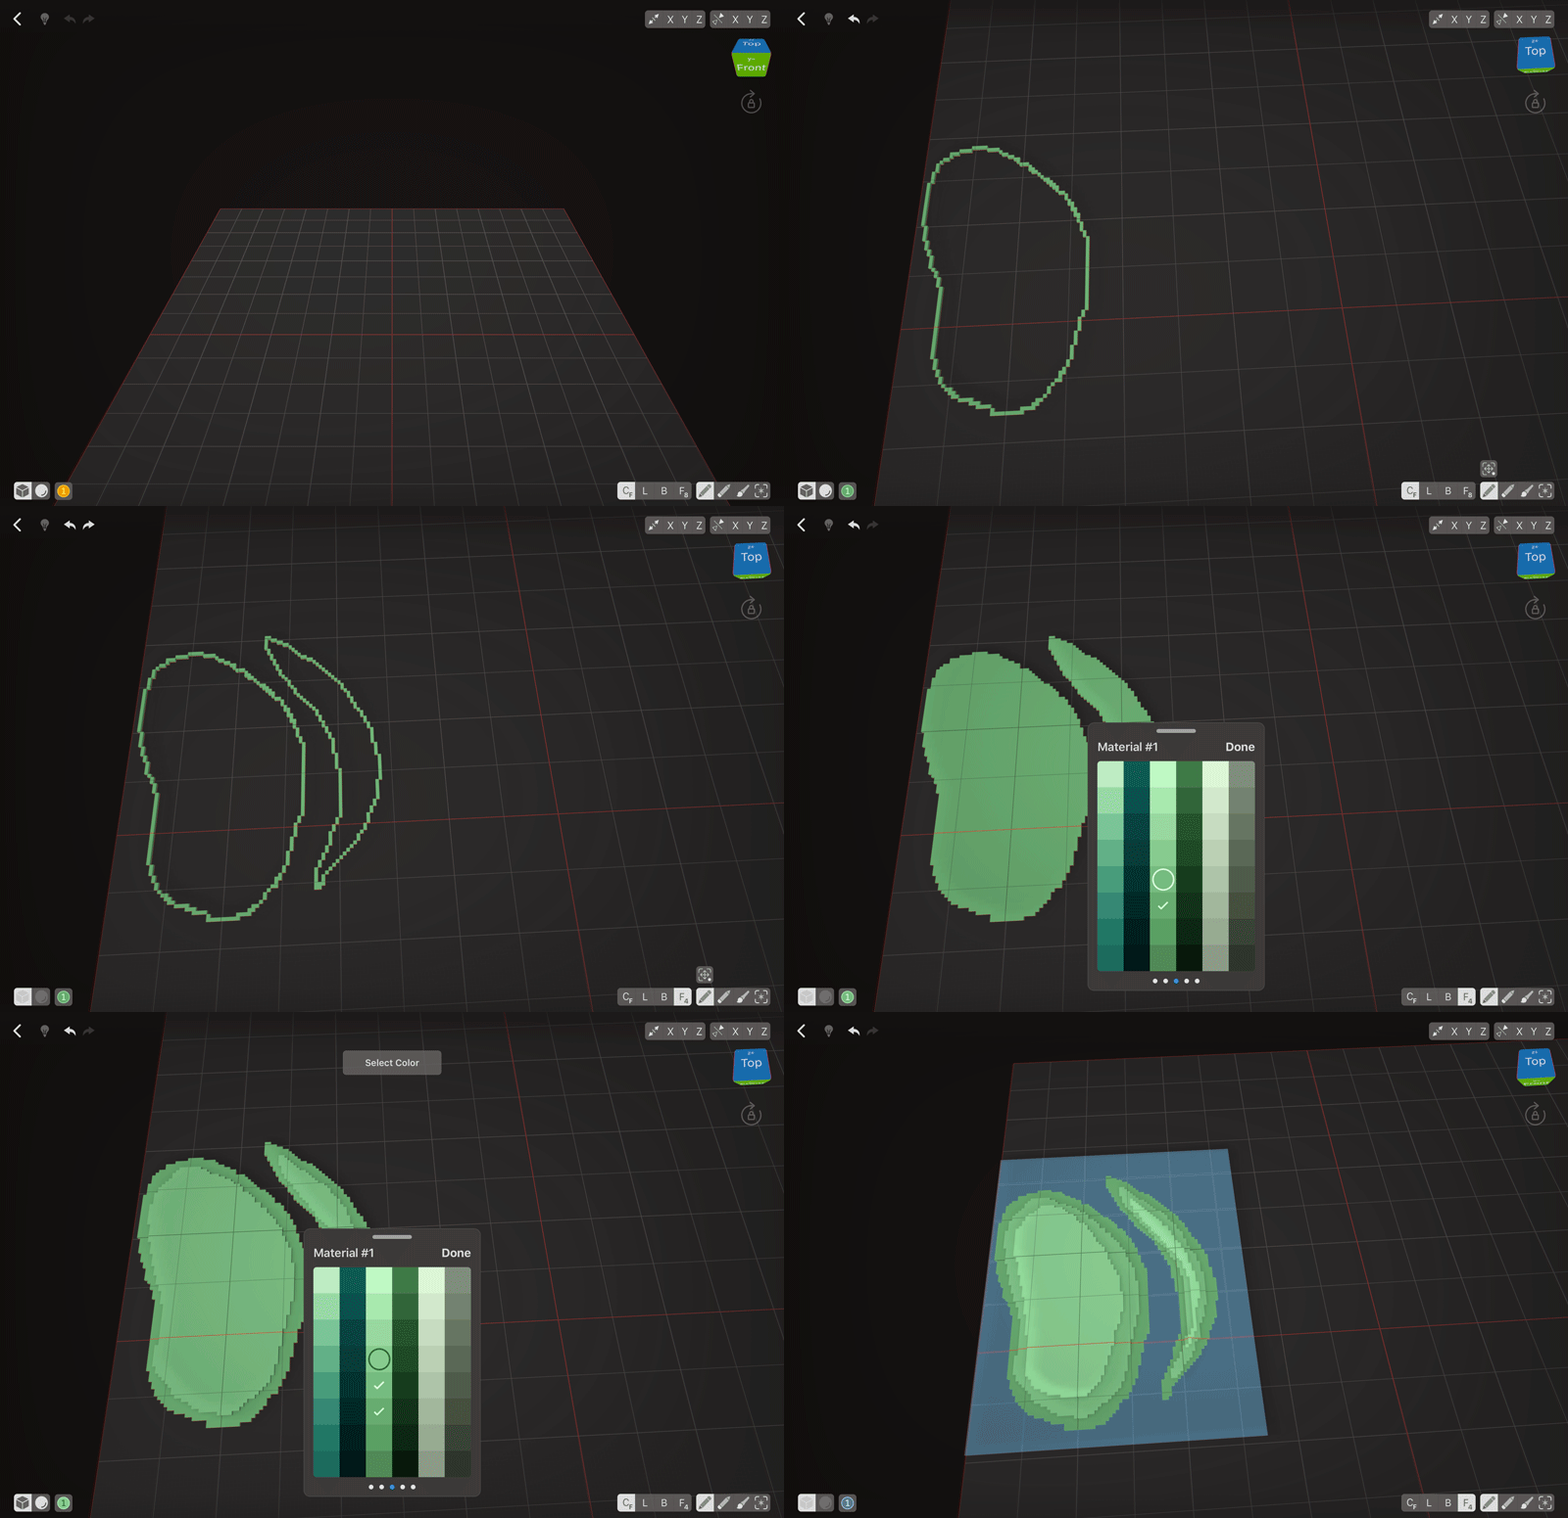
Choose one of the darker colours that suit your needs and use Create – Free Hand tool to add a voxel outline of your future terrain. Then choose Face tool and switch from Face 8 to Face 4 cause Face 8 might result in a flooded scene. Tap inside the outline to quickly fill it in.
Change the colour to one that’s one shade lighter and create another outline that’s a bit smaller than the first one on top of that. You can make one hill or many, or create a canyon this way. Fill it with Face tool, and then repeat the process until you’re happy with the height of your new land.
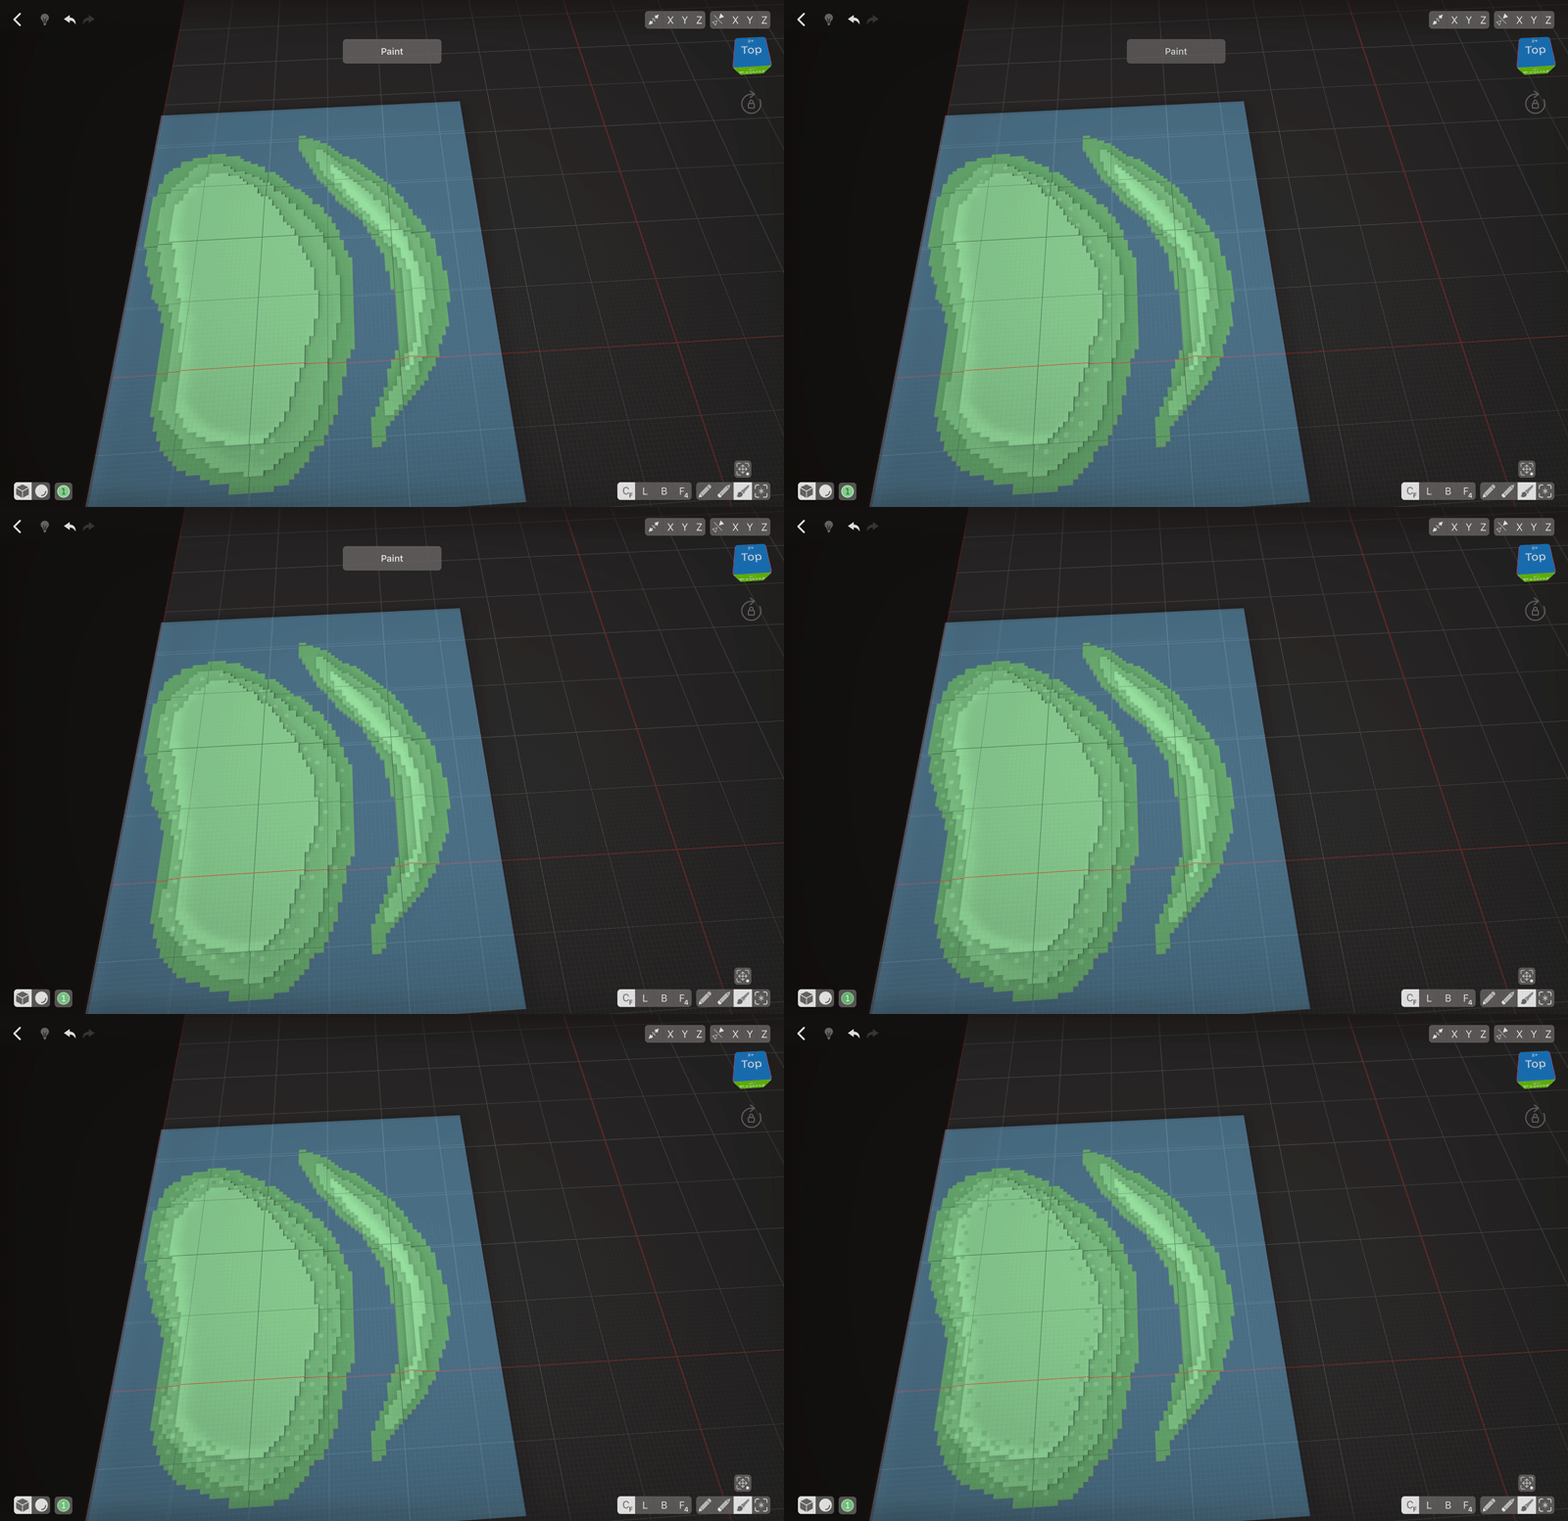
You can either leave your new terrain as it is or blend the layers of land a bit by adding some voxels of the nearby colours to your terrain.
Using Pressure Sensitivity to Create Terrain
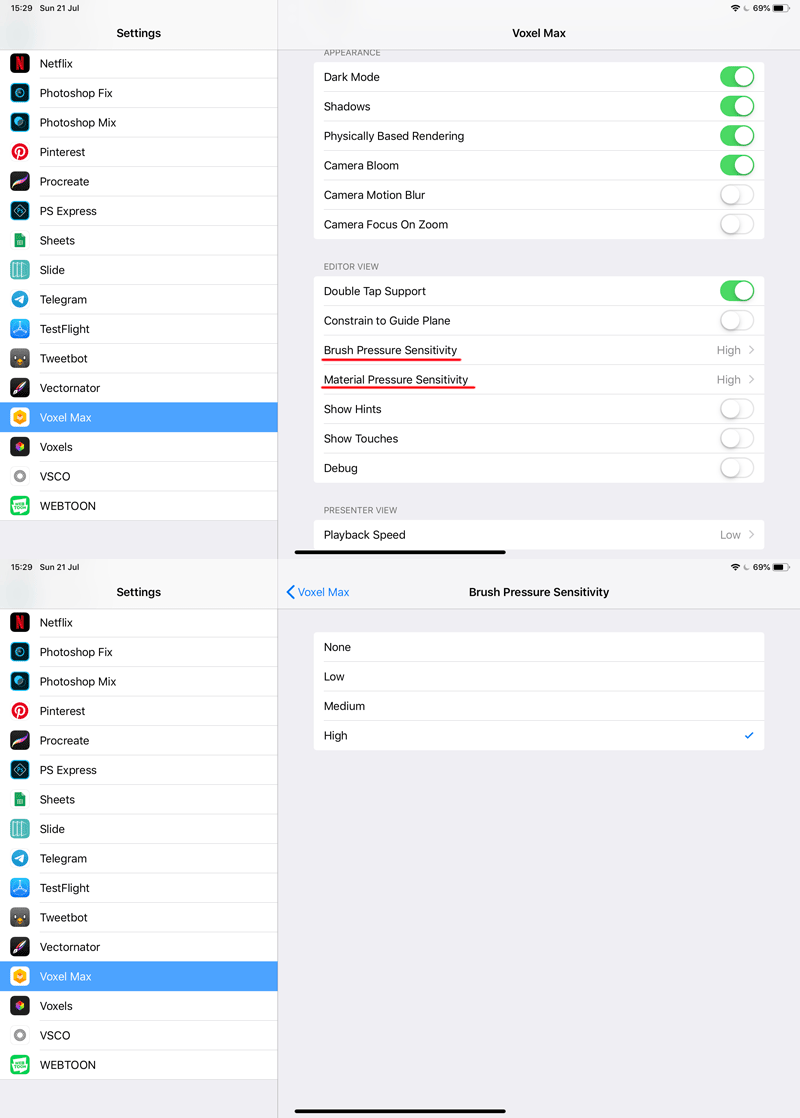
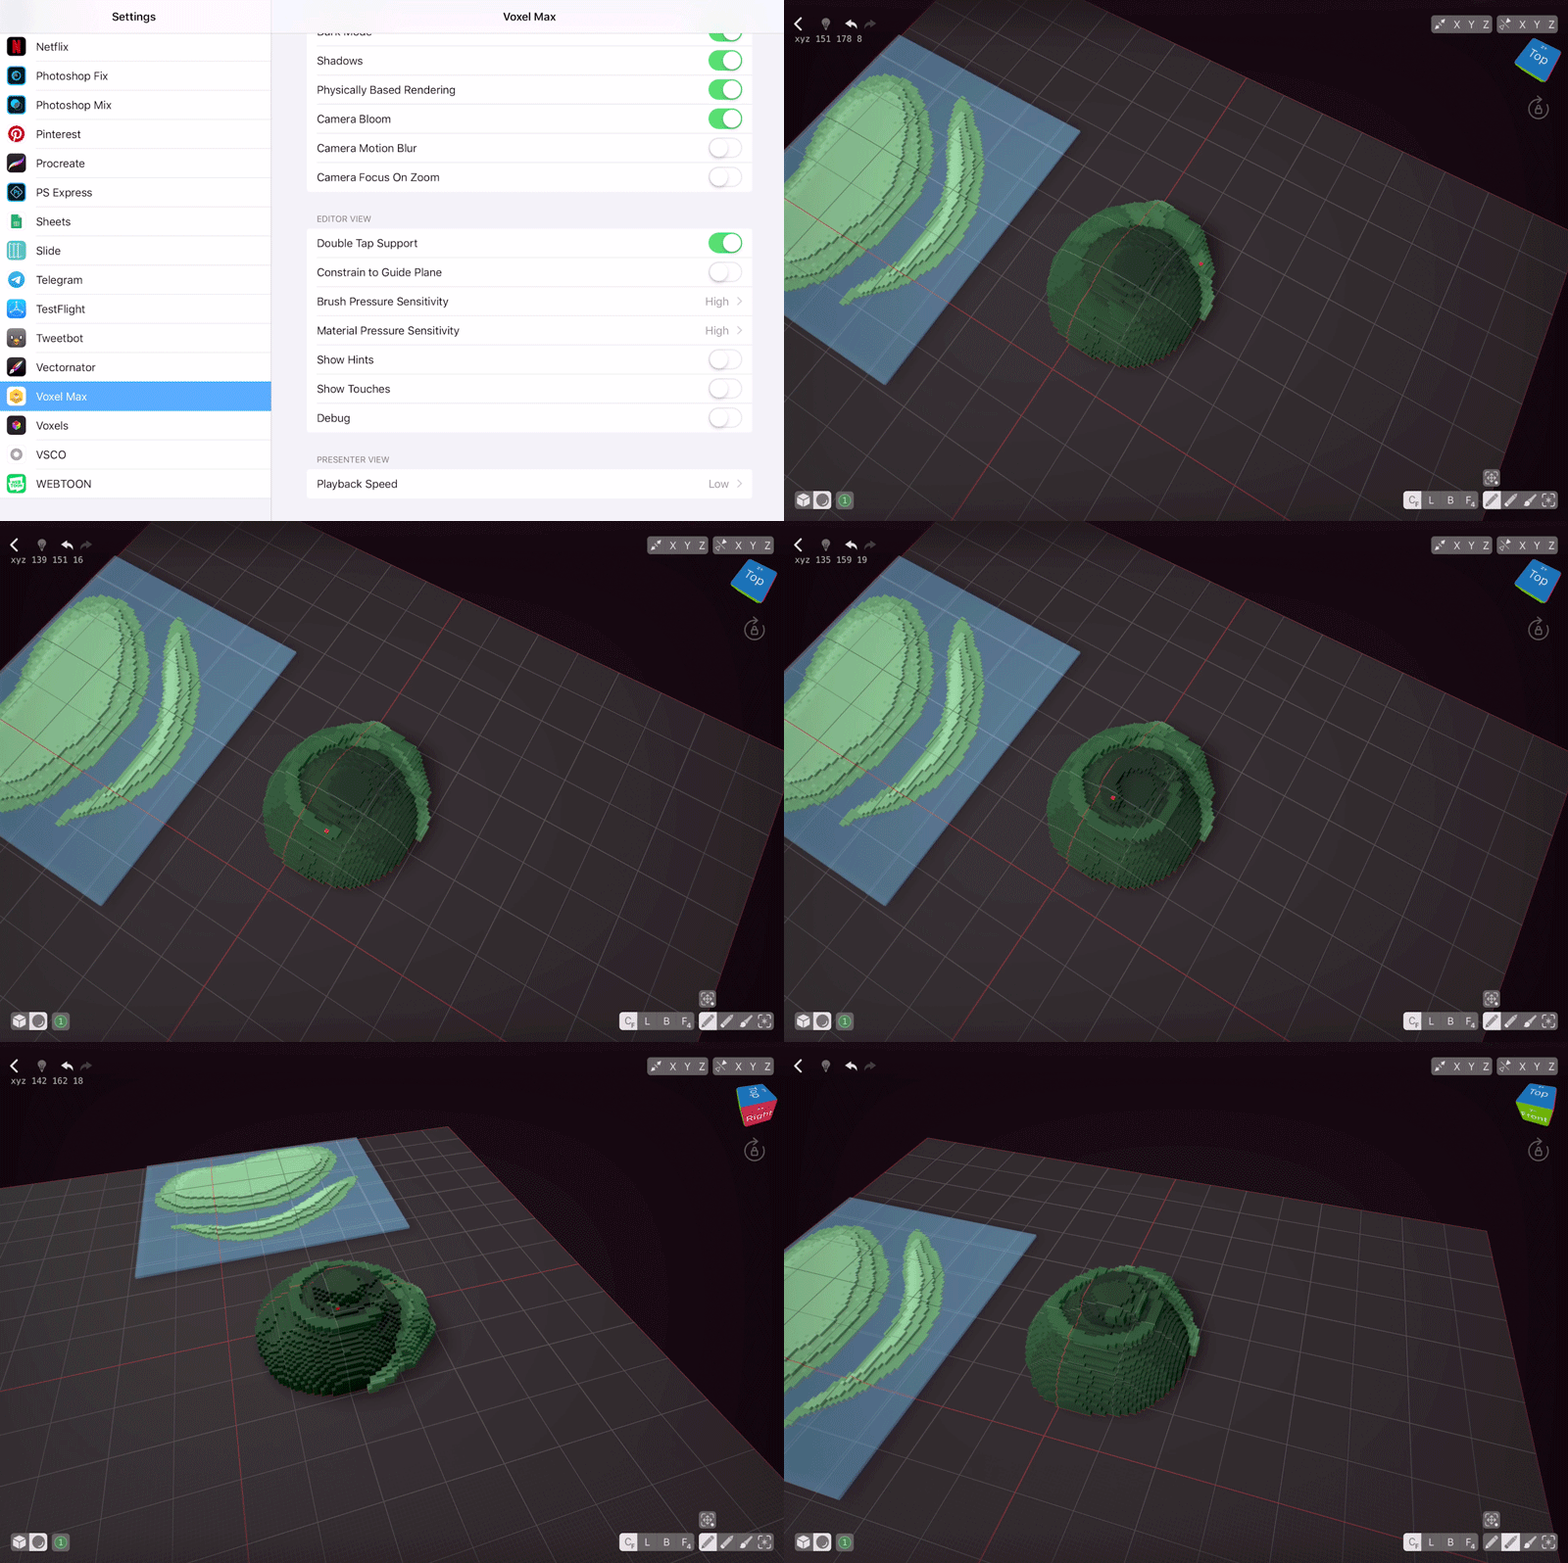
In VoxelMax, you can use pressure sensitivity for both colour and brush size. The harder you press, the darker the colour and the bigger the brush size will get. You can either use both, one, or none of the Pressure Sensitivity options. In Settings → VoxelMax check Brush Pressure Sensitivity and Material Pressure Sensitivity options. There are 4 settings: None, Low, Medium and High. Experiment different settings first before creating your terrain as for everyone the perfect setting will be different.
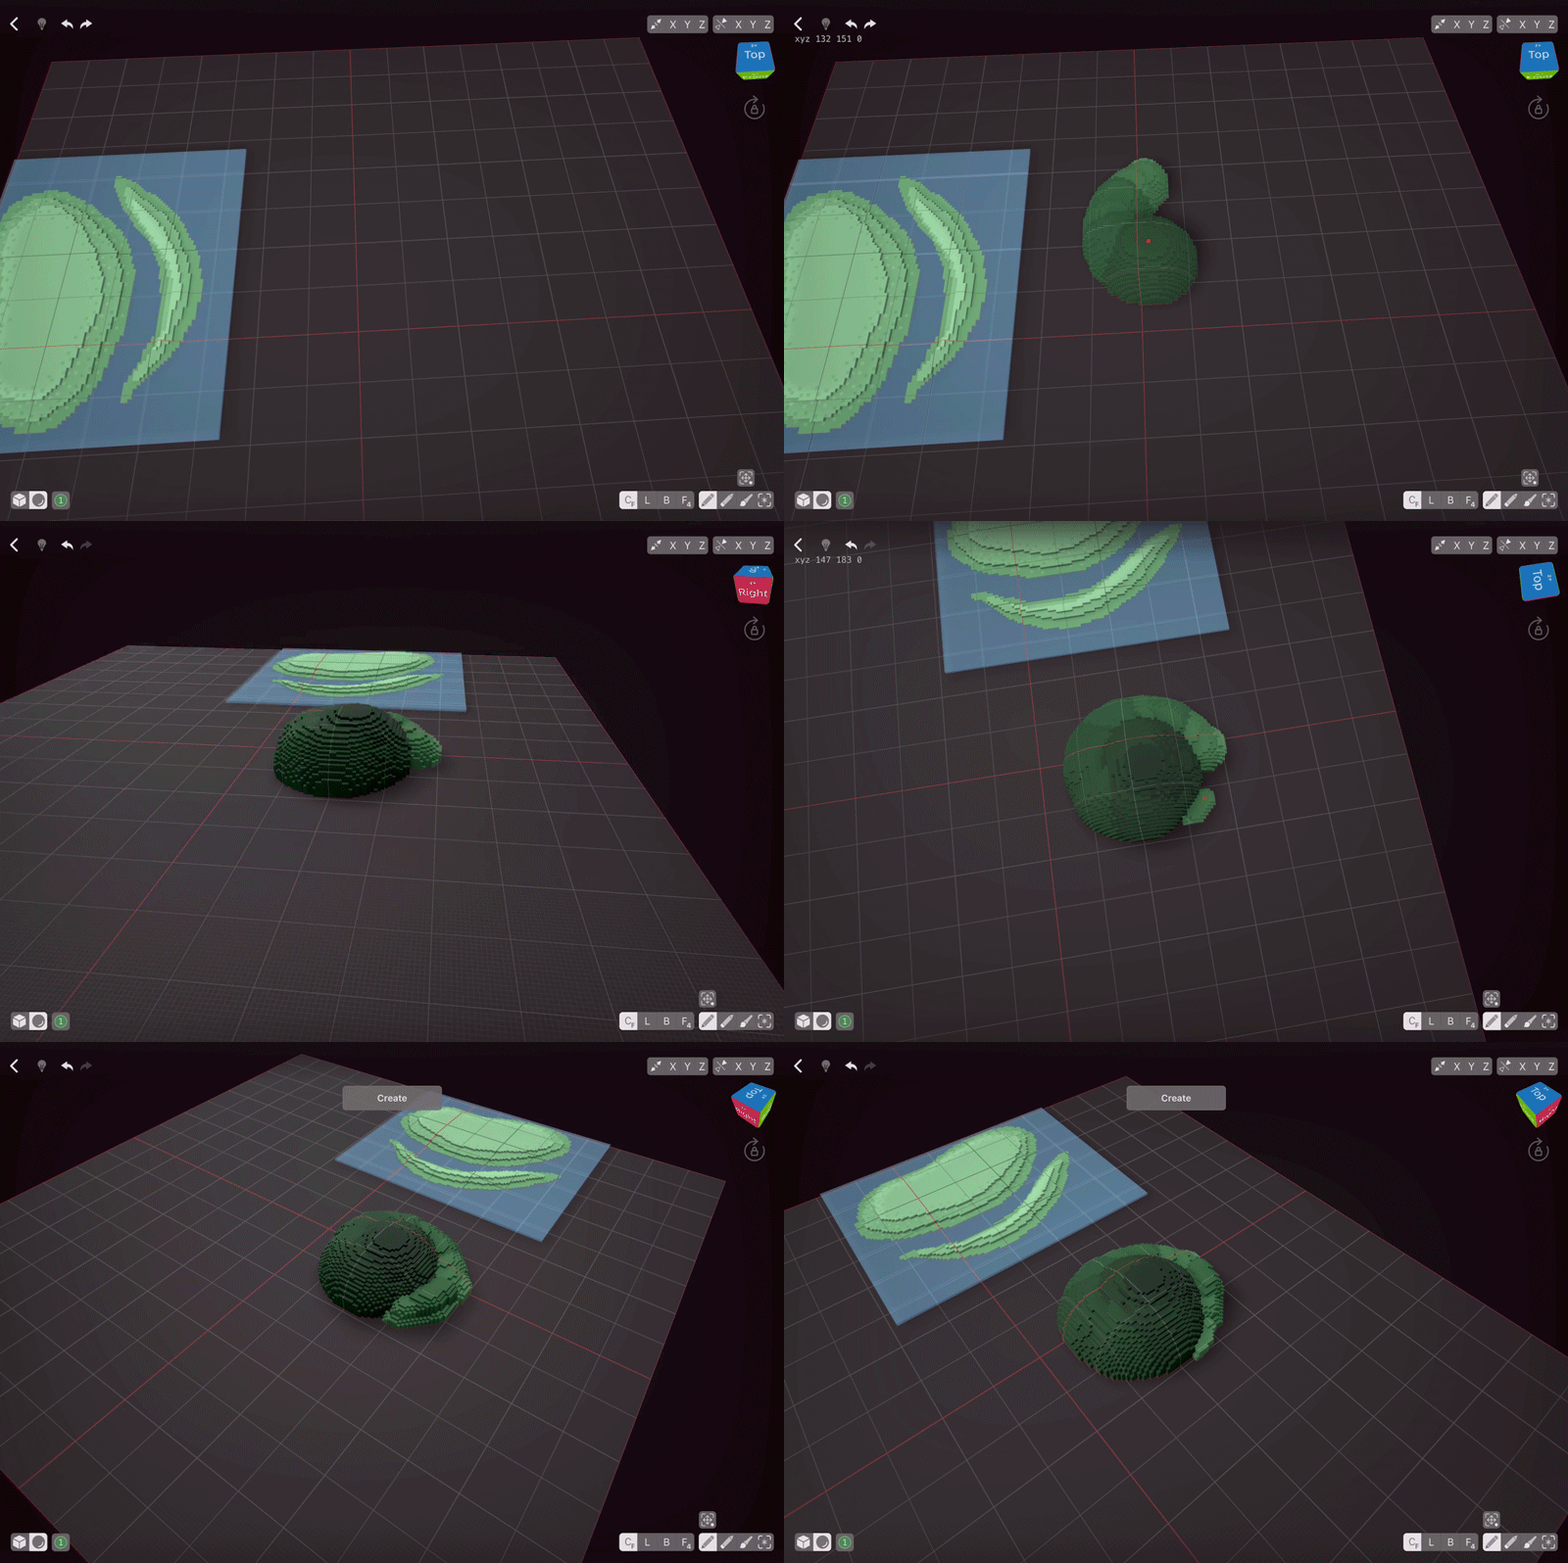
The brush size and shape you choose depends on the type of terrain (more like ground or more like stone) you’re looking to make. I’m going to create another island, so I’m using spherical brush of 6 voxels. Draw any shape that you like increasing pressure as you go. If it doesn’t look like the thing you had in mind, lower the brush size and add details.
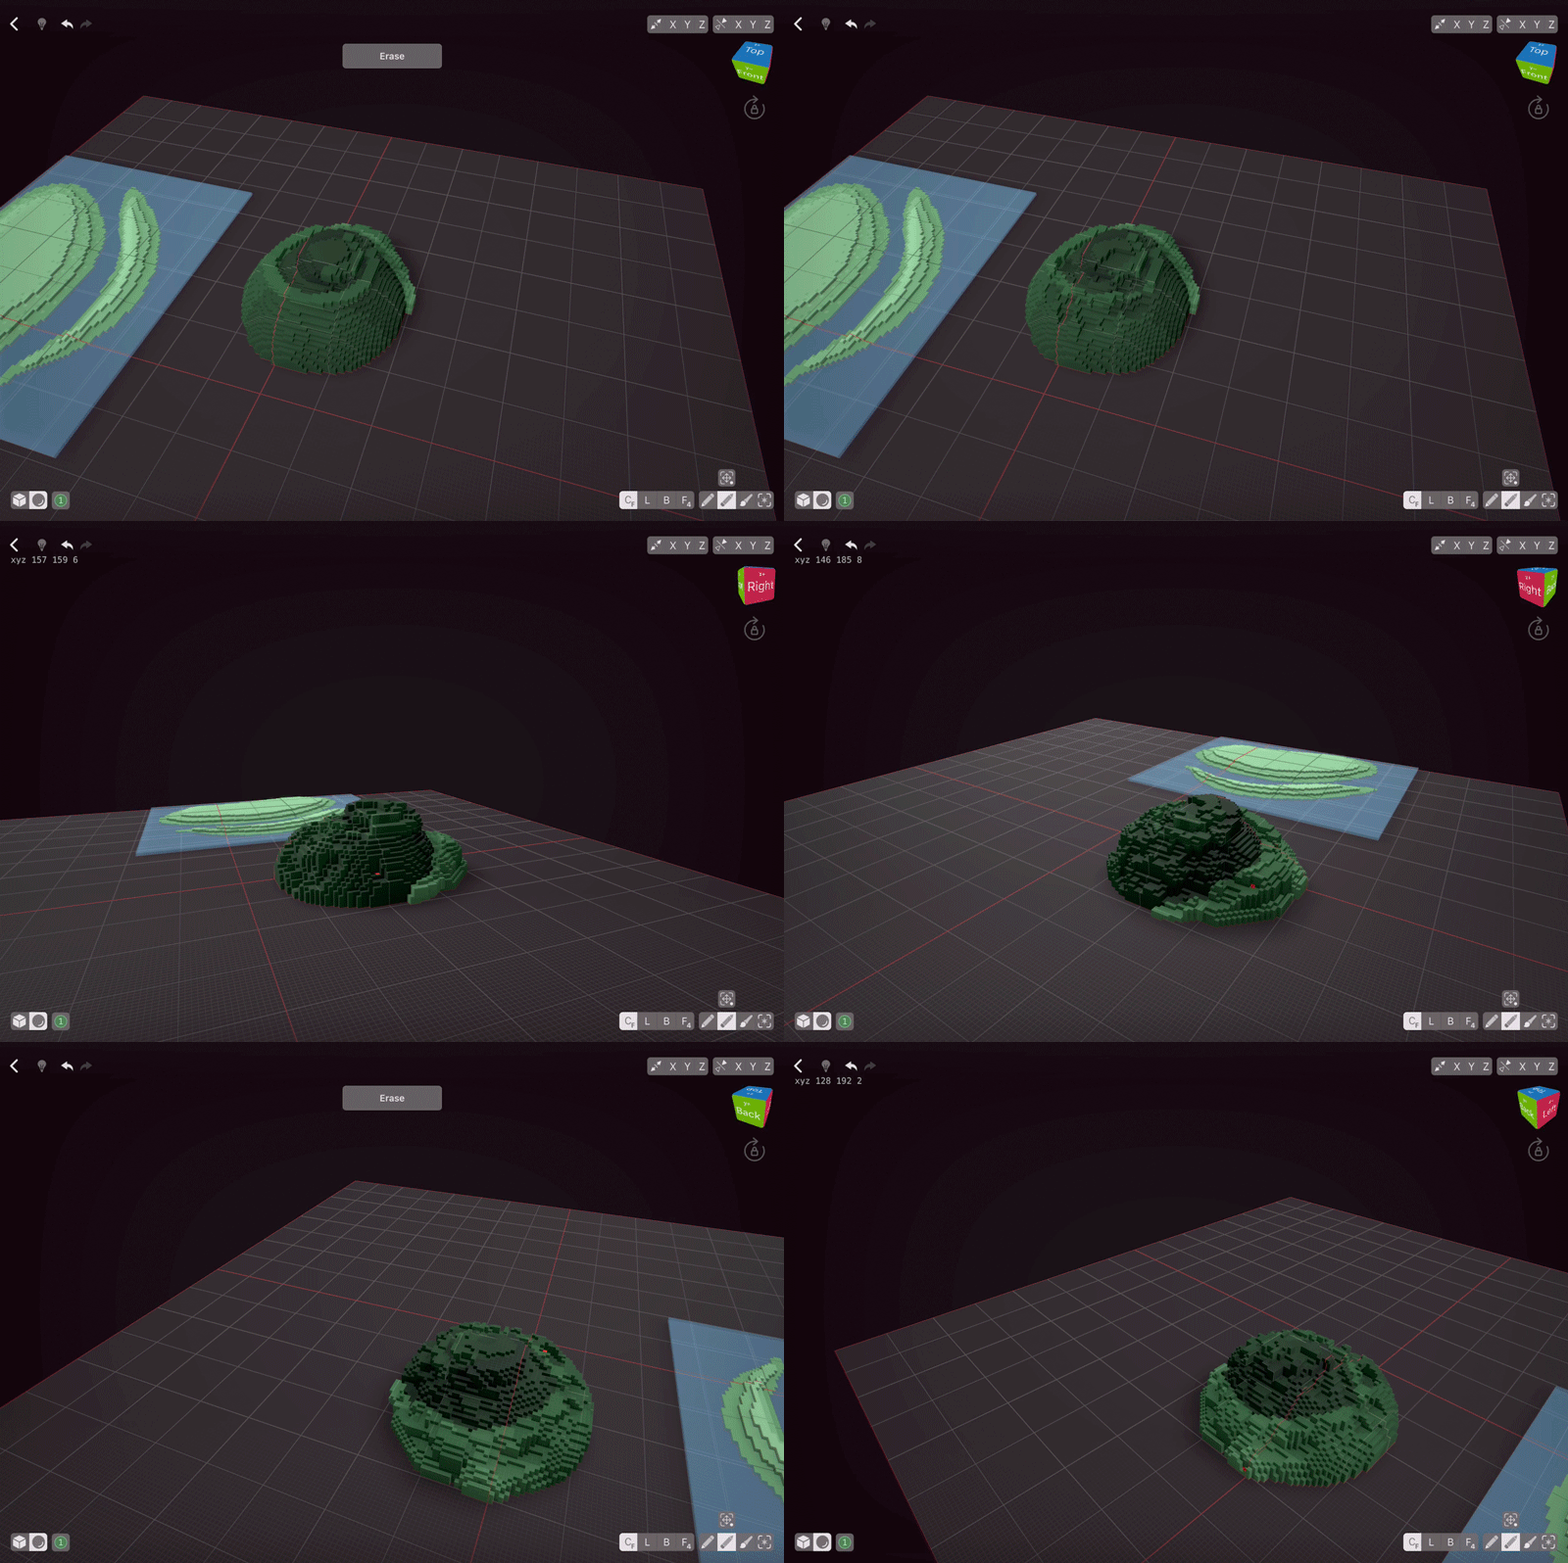
To add details, I’m going to lower Brush Pressure Sensitivity, and then start adding more layers.
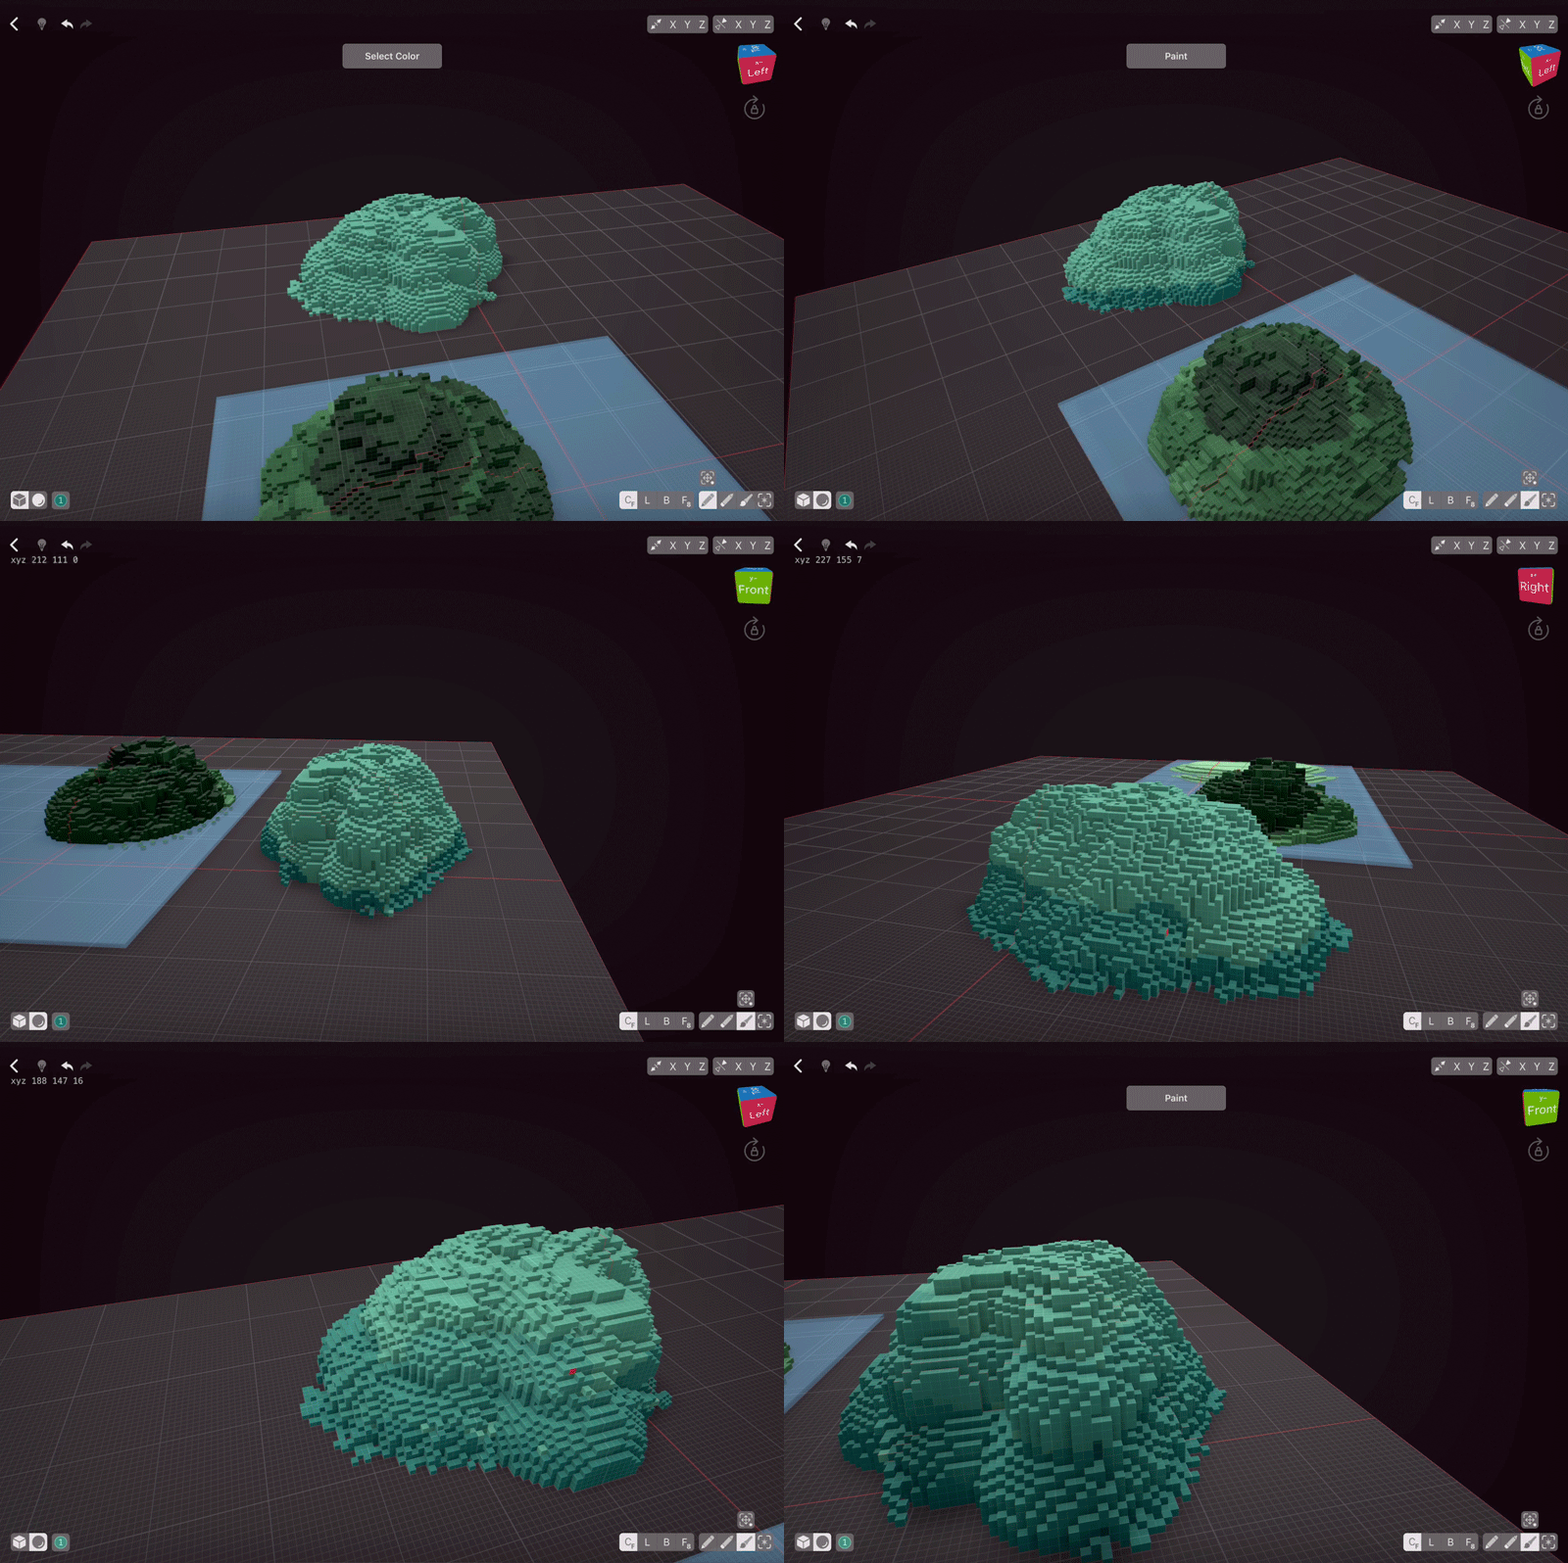
The secret of nice terrain, if created with large spherical or cubic brushes, is to obstruct the perfect shape of the brush by either adding more voxels or erasing some. With Pressure Sensitivity still on, I’m going to delete some voxels till my island looks “chaotic” enough. Once I’m satisfied, I can add come details in the water or just leave it as it is.
Building Terrain without Pressure Sensitivity
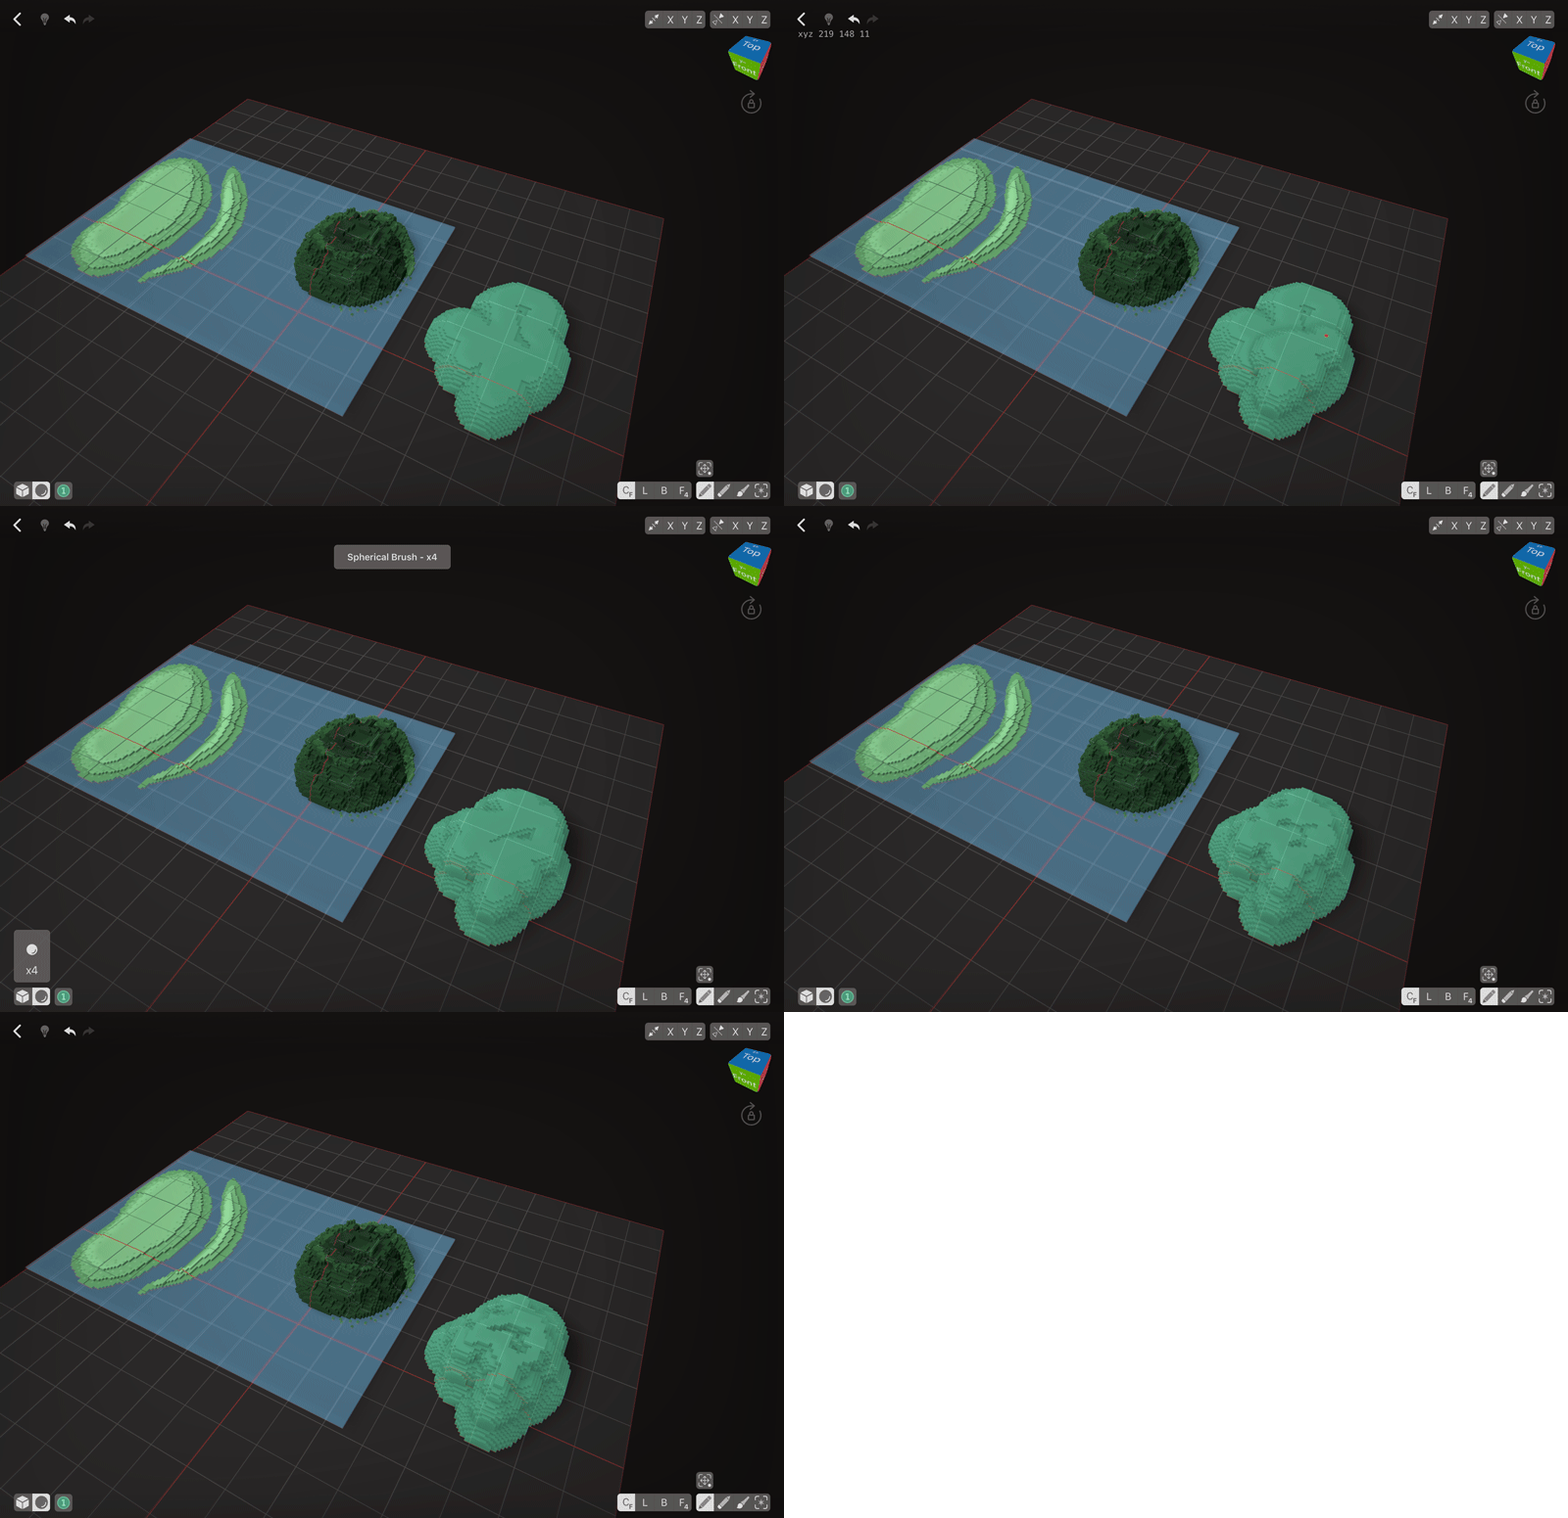
If you’re not comfortable with using Pressure Sensitivity, you could always build your terrain from ground up using brushes of different size. Start with the biggest brush you’d like to use for this terrain, create one layer, then lower the brush size a bit, and add another layer of voxels. Build your terrain up till you’re satisfied.
The next step is similar to the previous terrain we’ve made: obstructing the brush shape so it’s not as perfect. For this one, I’m going to add more voxels as opposed to erasing them for the previous terrain. Notice how much more natural our island looks once I add just a few voxels with quick strokes!
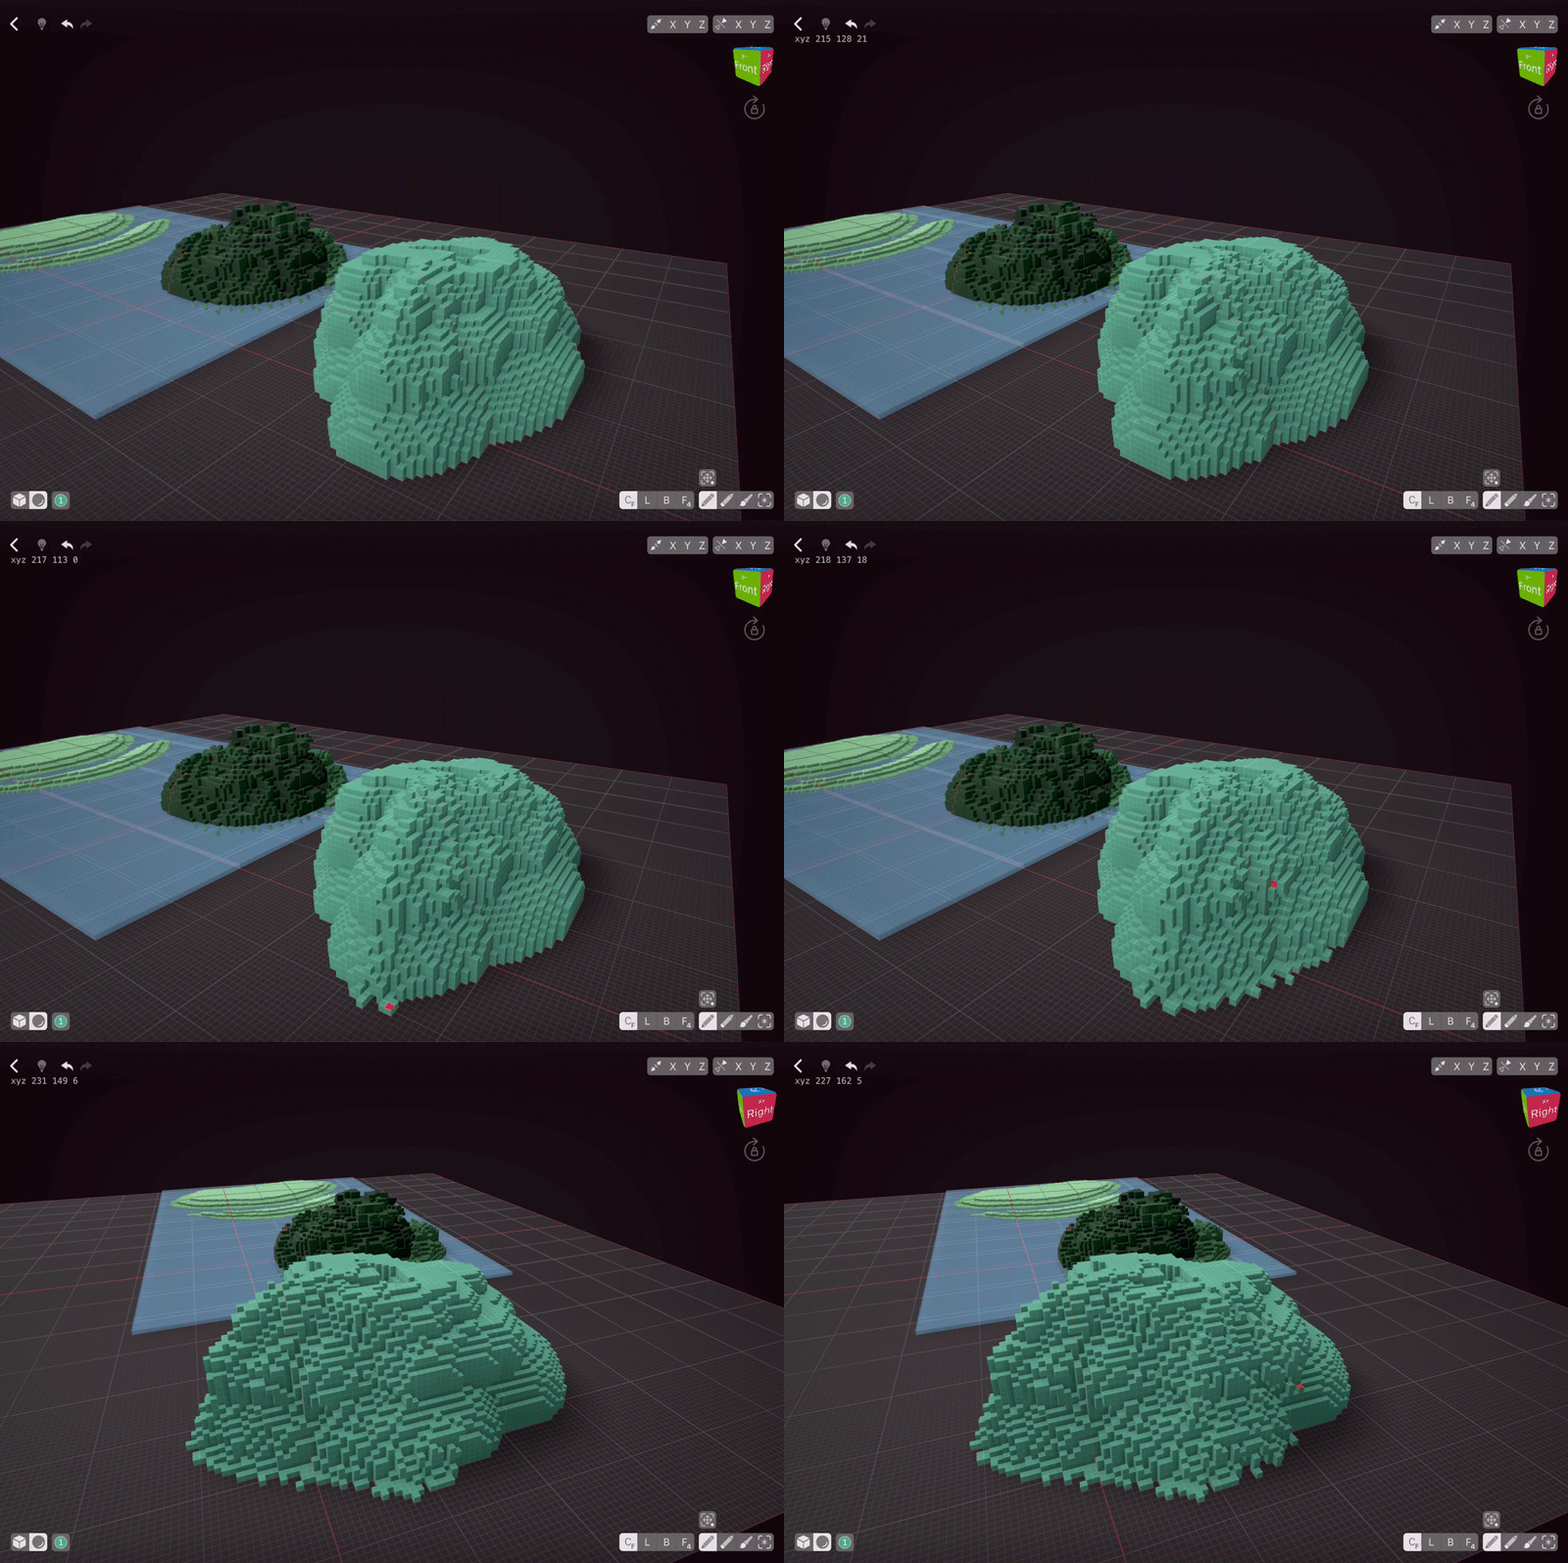
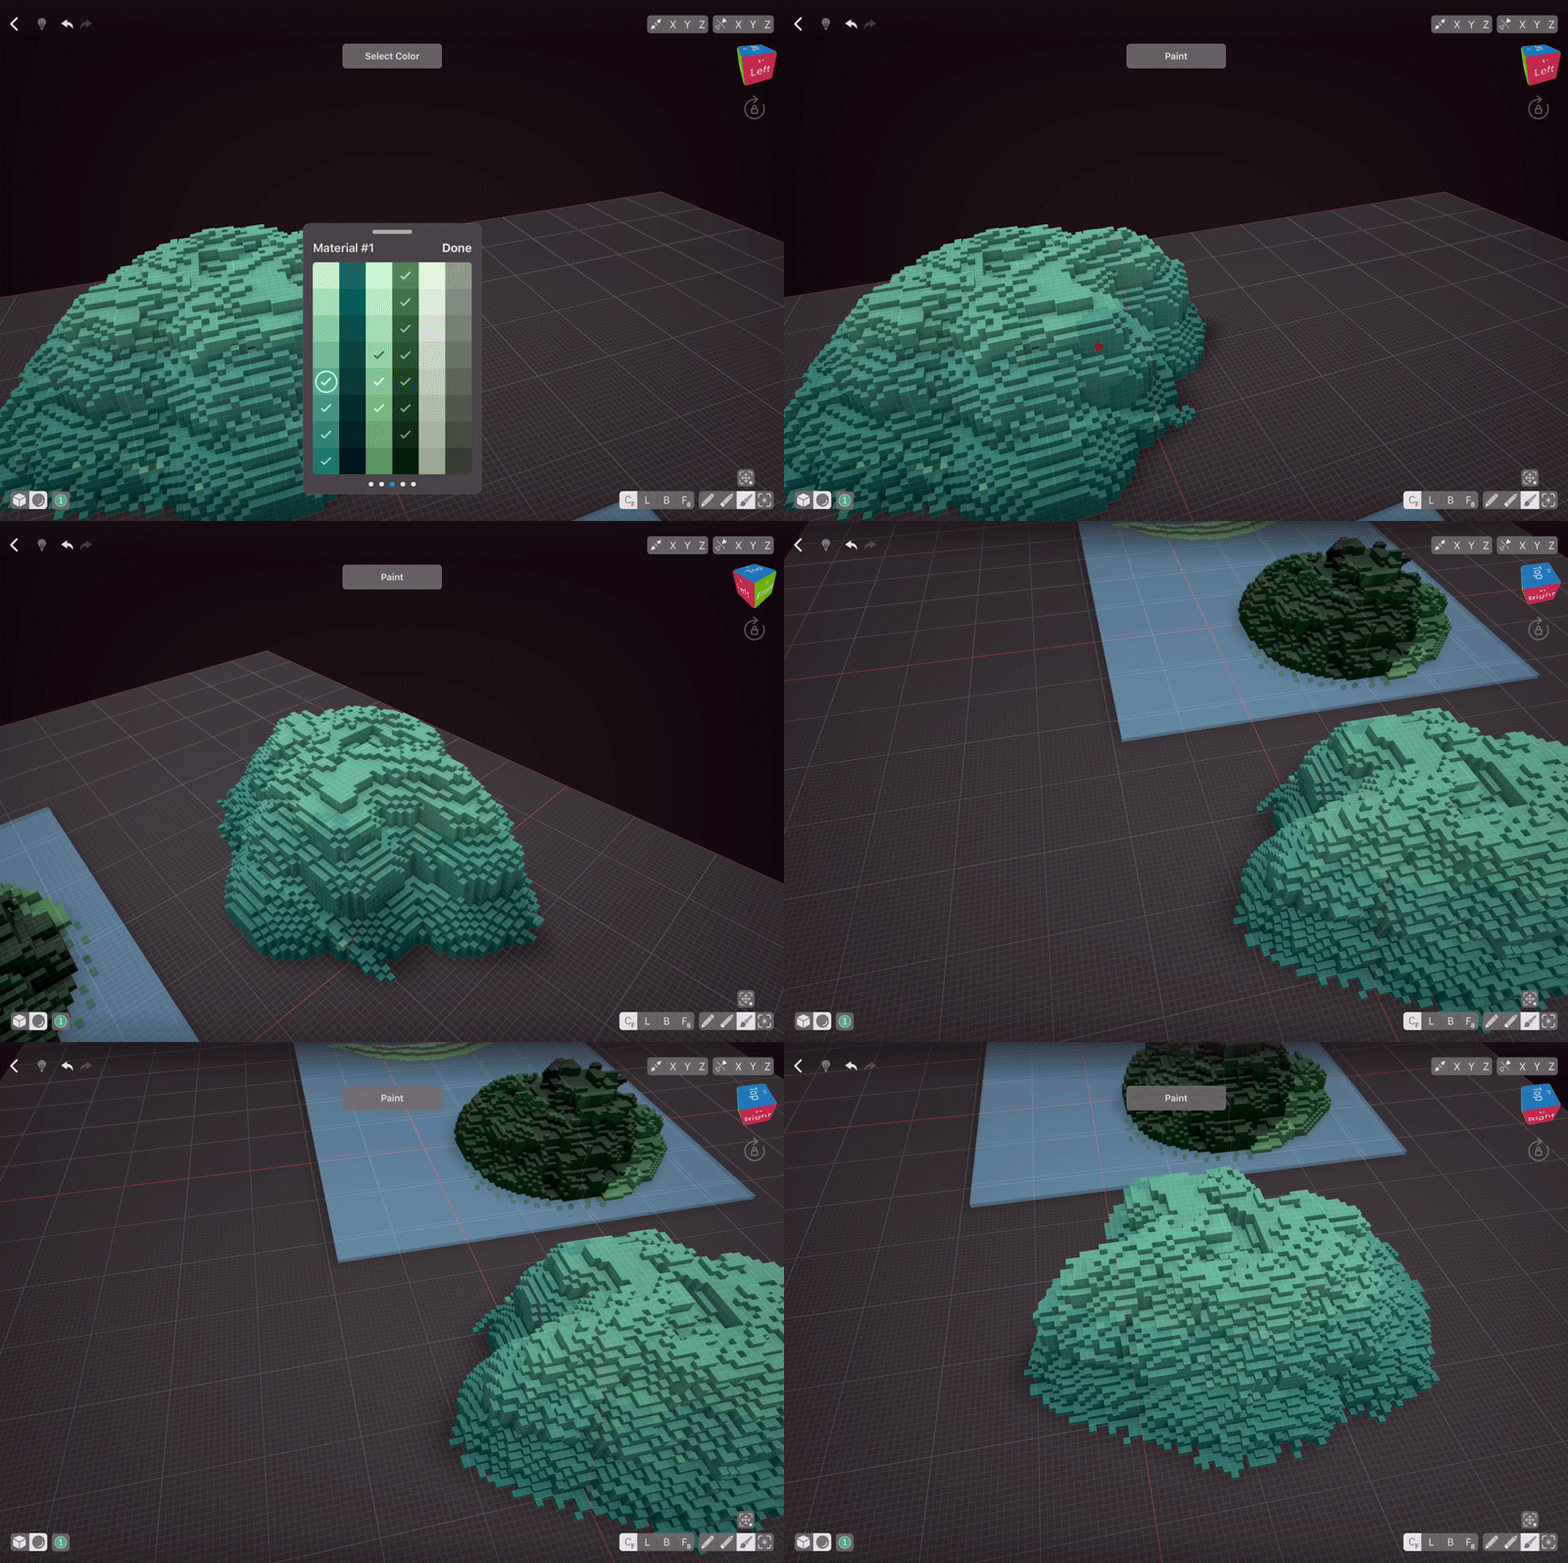
As we weren’t using Material Sensitivity, we’d need to colour by hand. Select medium brush size and colour 2-4 shades darker than your original creation. Paint a line at the bottom. Then switch to a lighter shade, add another line on top of the old one. Repeat the process till you’ve blended the top an bottom colours.
Using 1 vox brush, add some spots to blend the colours even better.
Finished scene
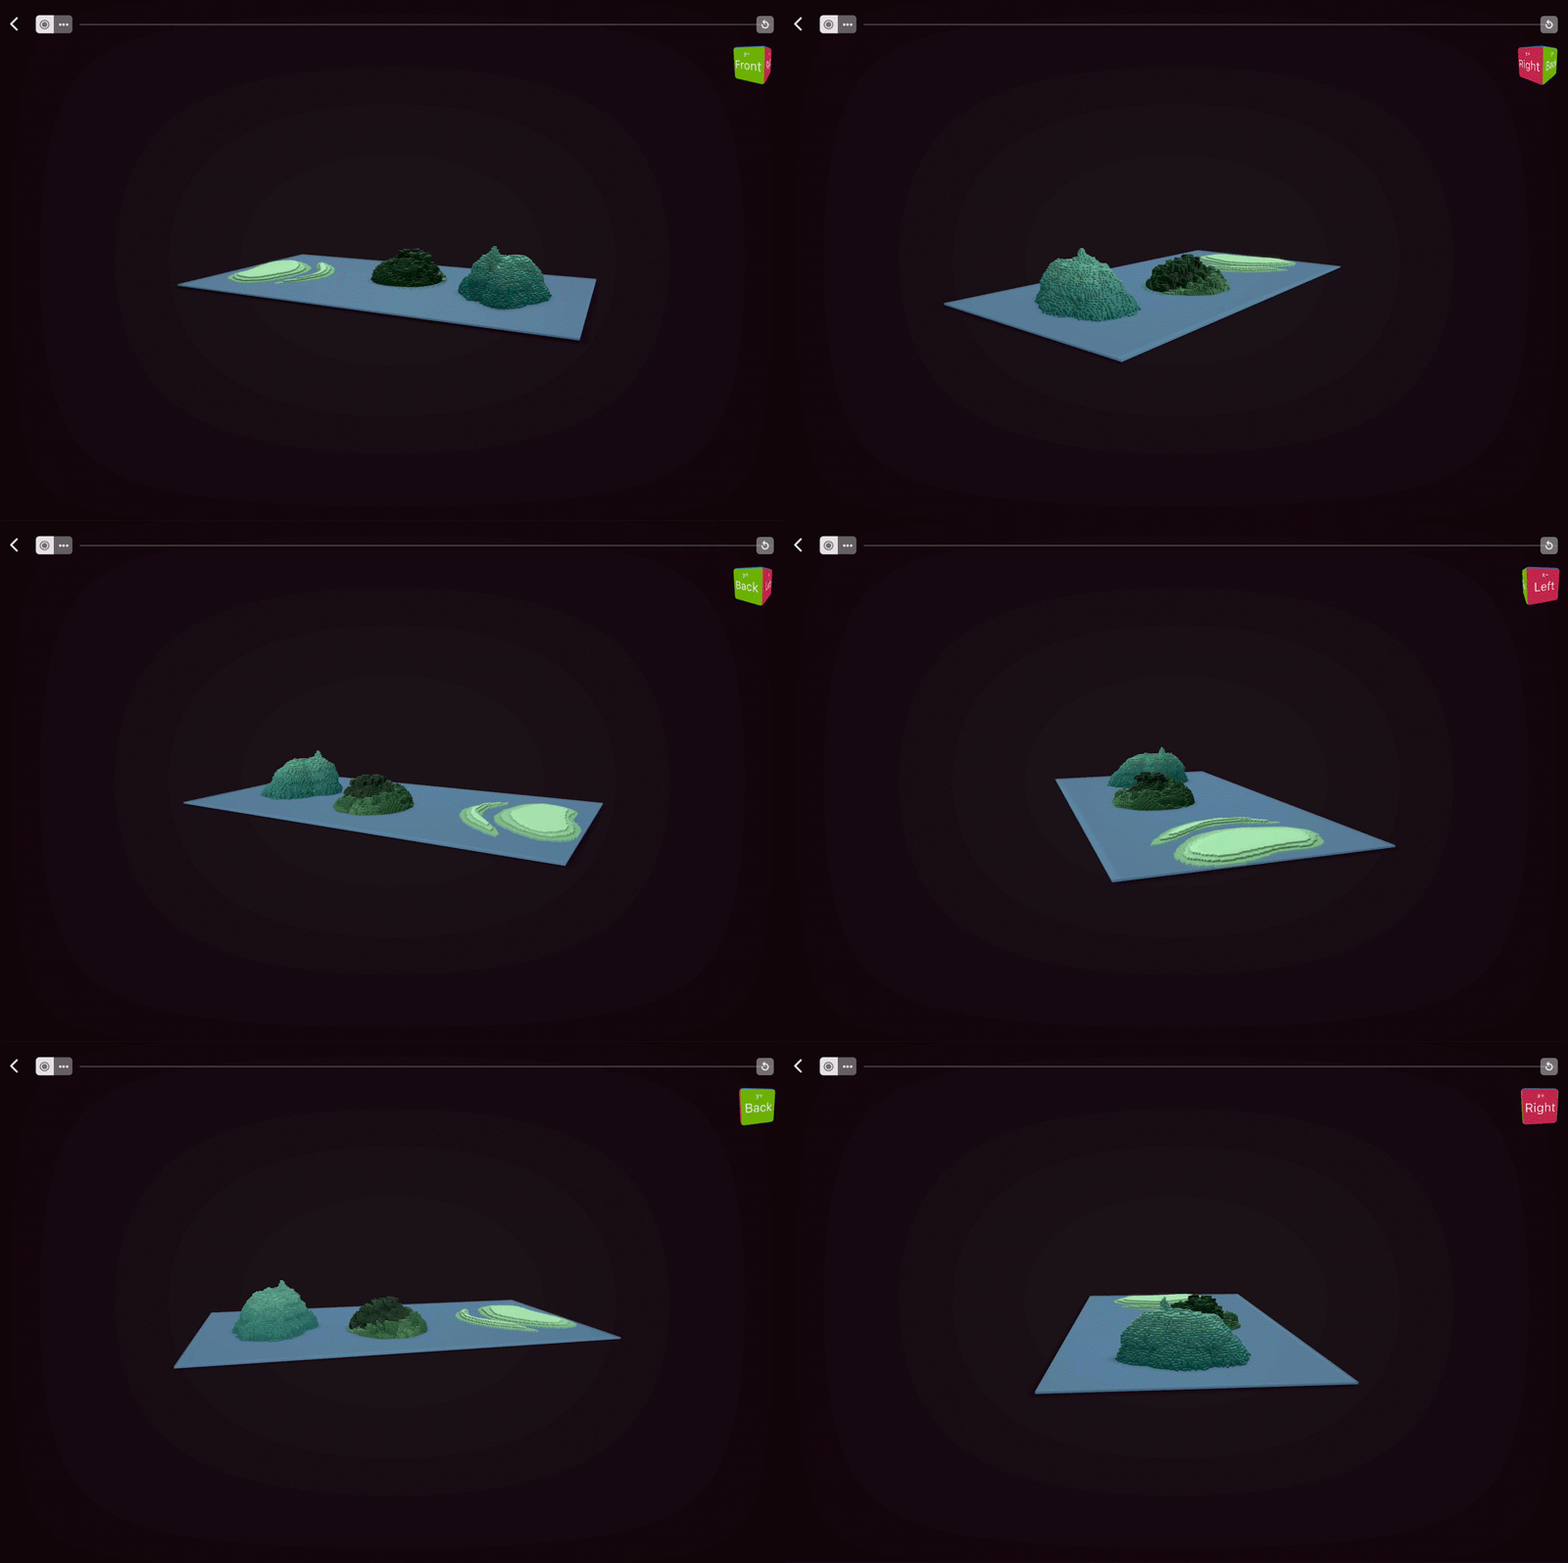
Here you can see 3 different terrain types side by side. As you can see, there isn’t really a “right” or ”wrong” technique when it comes to terraforming, so experiment with different approaches a bit and also think in advance what kind of surface are you going to need for your finished scene.

