Intro
In this tutorial, you’ll learn how to create a cute Pomeranian step by step. I will explain the tools we’ll be using as well as give some general creative tips.
Sculpting
The Body
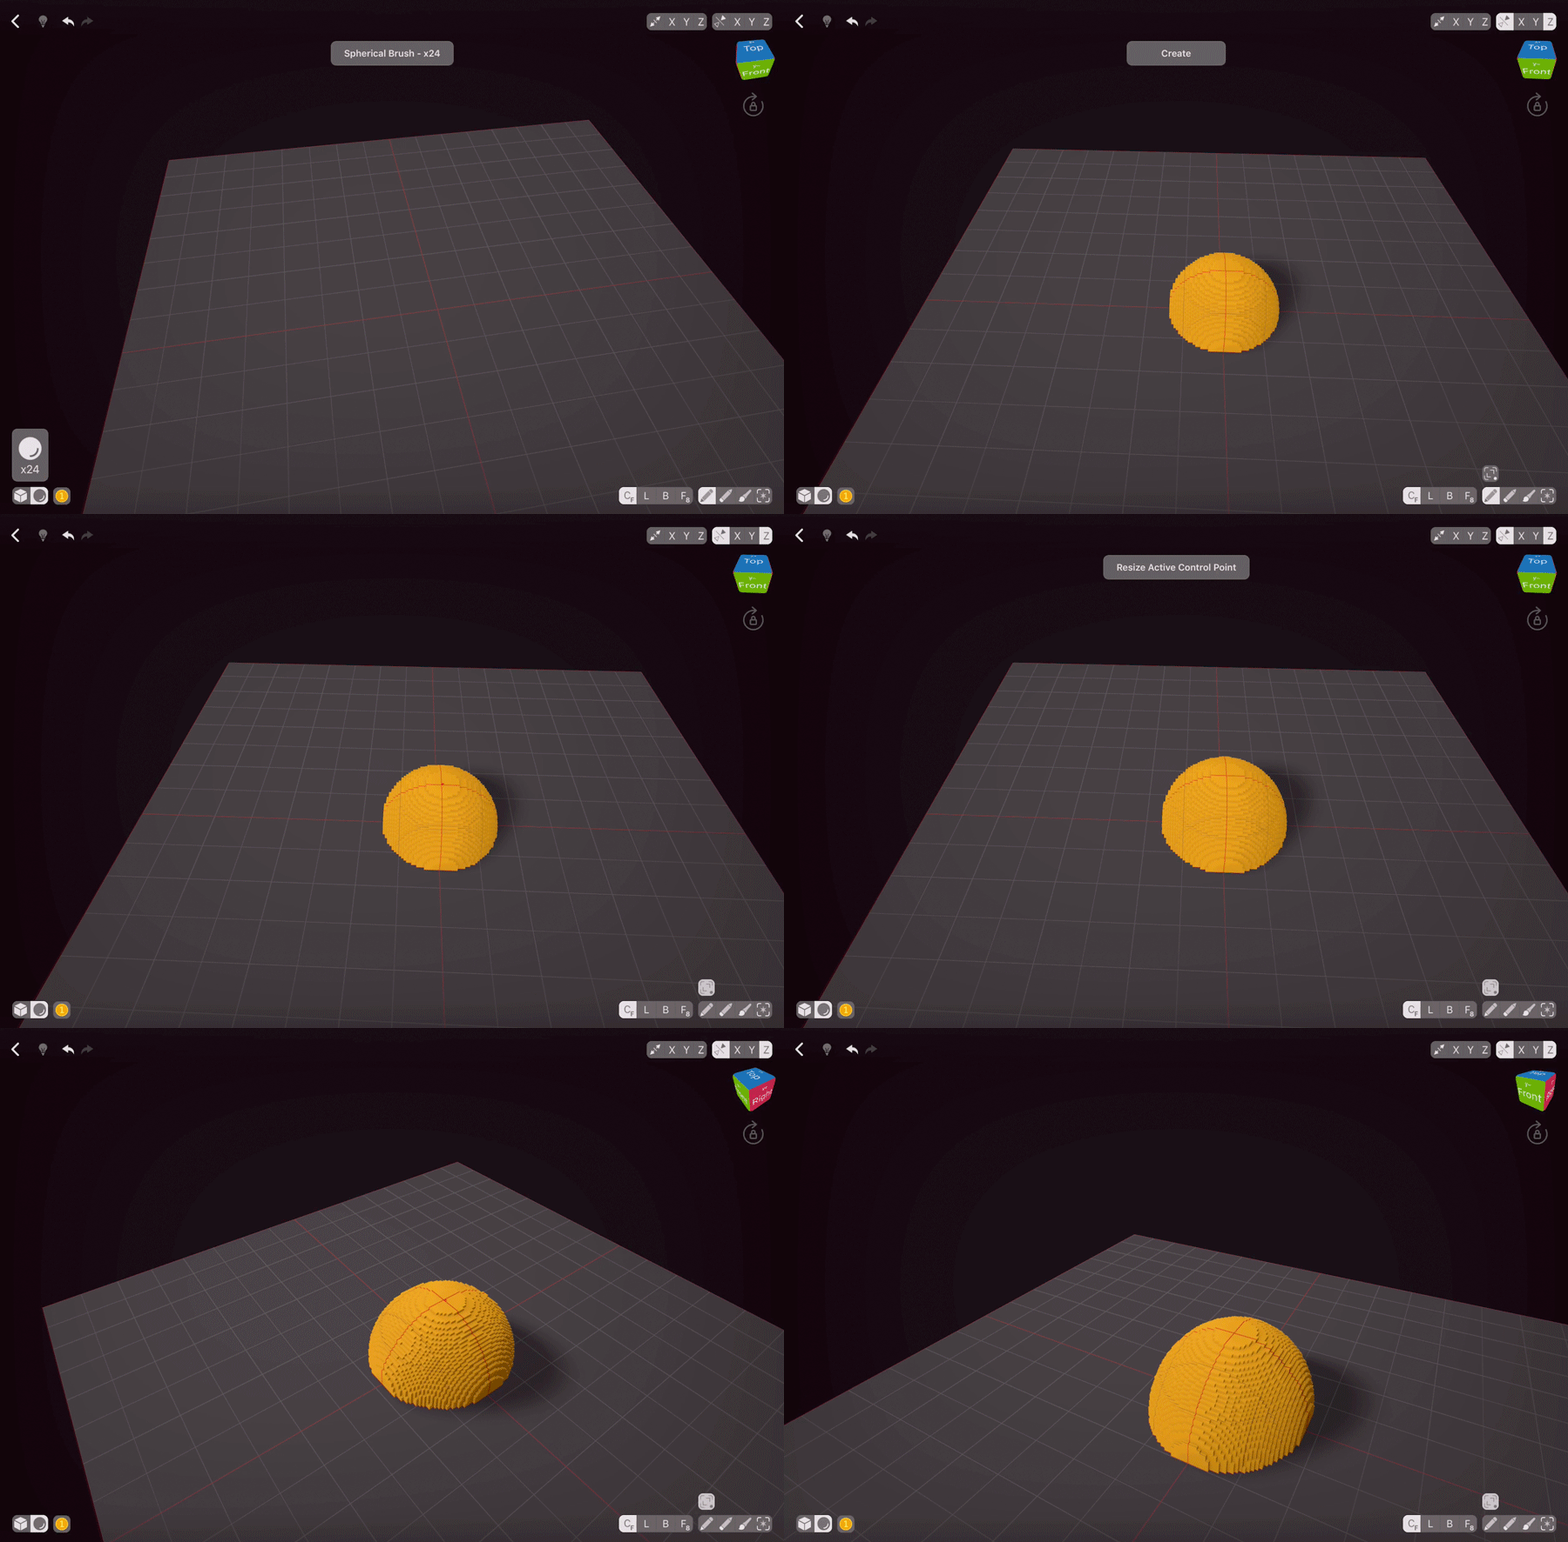
First, we need to make a body. Pomeranians are all fur, so I think we’ll need a sphere.
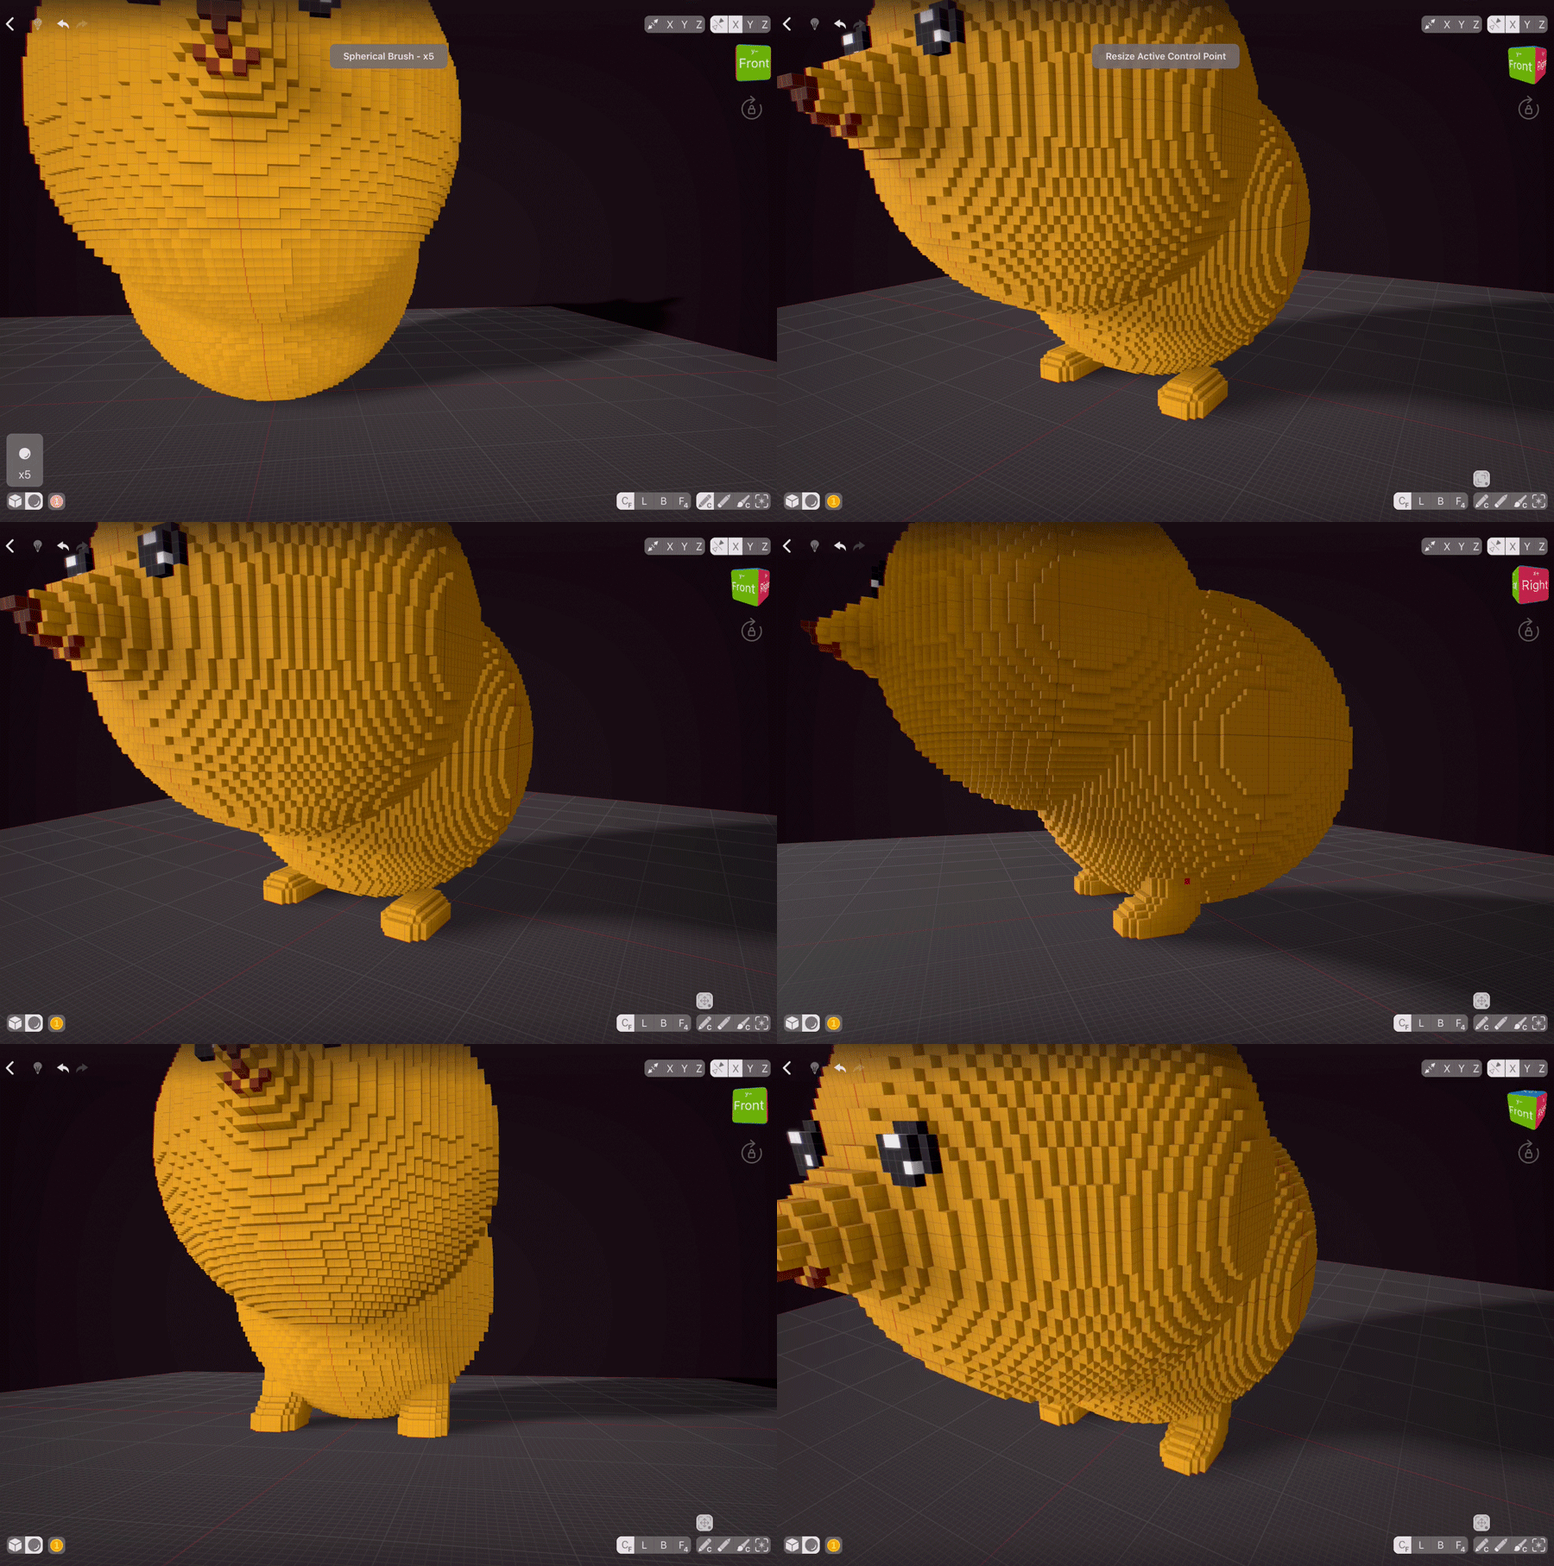
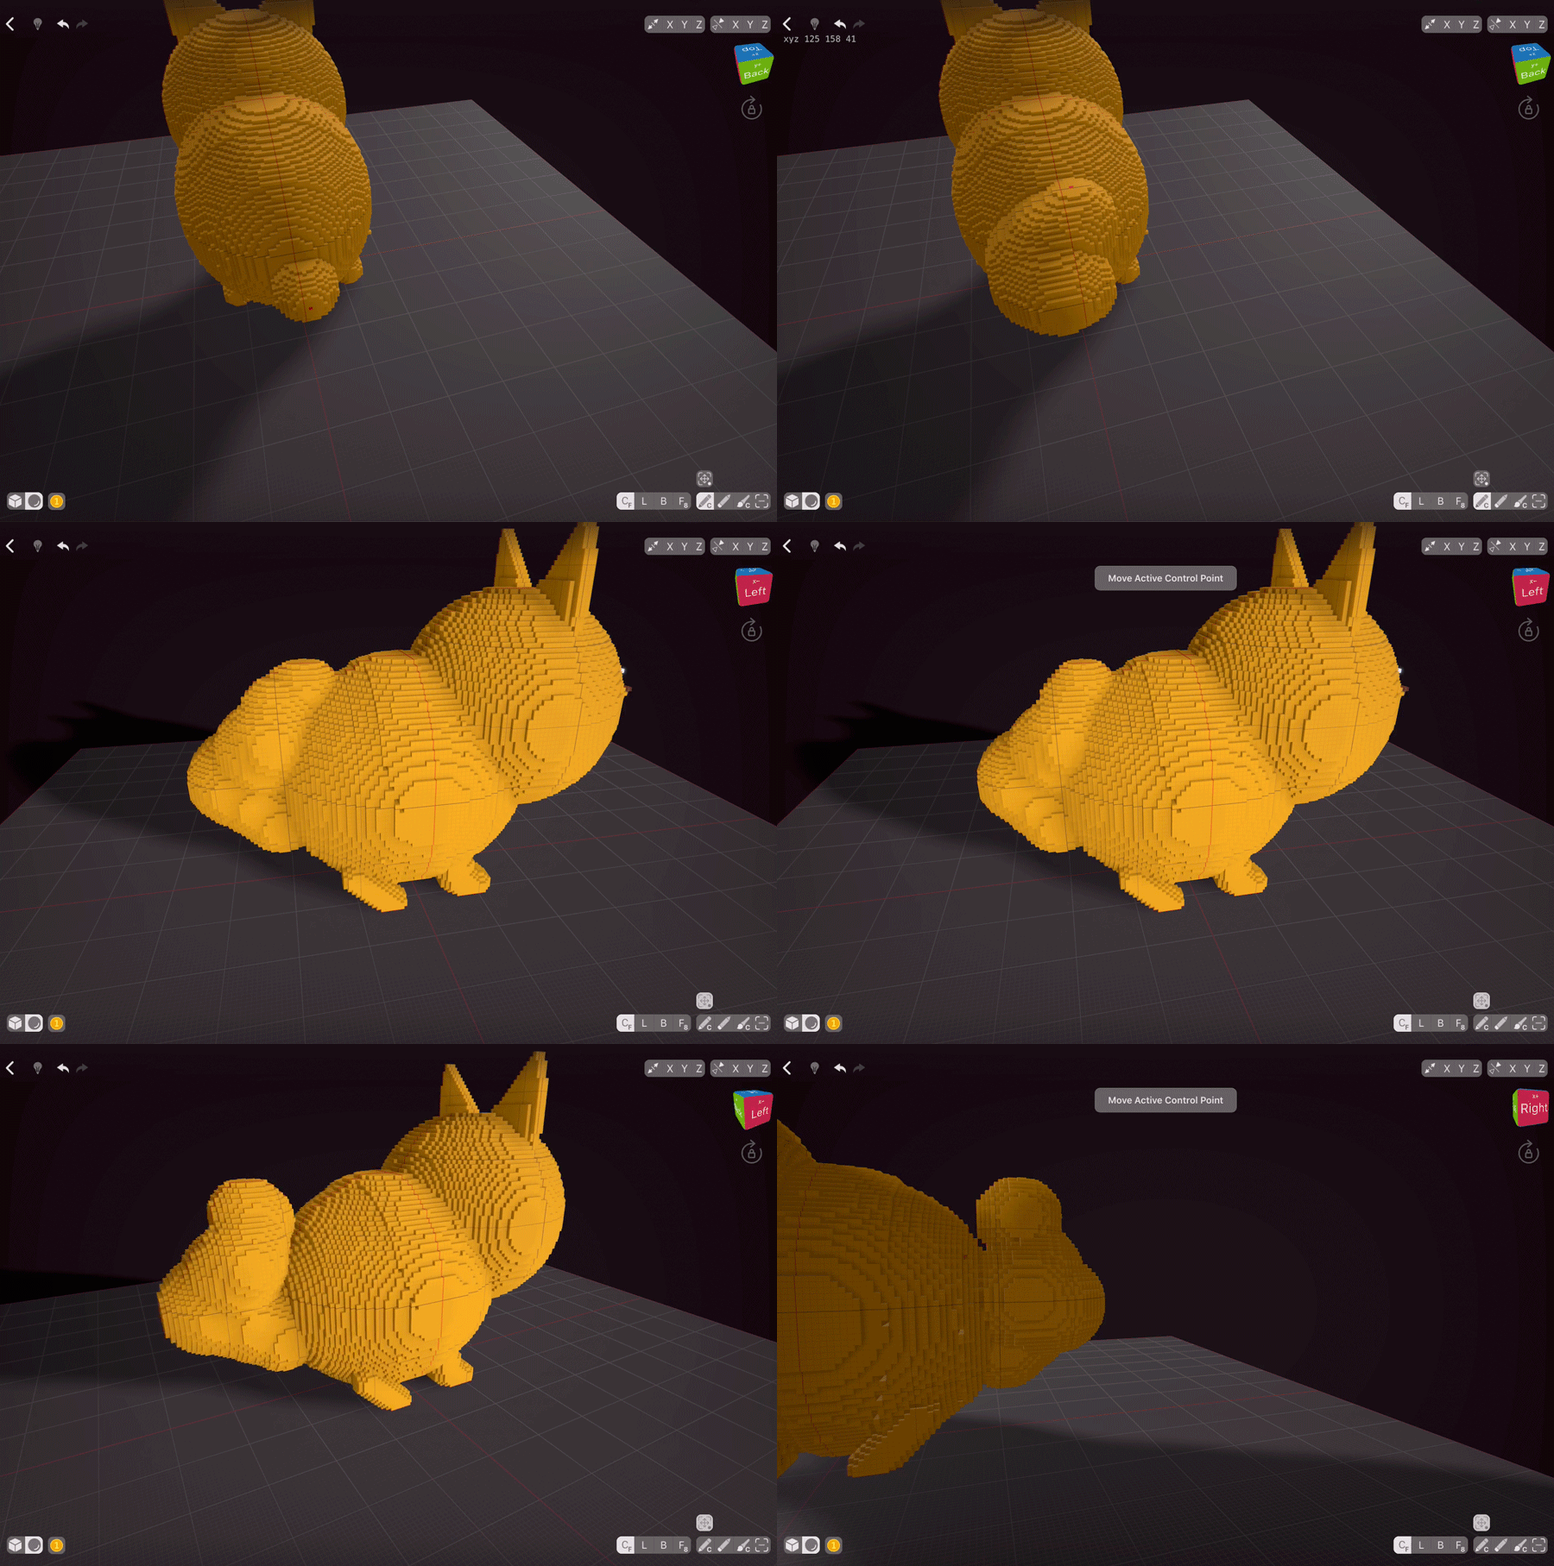
VoxelMax has two types of brushes: Cube and Sphere. We’ll go with sphere and will select the Centered Mode Free Hand with a size of 24-28 vox. Centered Mode works in a way where the thing you tap becomes the centre of your brushstroke, so if you just select a spherical brush and then tap on the ground, you’ll get half of a sphere instead of the full sphere. But there’s a workaround: to create spheres, enable Mirroring on the Z axis. That way your half of the sphere will be reflected on the top of your working area, and later you can move it. Mirroring settings can be found on the top right.
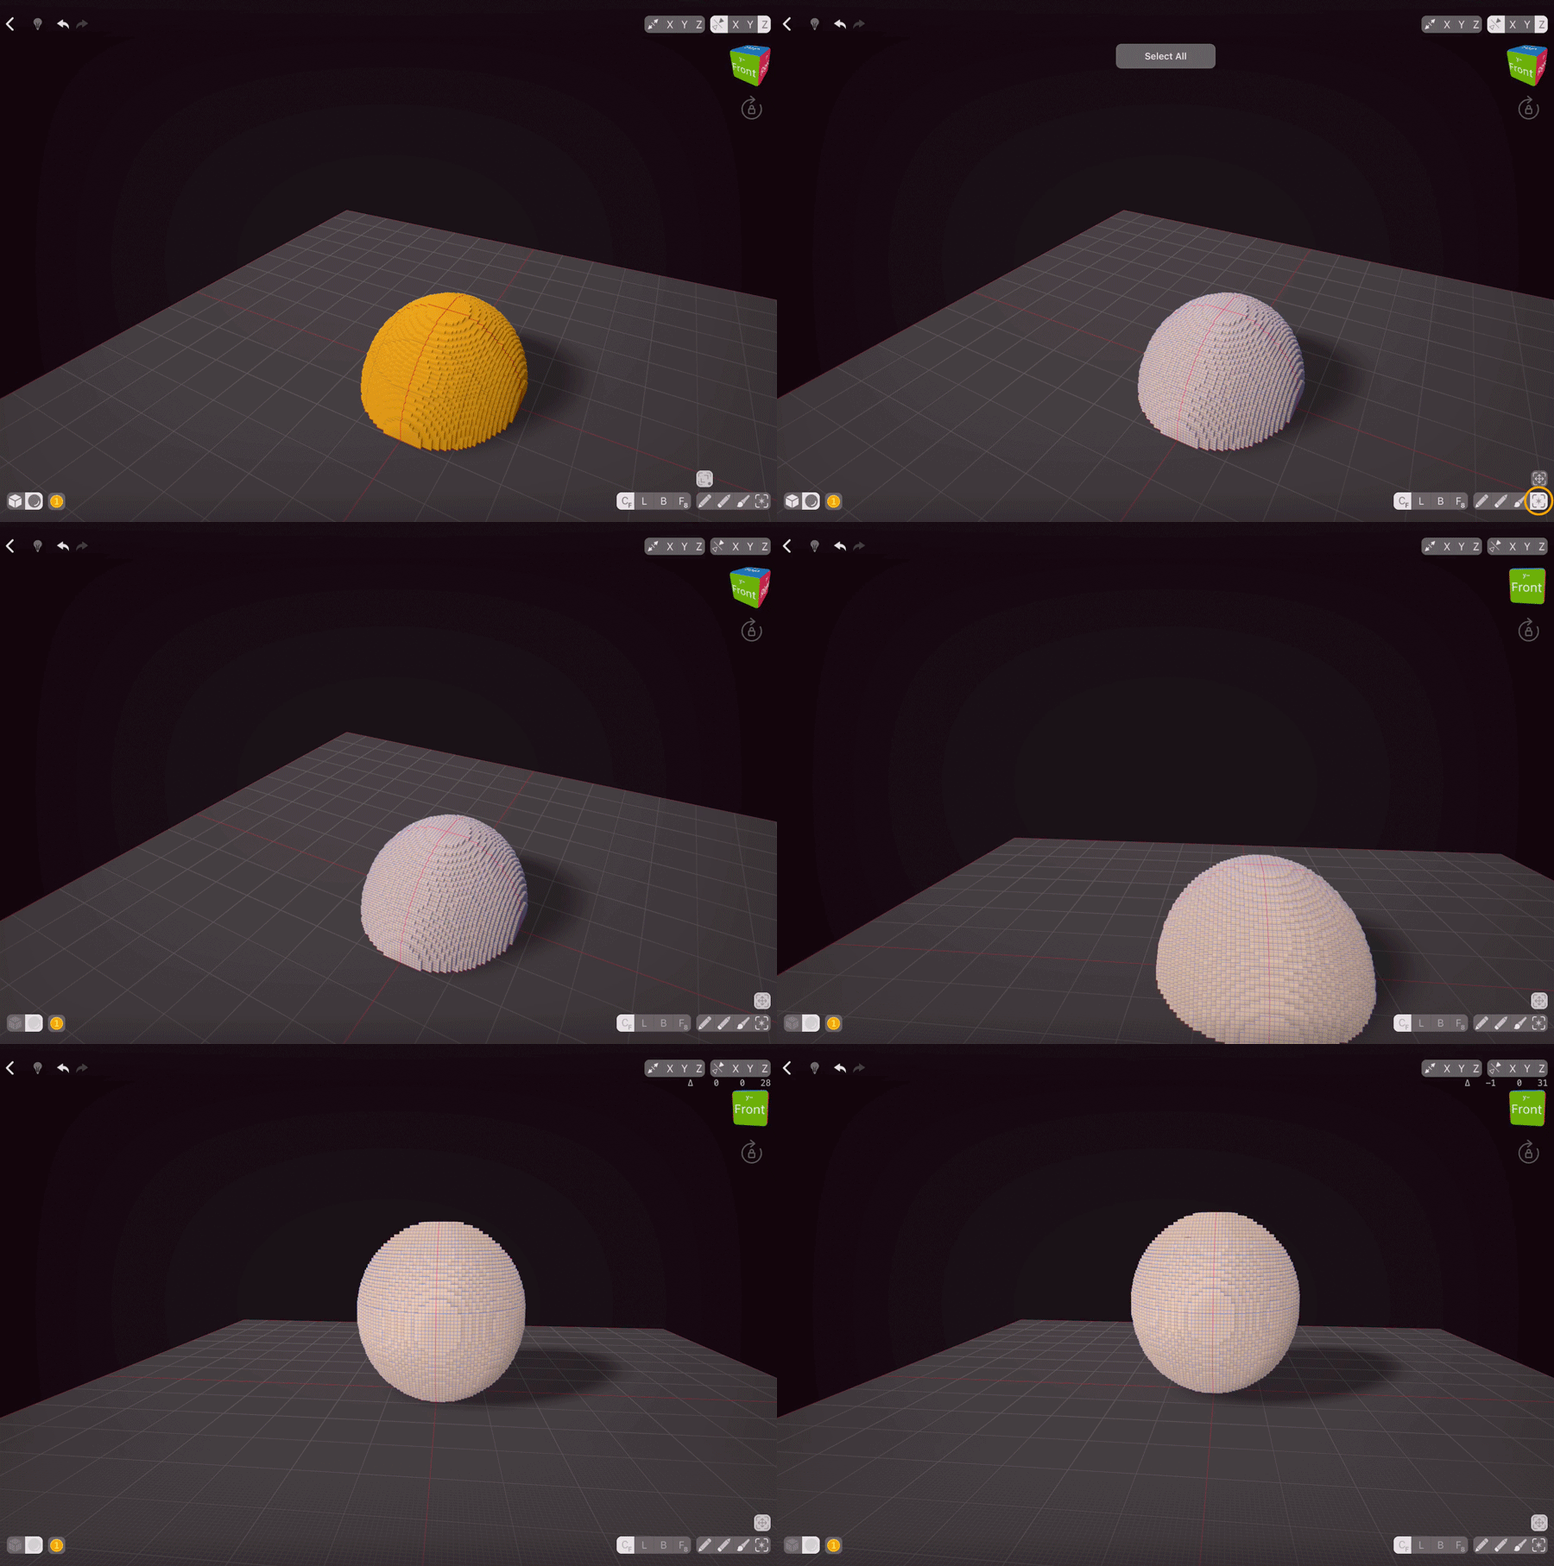
VoxelMax has a cool feature called Adjust Last Edit, with which you can adjust either the position or the size of your last edit. For our sphere, let’s make it a bit bigger on all axes with Resize Active Control Point — double-tap the icon above Create tool to switch from Position to Resize and then tap our sphere and drag sideways and upwards until you’re happy with the size. I made our body a bit oblong to better fit the shape of dog’s body.
Now we are ready to move our body. Hold the Select icon and quickly swipe up to Select all with one quick motion (alternatively hold the icon and navigate through the drop-down menu). Disable the mirroring on the Z axis and then choose Move above the Select icon. Drag our selection upwards.
The Head
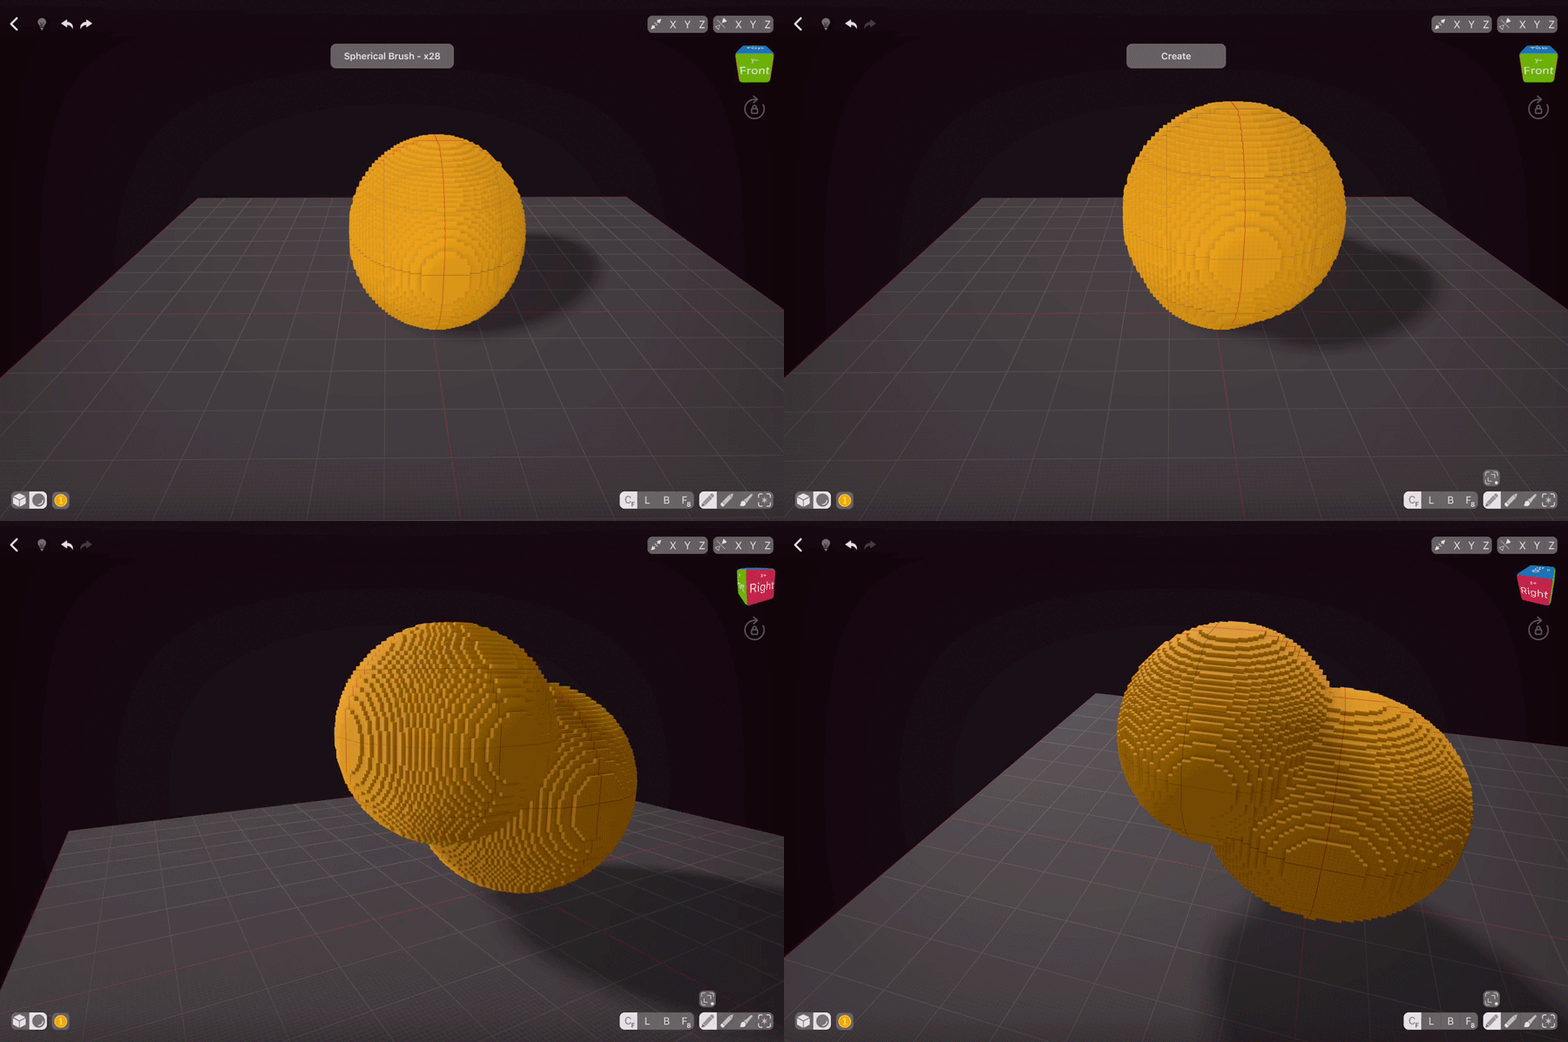
I think round head will be cute, so let’s choose Spherical Brush and set the size to 28 vox, and then simply add one sphere to where the neck’s supposed to be with Centered Free Hand Mode.
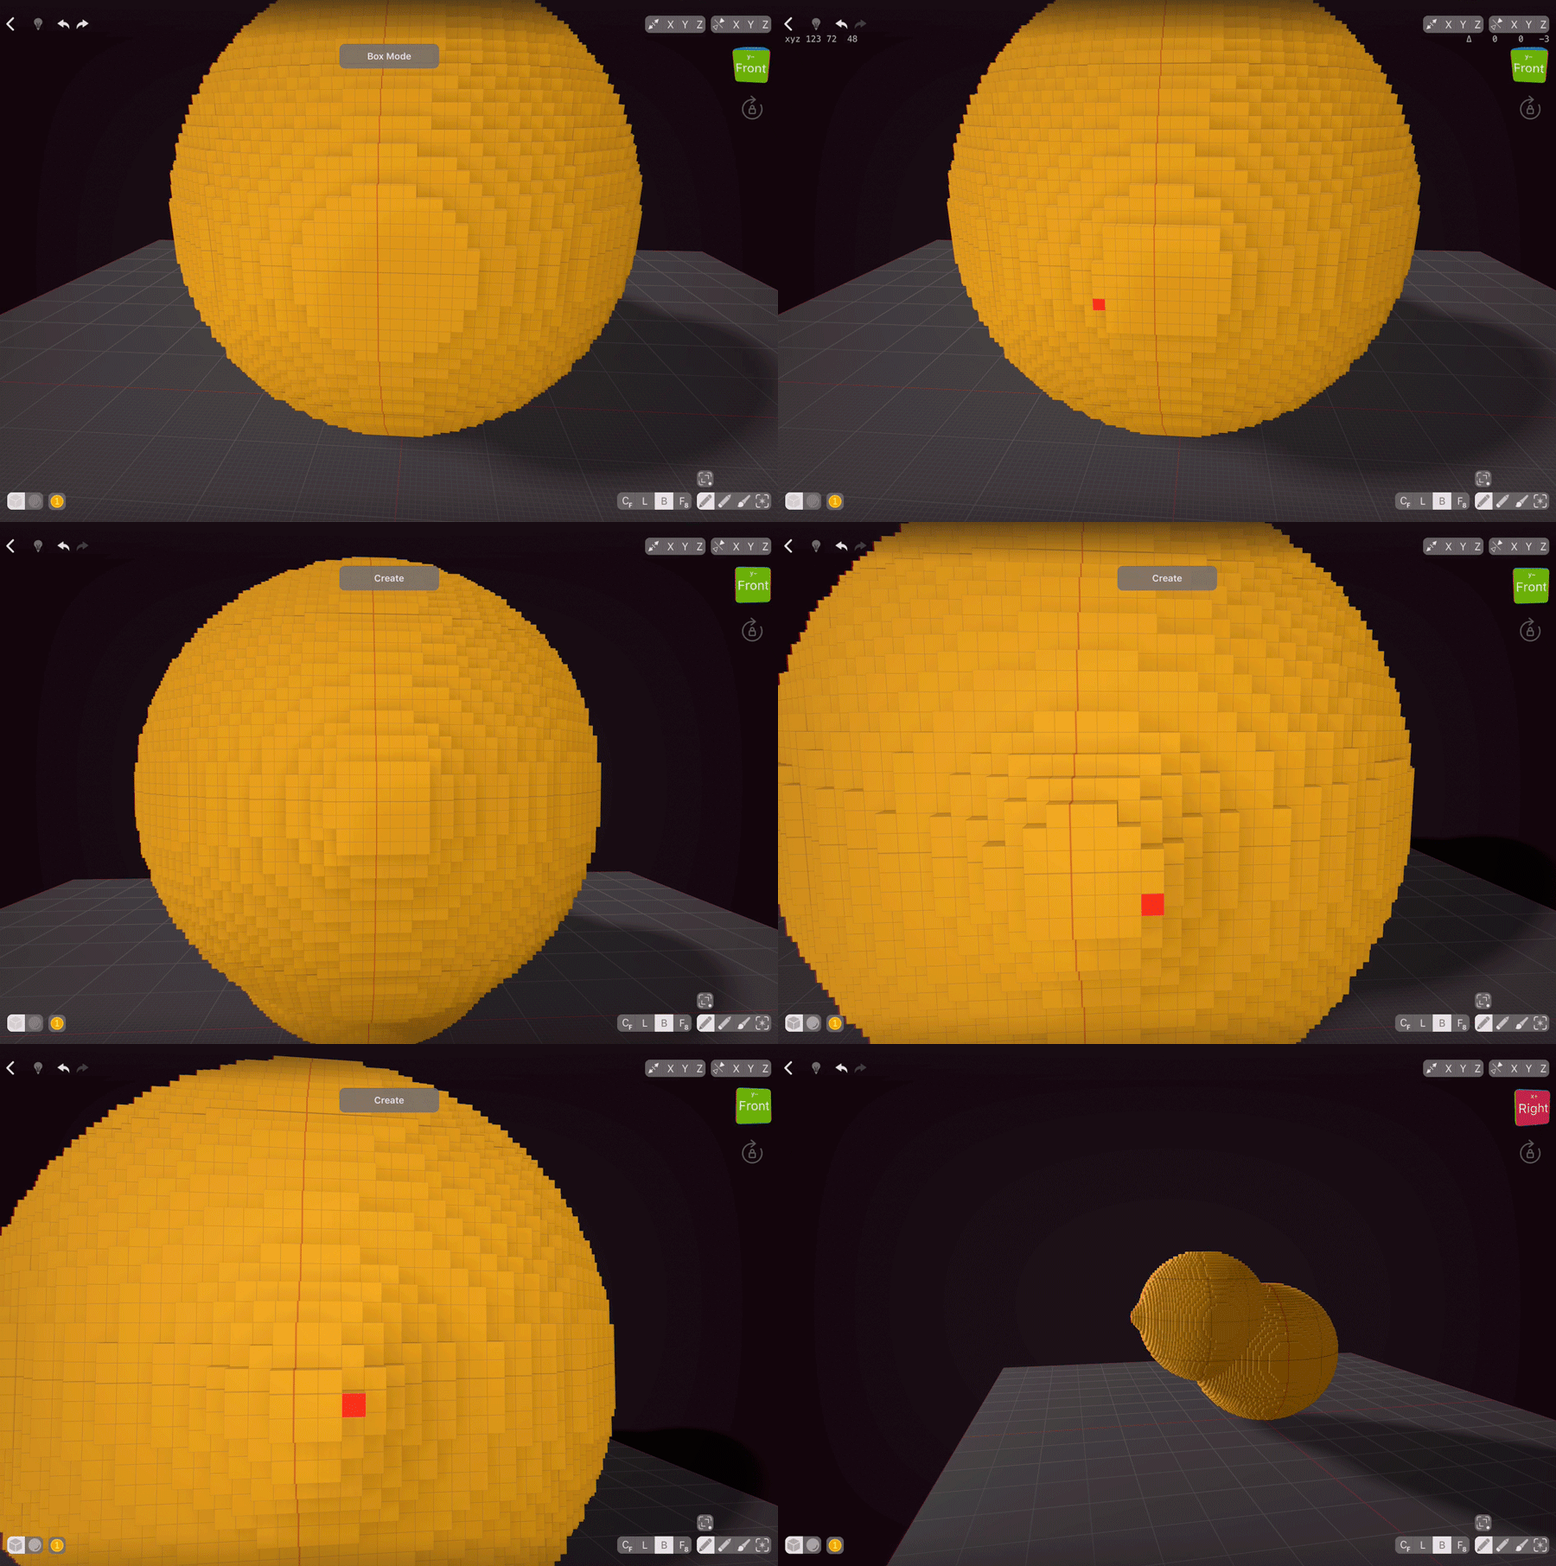
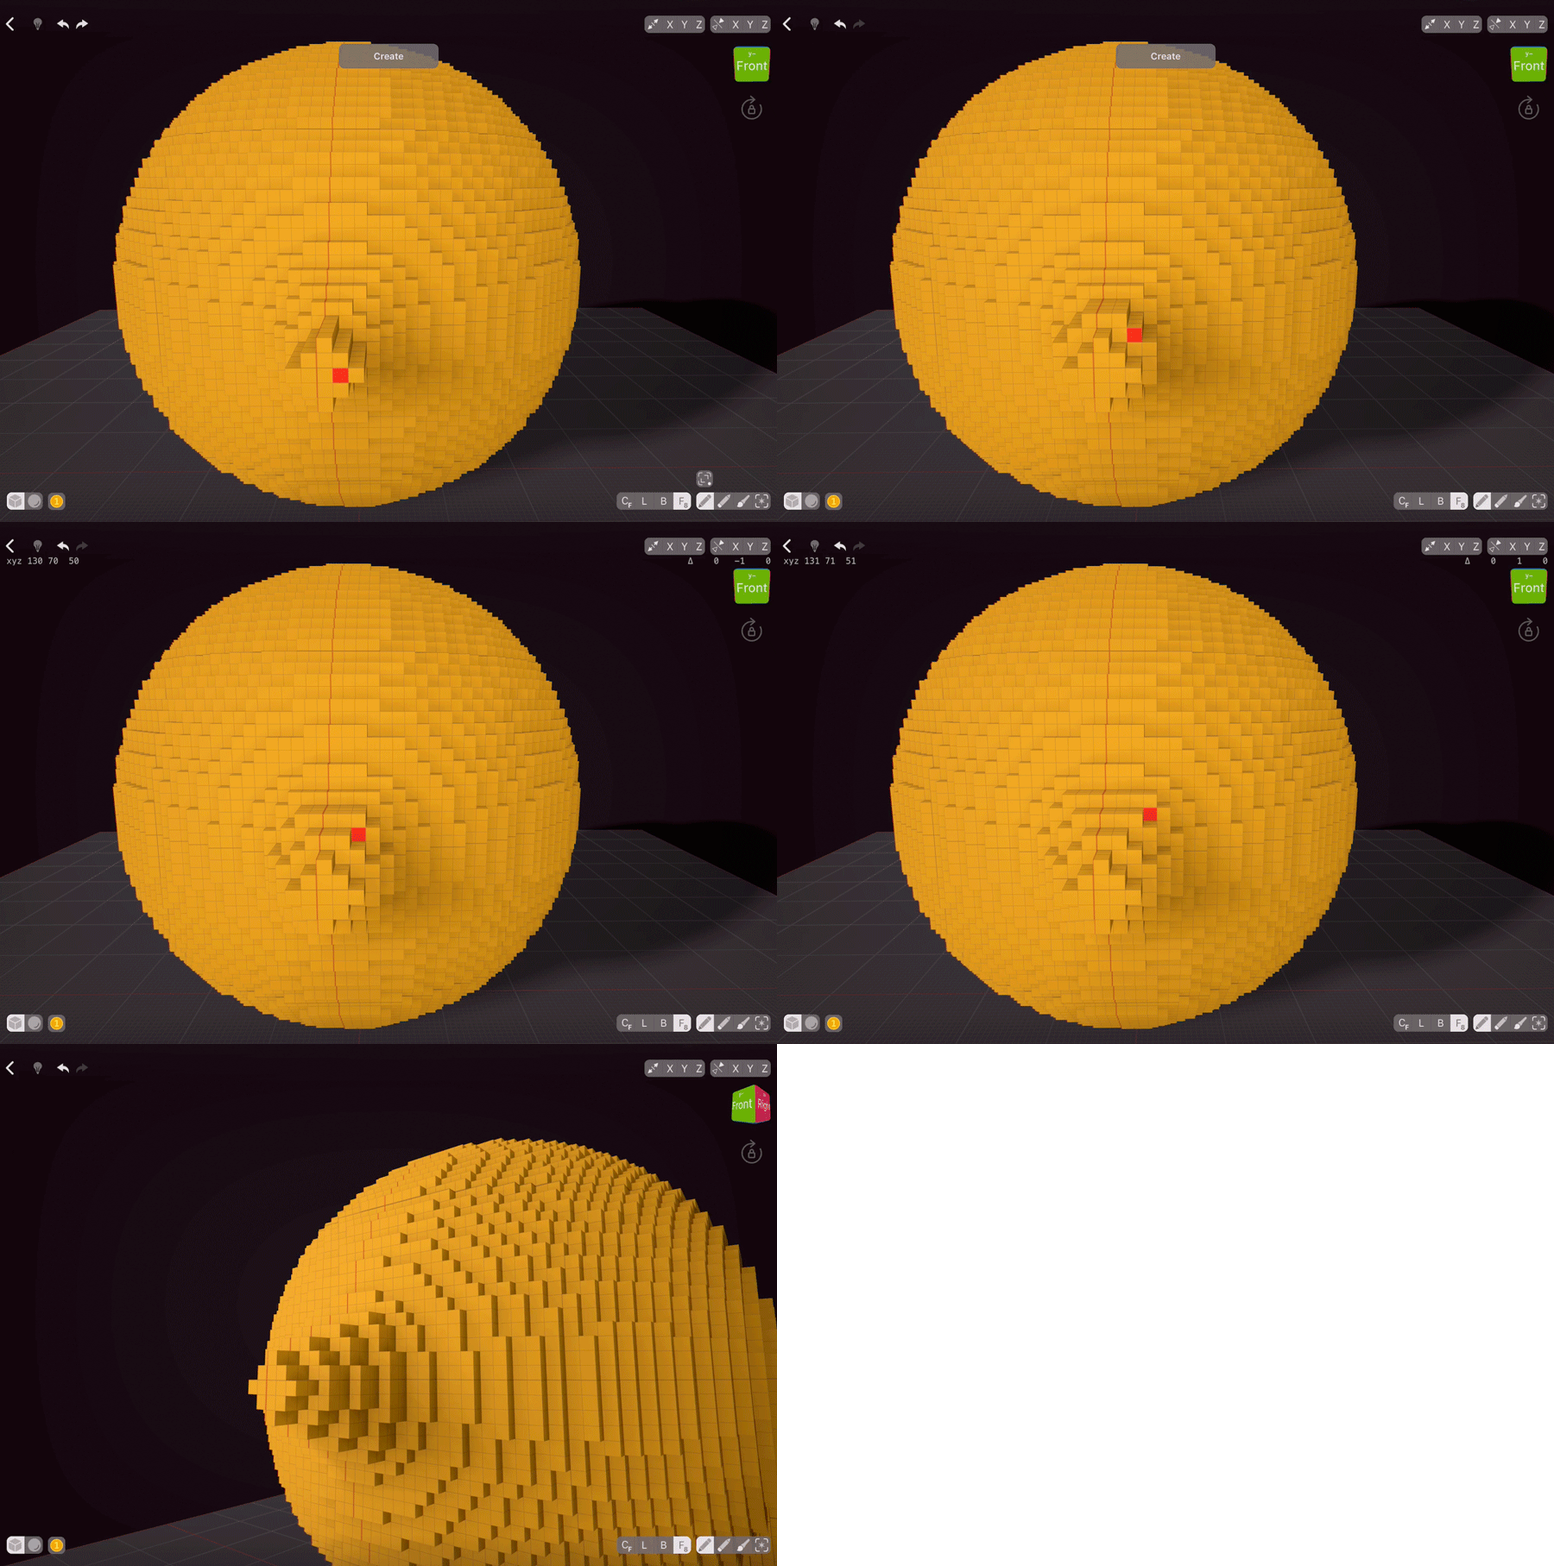
Let’s make the nose next. I’m going to use the Box Mode and create several voxel layers that gradually become smaller. When creating organic things, remember to look at your model from different angles to make sure it looks okay. As you can see, our nose is way too short right now!
To fix the nose, we can use the Face Mode. Basically, it adds/erases/paints voxels of the same shape or colour. I’m going to move forward my nose parts one by one, starting with the smallest one, as if we start with the biggest, they all will merge. Making each nose part 2 voxels wide instead of one seems to work, so we can move onto the eyes and nose.
The Face
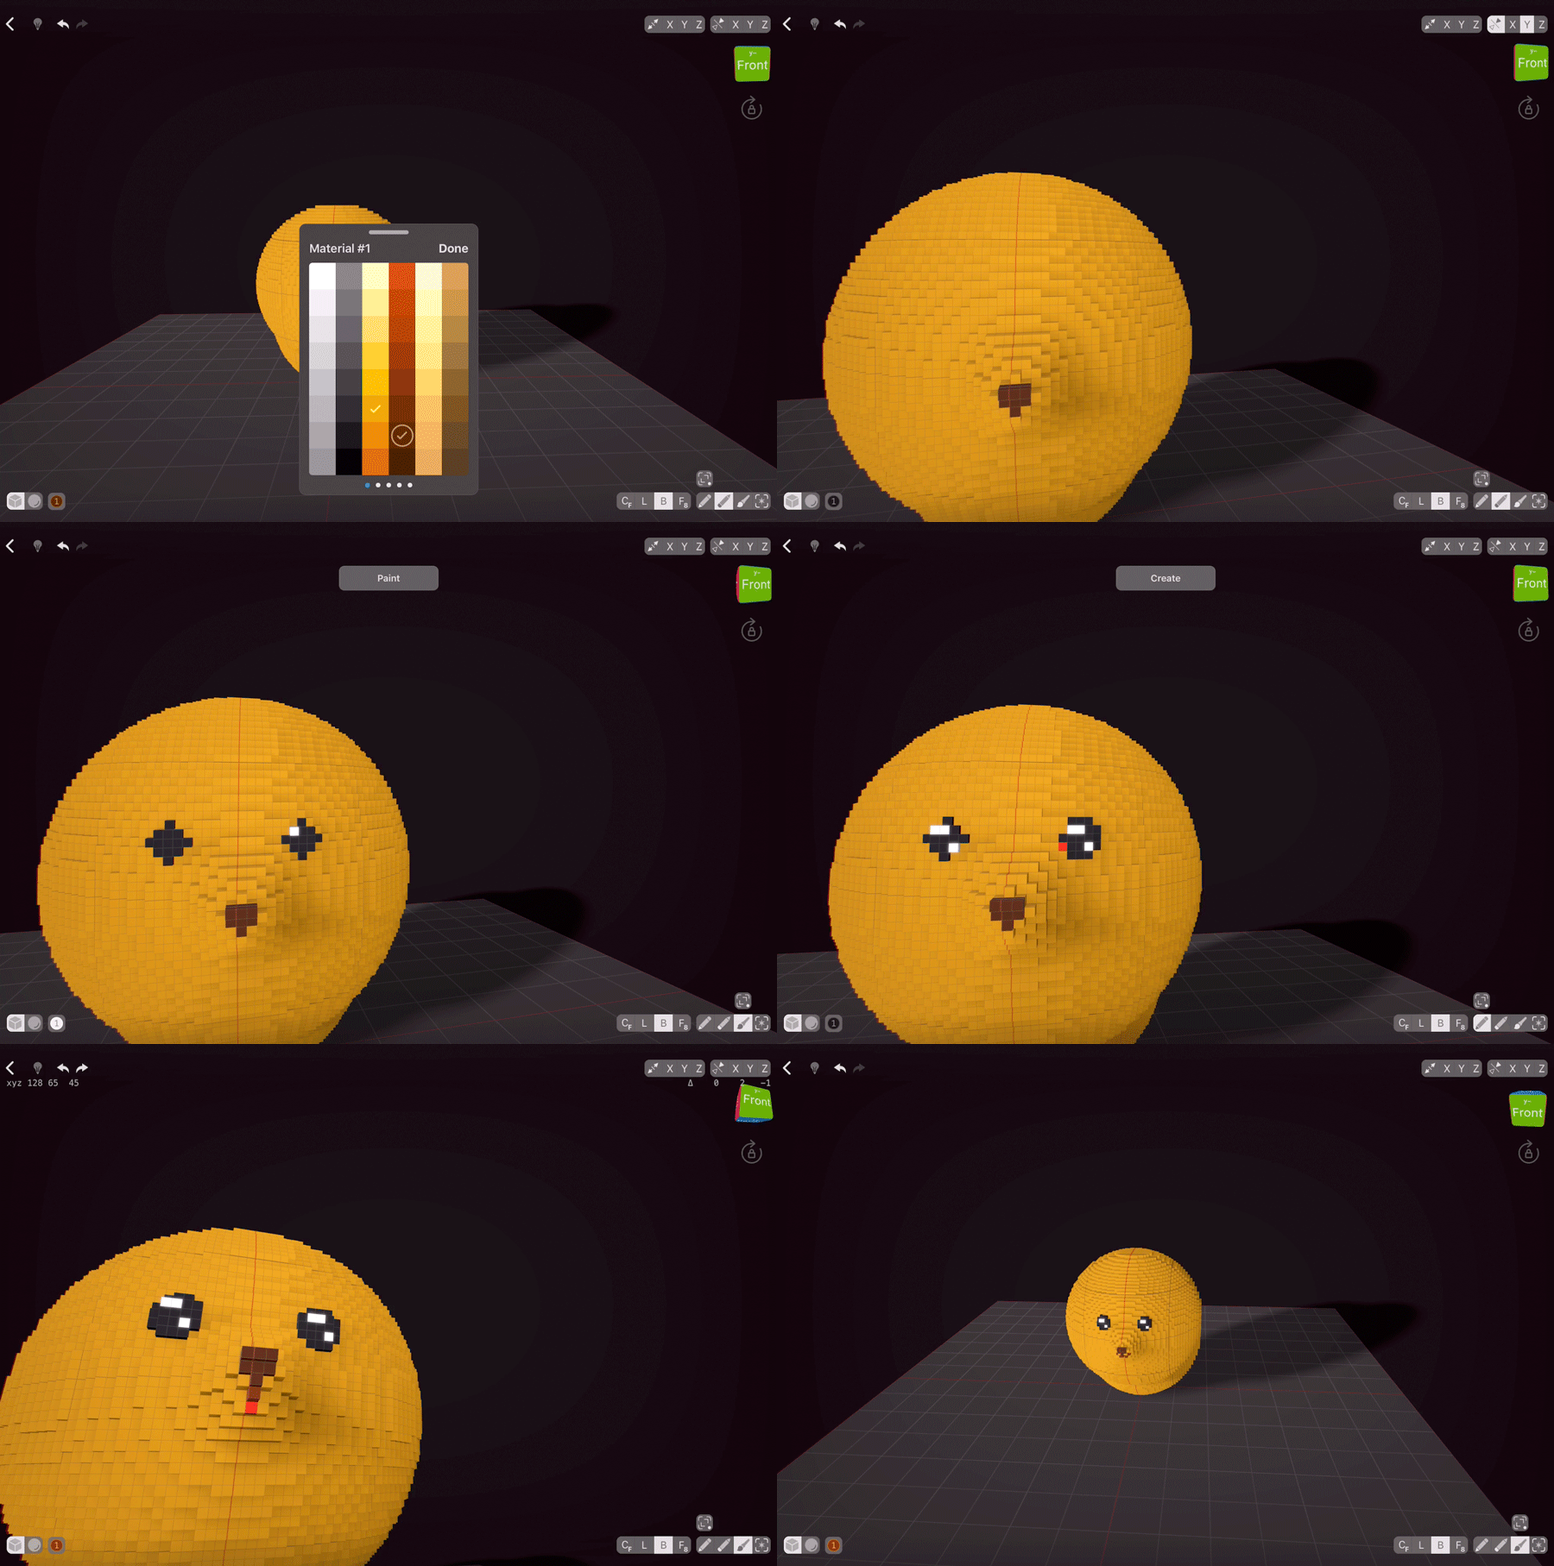
Let’s make the nose, eyes and mouth. To do that, we need to turn on mirroring again, this time on the X axis. When you start using the app, you’ll see red lines going on the floor and walls of your working area, and when you start creating, over your model as well. These show you the mirroring axes. As faces are somewhat symmetrical, I positioned the dog’s face centre along the mirroring line. Centered Mode creates uneven spheres, so our mirroring won’t be exactly precise; this is fine for our purposes as faces aren’t all symmetrical, either.
Let’s start with the nose. I chose brown colour and added some voxels that resemble the nose. Now onto the eyes. Dog’s real eyes are not huge, but as we want this to be a cute dog, I’ll make them bigger. General shape seems fine, time to add some highlights. As the light source is supposed to be in a fixed place, let’s turn off the mirroring and draw several voxels with a light colour. I avoid using plain white and black as they tend to look worse than light-grey and dark-grey.
Once I’ve added the highlights, I can see that the eyes are too small. Let’s add some more dark voxels to fix that. The beauty of voxel art is that you can easily fix any mistakes you make.
Small mouths seem cuter to me so I’ll add a small smile in light brown. The colour choice for the mouth is completely up to you; I noticed that dogs mostly have dark mouths.
The Ears
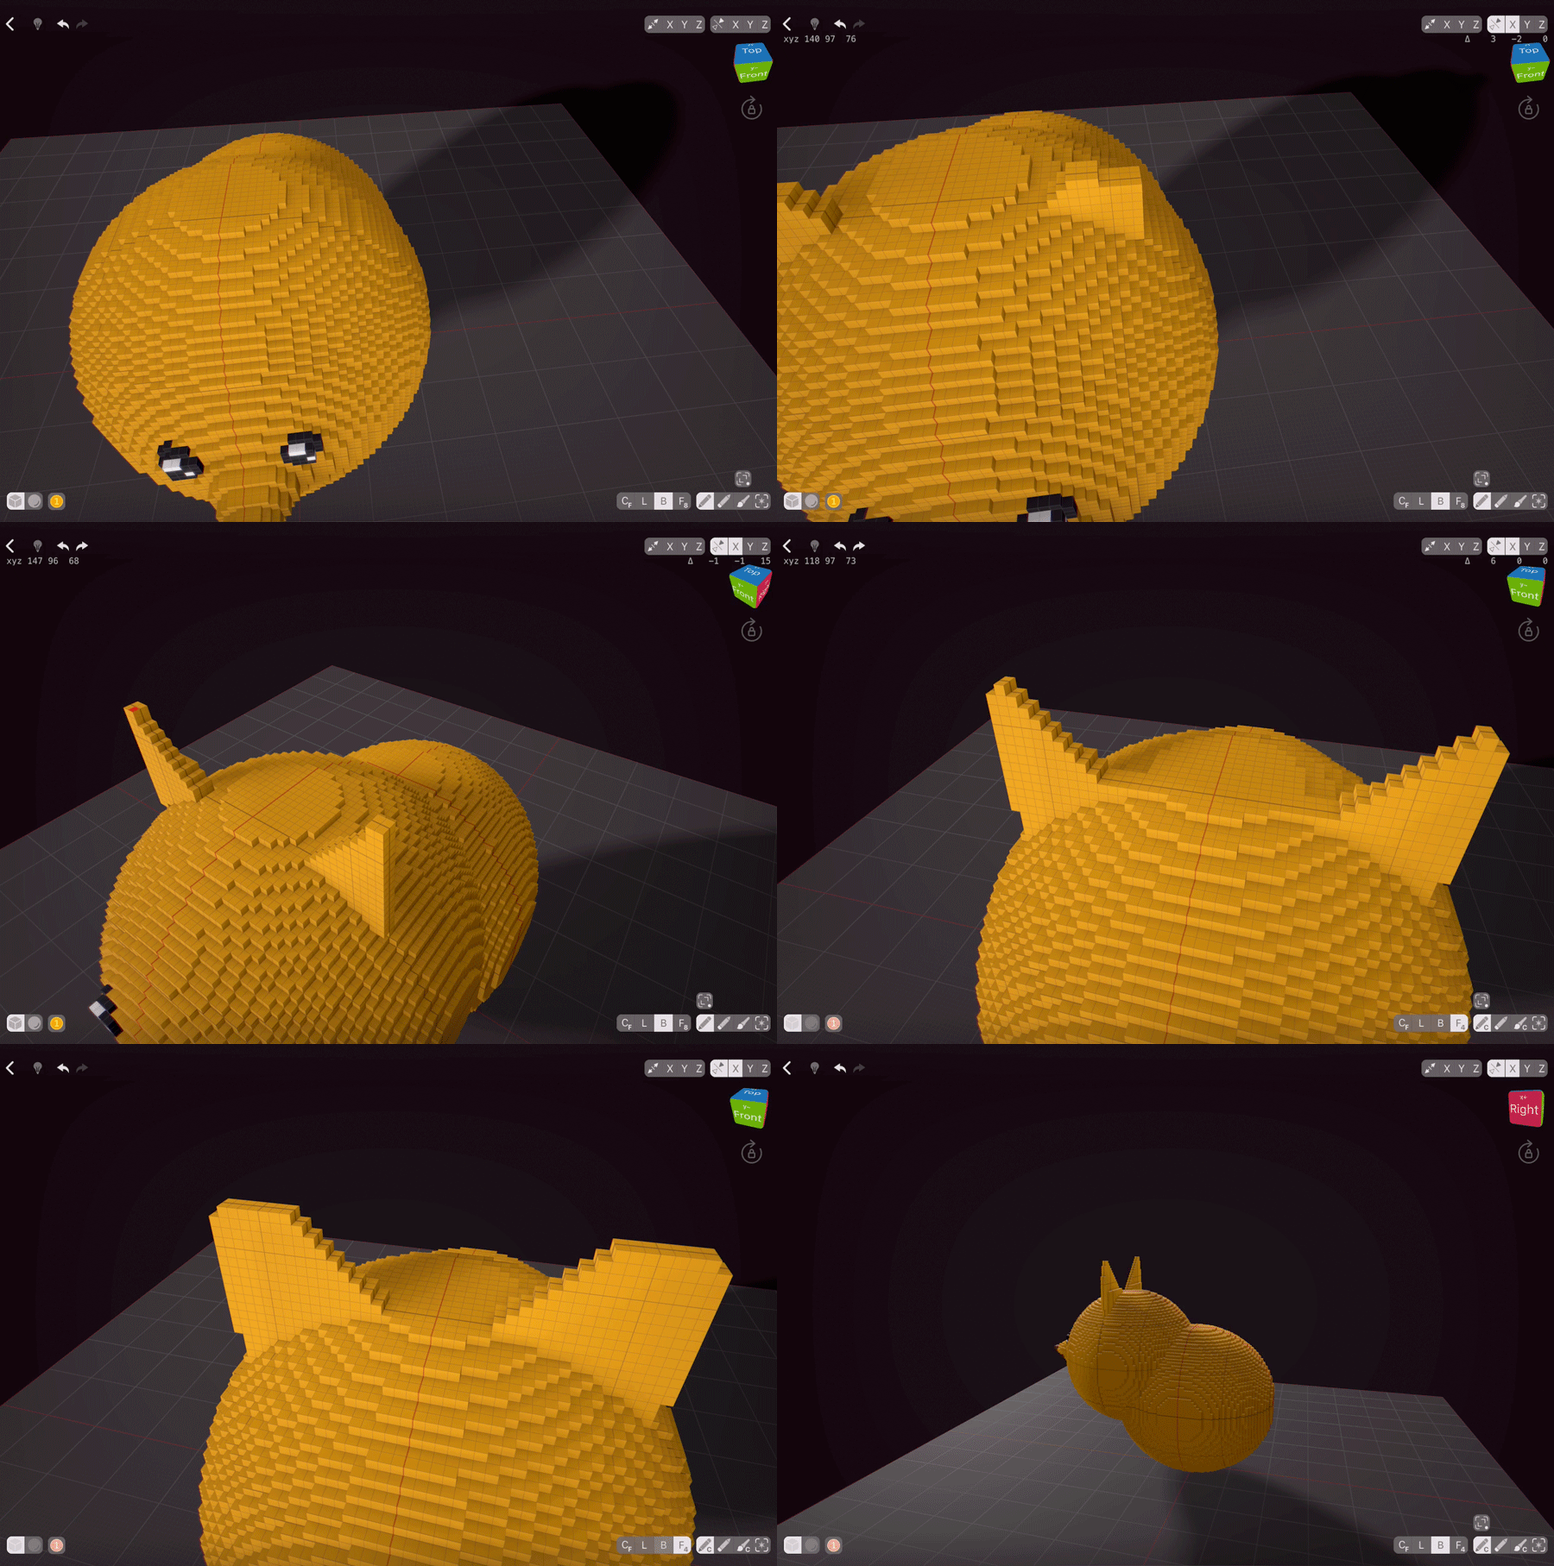
To make ears, let’s turn the symmetry on the X axis back on. Using the Box Mode, let’s build up the ear. Pomeranians tend to have pointy ears. As I mentioned before, remember to rotate your model to check how it looks.
Looks like these ears are too small for our head! Let’s fix this. Using the Face Mode, let’s expand some voxels and then finish the pointy ears. Looks nice! As our model is not perfectly symmetrical, you might need to add a few voxels on one side.
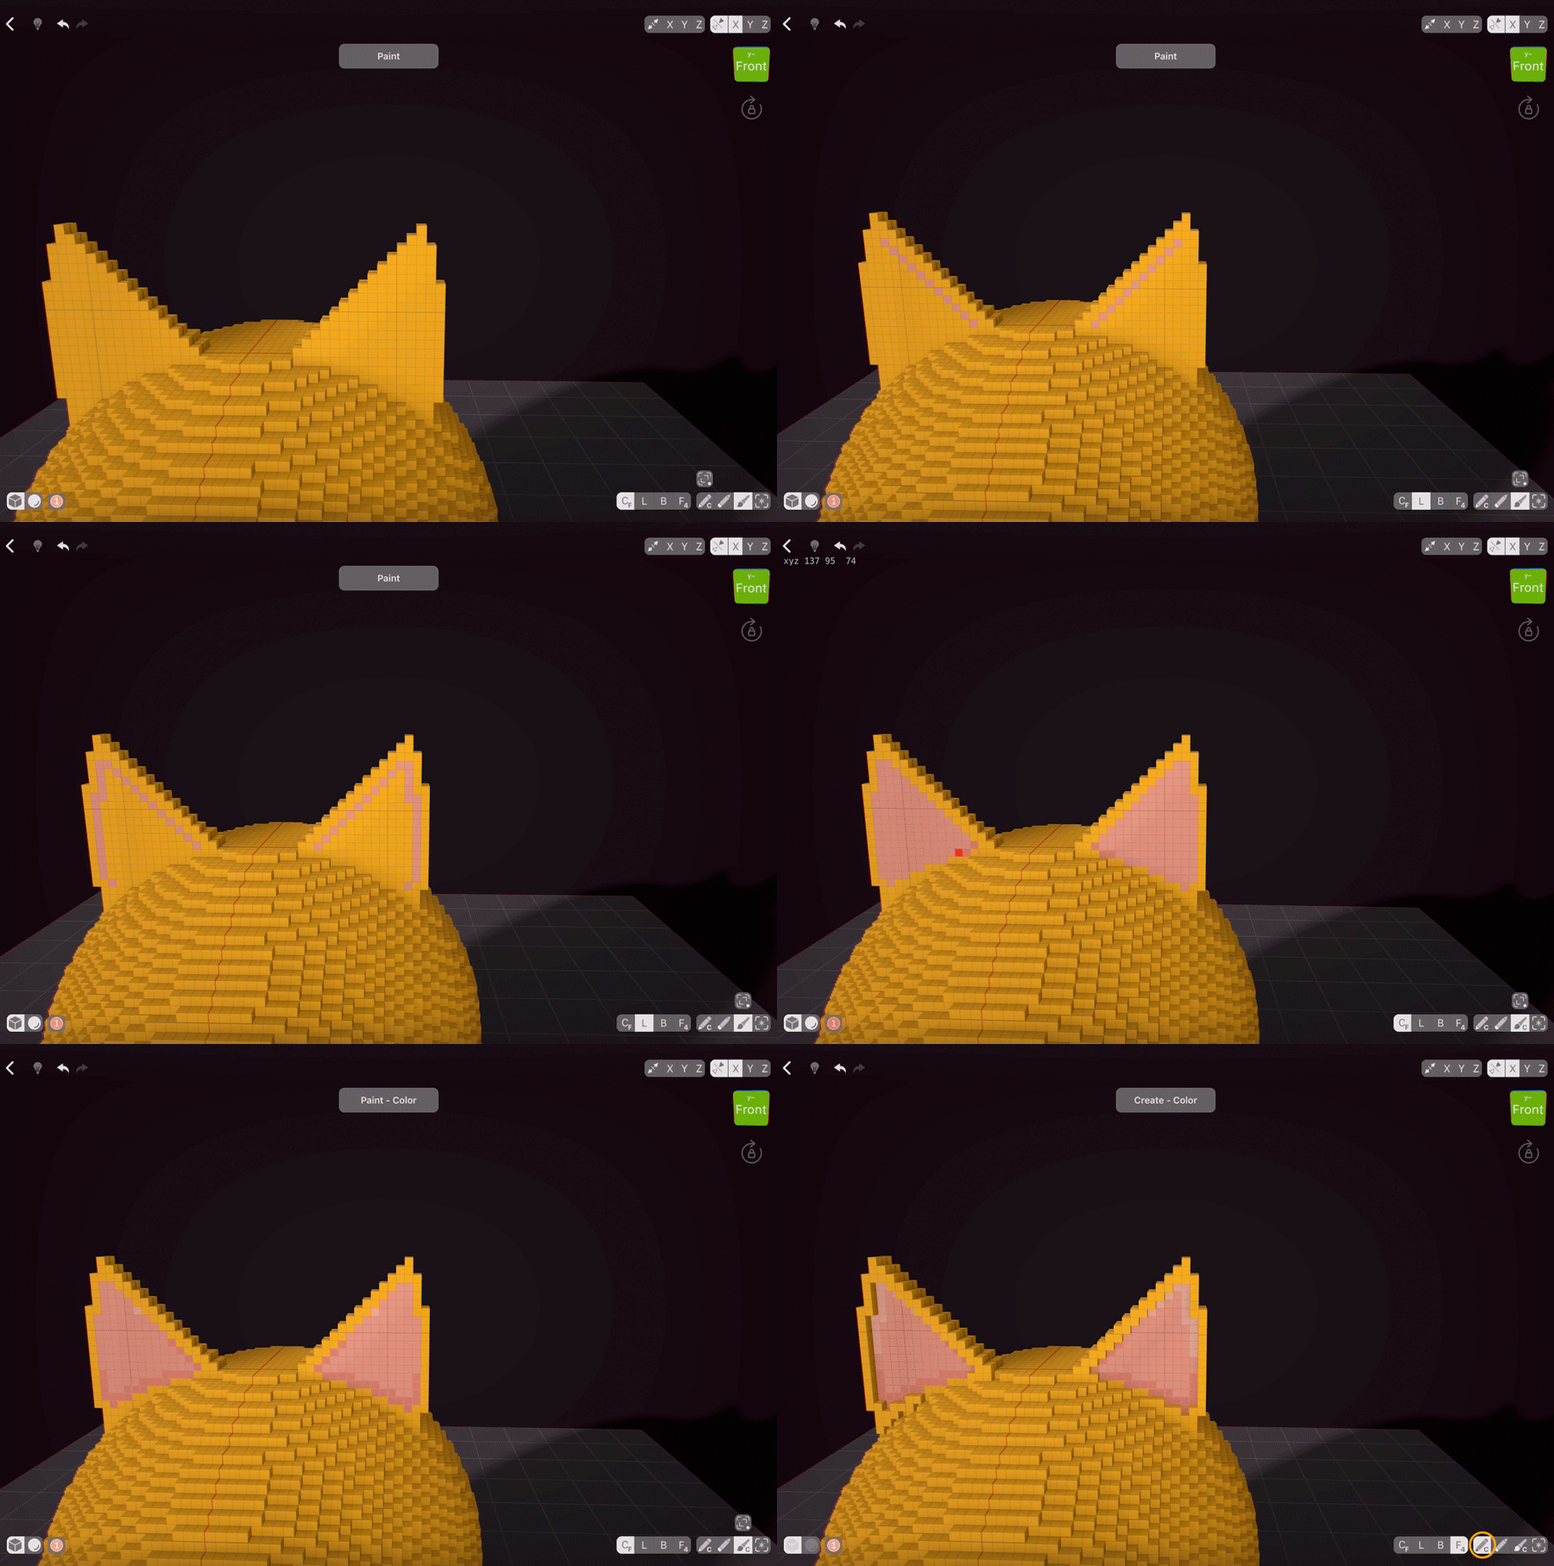
To paint the ears, let’s use the Line Mode. Outline the general shape of the inner ear parts and then use Face 4 Mode with Paint Color tool. We are using Face 4 as we want the app to colour only the insides of our contour; if we used Face 8, it would detect the voxels sharing the same corners, and will fill everything. By using the Paint Color tool, we are restricting our action to one colour instead of geometrical shape; this way we are easily recolouring everything inside our contour.
To make the ears look more natural, I’m going to extrude the outer ear. Using the Face 4 mode and Create Color tool, I’m only extruding the outsides of the ear. Looks good!
Front Legs
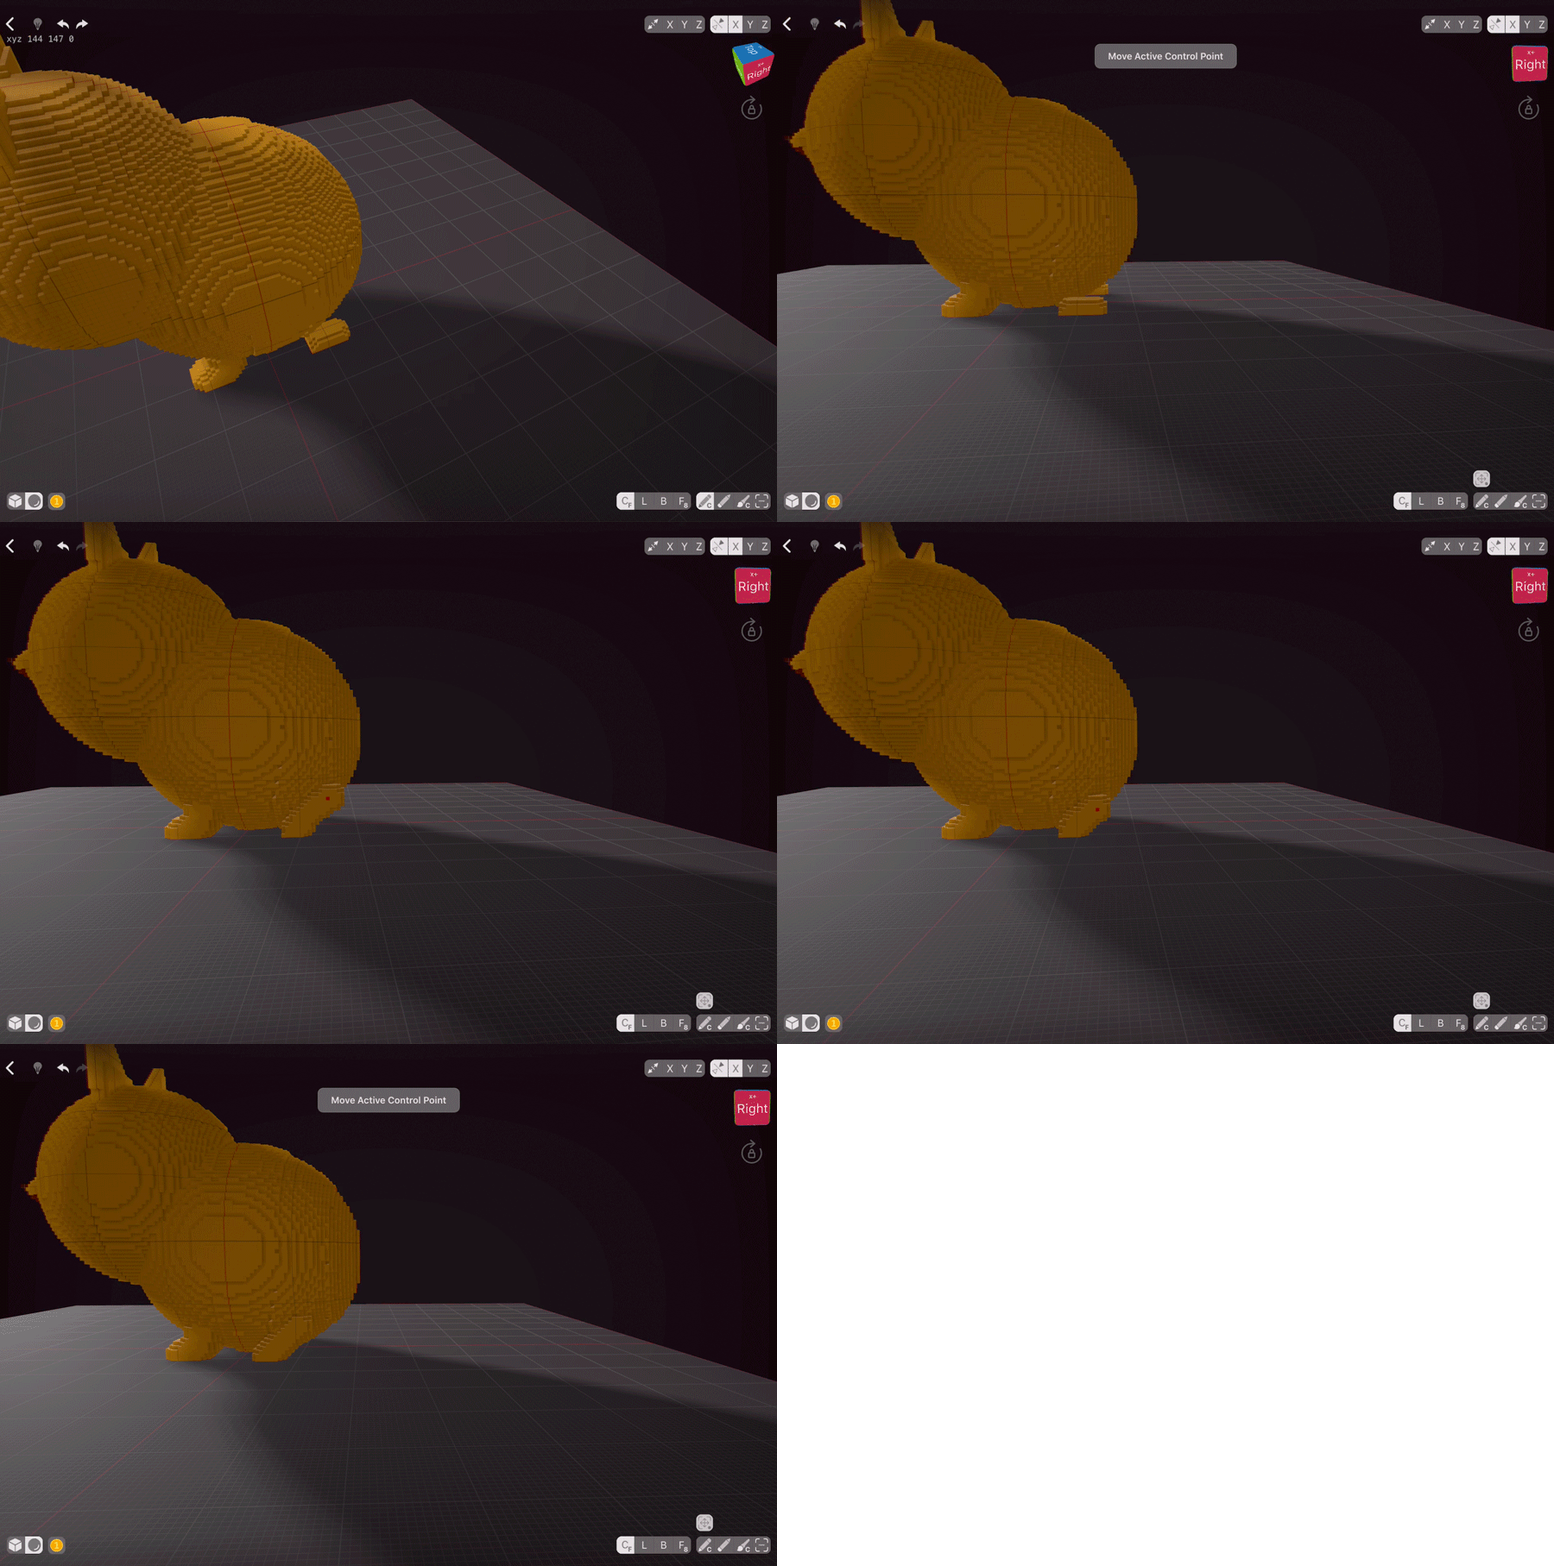
With symmetry on the X axis still on, let’s make the front legs. Select the spherical brush and set it’s size to about 5. Draw a small oblong shape. Let’s use the Adjust Last Edit feature again! This time, instead of resize, we are going to change the position. Tap on the Resize Active Control Point to switch to Move Active Control Point. Rotate your model so you look at it from the side, and then tap and drag upwards, adjusting the legs so they connect to the body.
This feature is a real time-saver as normally you’d have to build the legs layer by layer by hand or carve them out with the Erase tool. Take your time to get familiar with it, as once you’ve moved onto more complex scenes, using it will definitely help your workflow!
Back Legs
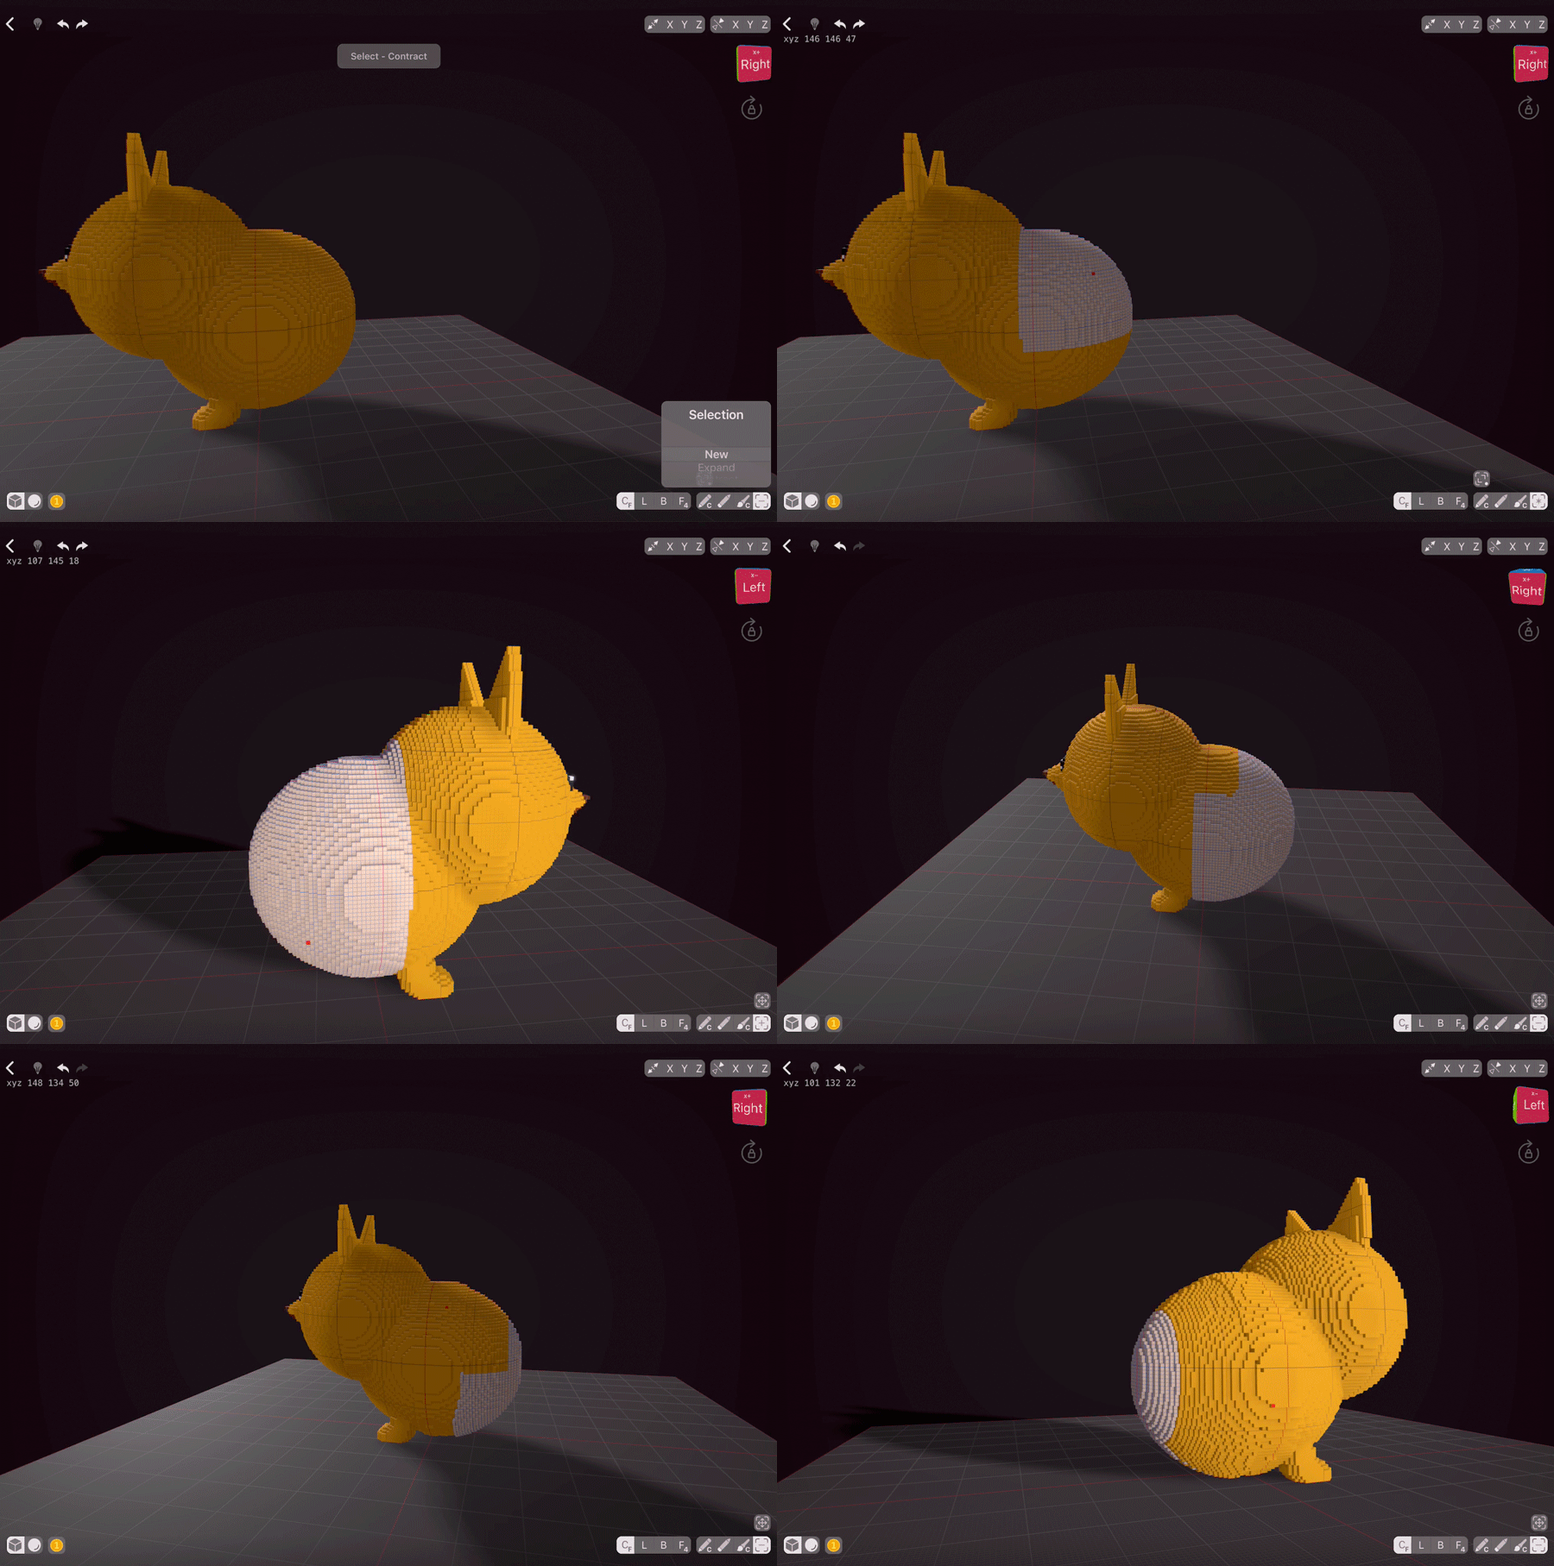
Before we create the back legs, let’s adjust the body a bit. Using Selection tool with the Centered Free Hand and a brush of big size, I’m going to select parts of the body and move them one voxel down. Then I’m going to switch my Selection tool to Contract option and deselect a bit, move it one voxel down, repeat.
Now that we moved the body, let’s repeat the front leg process with the bag legs. As Pomeranians are really fluffy, we don’t need to shape out the legs anatomically — the fir covers it.
The Tail
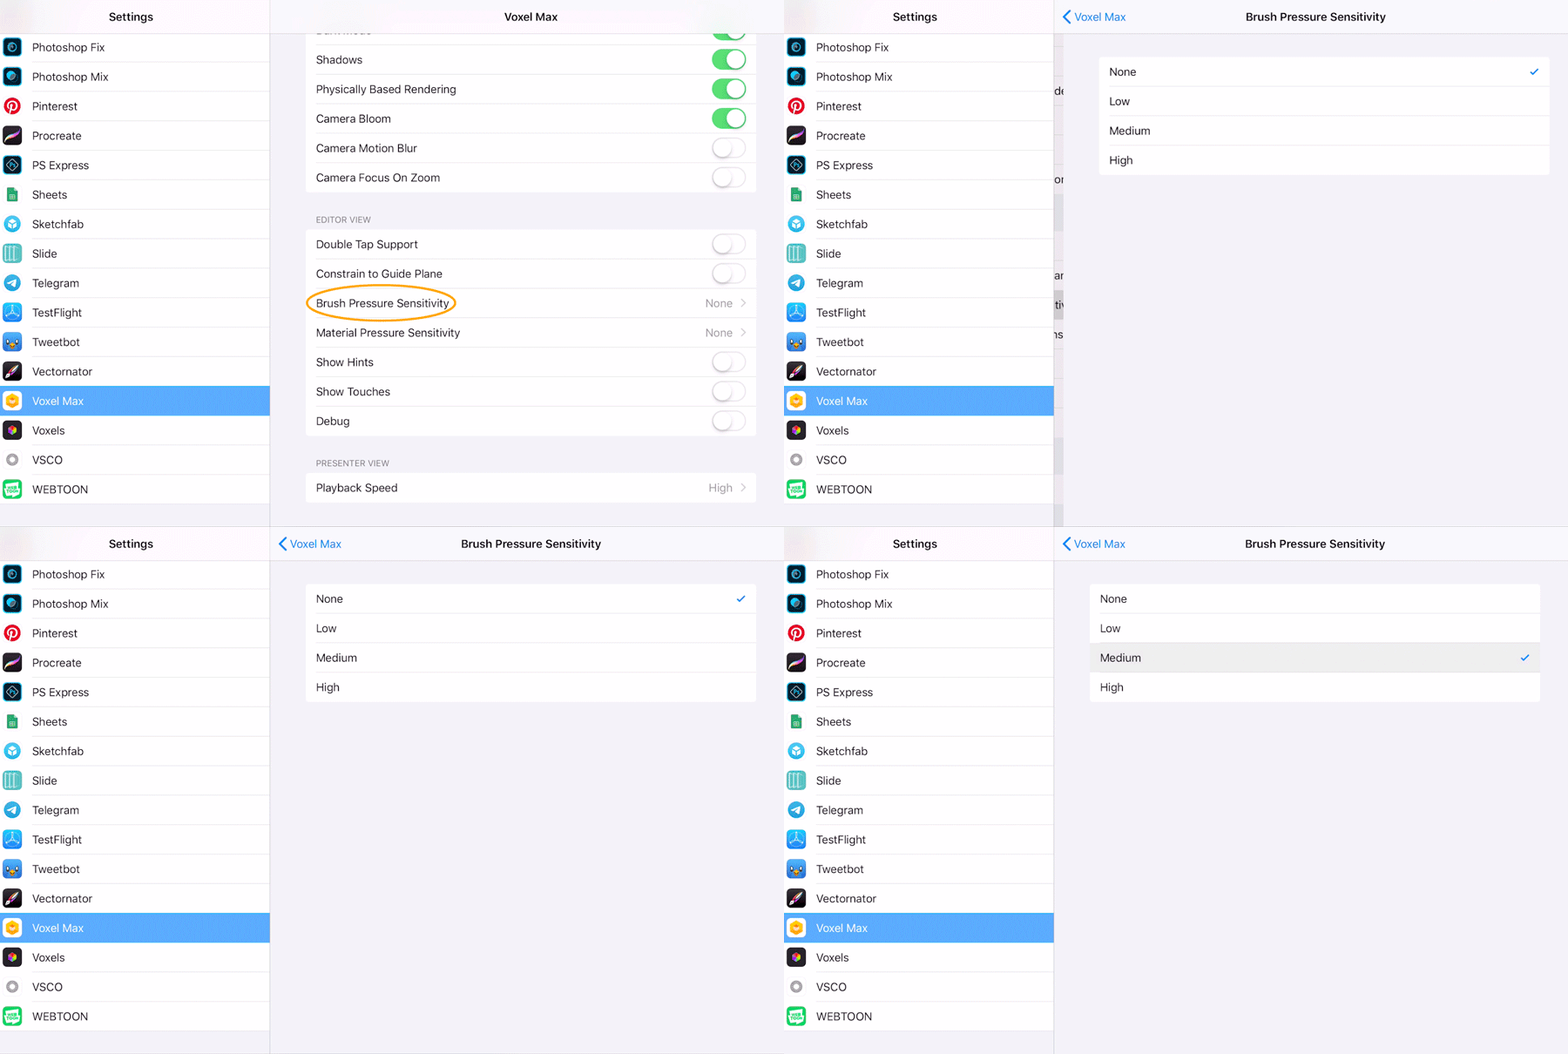
Before we start on the tail, we need to turn the Brush Pressure Sensitivity. Brush Pressure Sensitivity will recognise when we press our finger or Apple Pencil harder, and will enlarge the brush size. This option is great for shaping organic things, so take your time to experiment with it and find the best pressure setting for you.
To quickly go to the app settings, double-tap the screen with three fingers.
Now that we’ve enabled the Brush Pressure Sensitivity, let’s select a Spherical Brush and draw a tail shape with Centered Free Hand Mode. Once, again, the brush size is up to you. Start with the medium pressure, then press harder, and ease out towards the end of the tail.
Let’s quickly readjust the tail with Adjust Last Action. As we last used the Resize tool, now we need to double-tap the icon above Centered Tool to switch to Move Active Control point. With this tool, it’s important to tap the part you’d like to move, as it will be the point of reference for the app. Adjust the tail to your liking. I like how my tail turned out, so I’ll just move it away from the body a bit.
Texturing
With our principal modelling done, we can continue onto texturing. There are several approaches you can try with texturing, but in this tutorial we’ll use the quickest one. It consists of two steps but you can skip the second one if you like.
Imitating Fur
Pomeranians are all soft and fluffy, and right now our Pom looks a bit stiff. There’s a handy trick unique to VoxelMax that can help you with that.
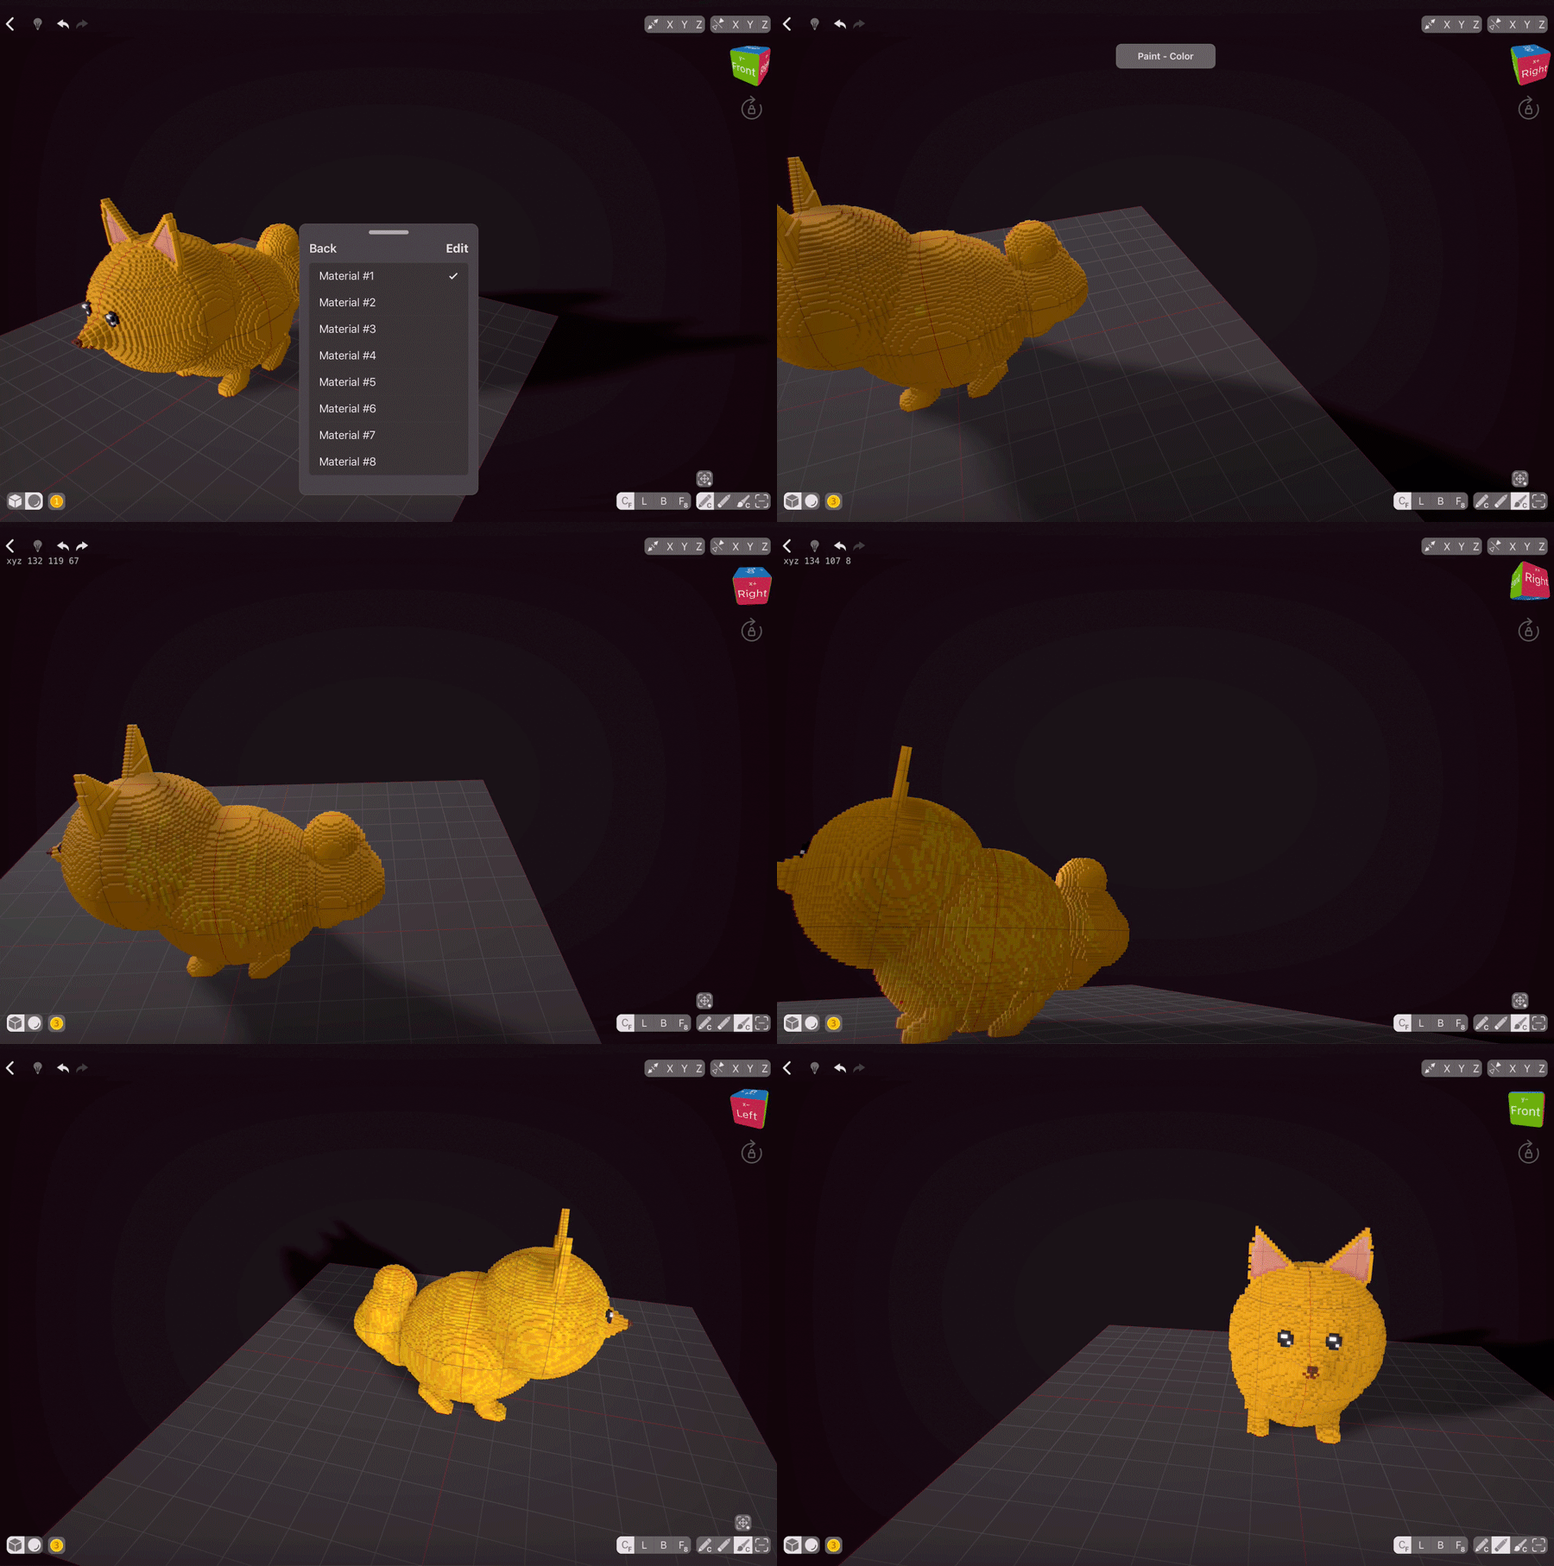
First of all, we need to go to another material. Tap the Color icon and then tap the Material #1 text. You will see the list of materials available. Choose any other material, in our case, Material 3, and pick any colour that you’ll be able to see on our dog.
With Paint Color tool in Centered Free Hand Mode, starting with the body-coloured voxels, paint on top of our dog’s body, head and tail. Quickly drag up and down and move around, change directions. Because our model is not flat, if we move fast enough, the result will be quite random with a lot of unpainted spots.
Once you’ve covered the whole dog with these lines, go to Select tool and choose the Select Material option from the drop-down menu. All voxels of this material will be automatically selected. Now tap the Erase tool and quickly swipe up to erase selected voxels. Voila, our Pomeranian already looks so much better.
Perfecting Fur
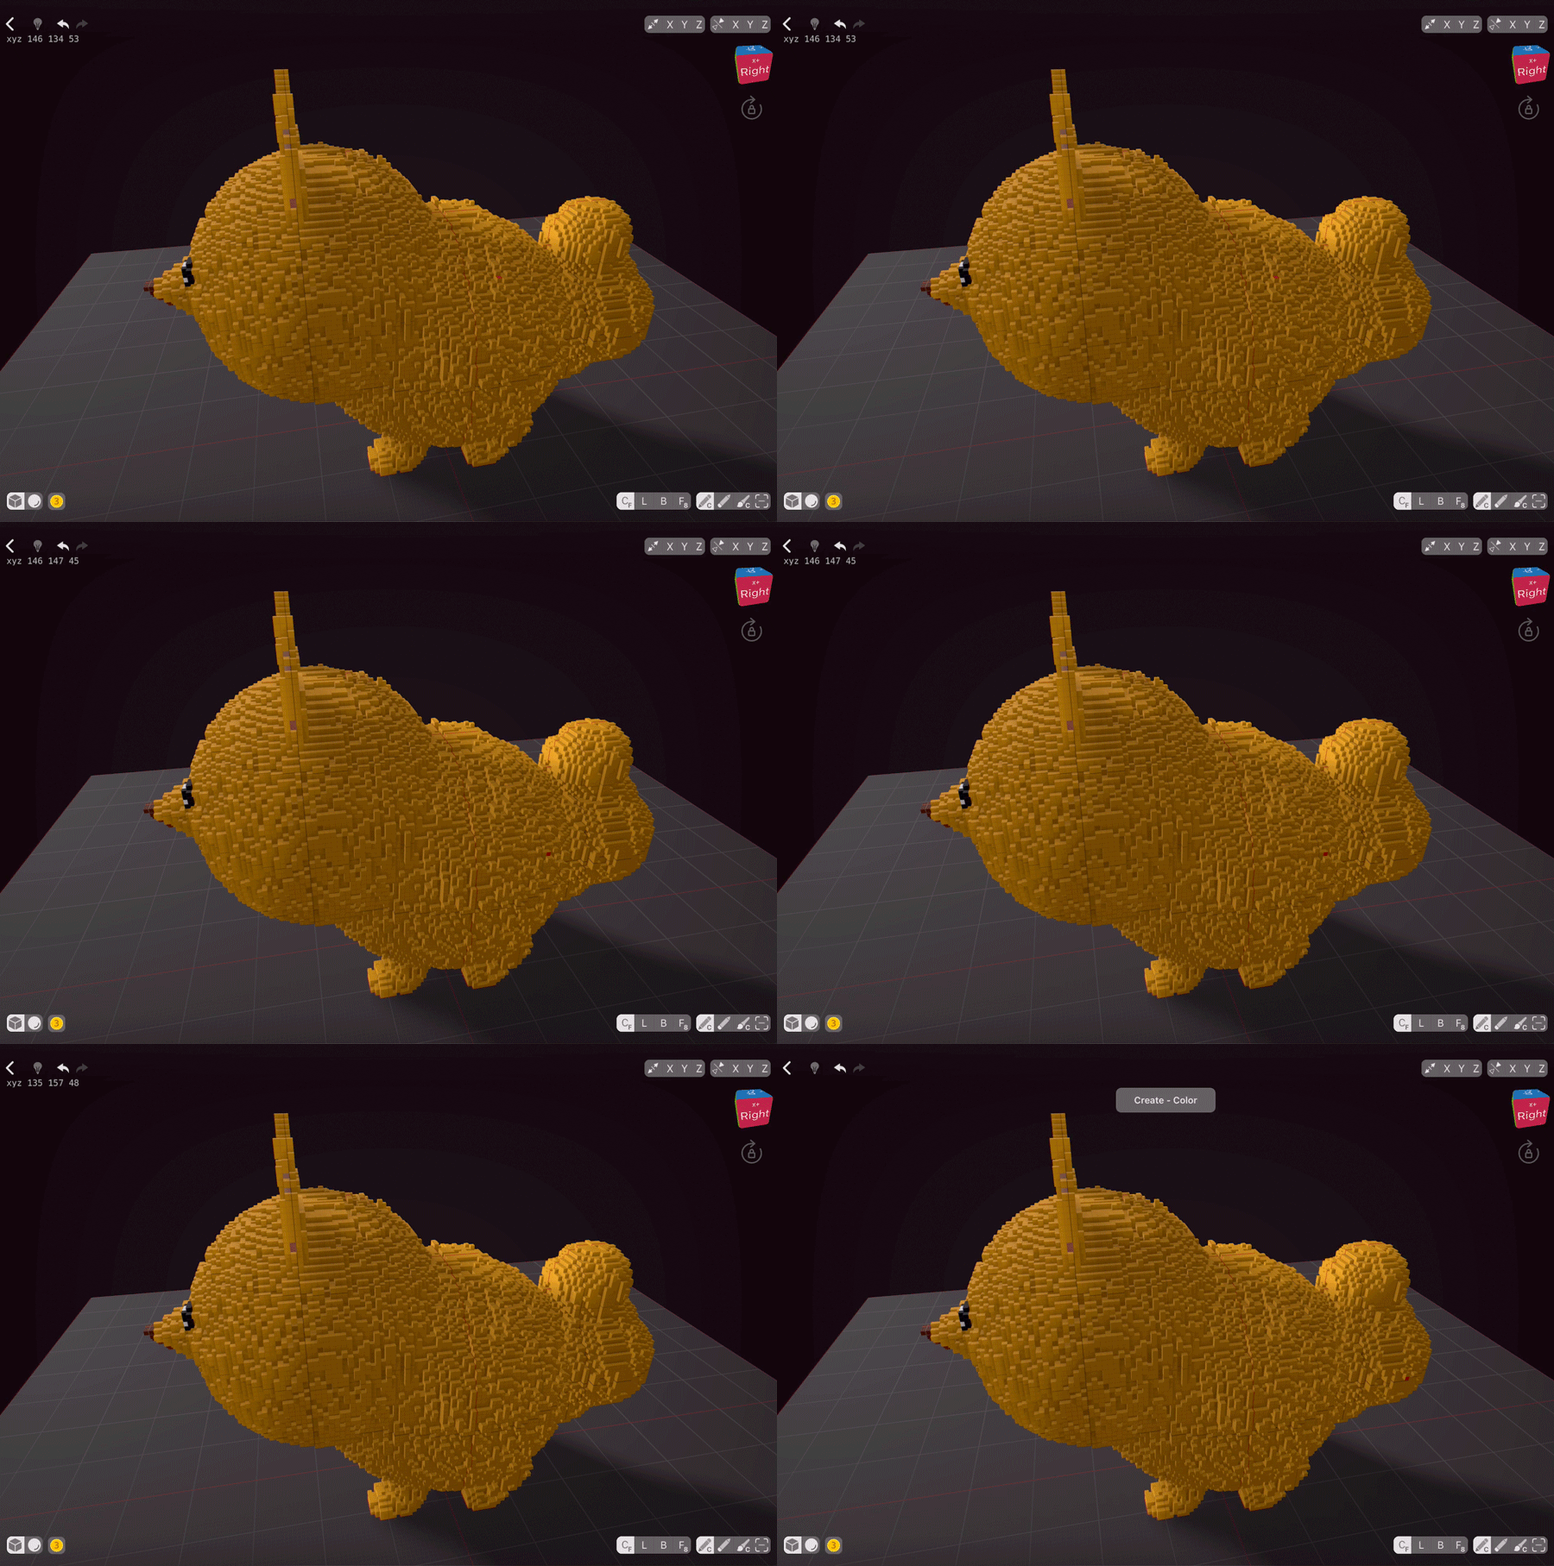
Now, as mentioned before, you can skip this step, but I like to to a bit more and add more variety to the fur by choosing Centered Free Hand Mode and Create Color tool. Add some voxels on all sides making sure not to go over face features.
Making The Scene More Interesting
Our dog looks a bit only in this empty space, so let’s give it something to sit on.
Moving Things Away From The Mirroring Centre
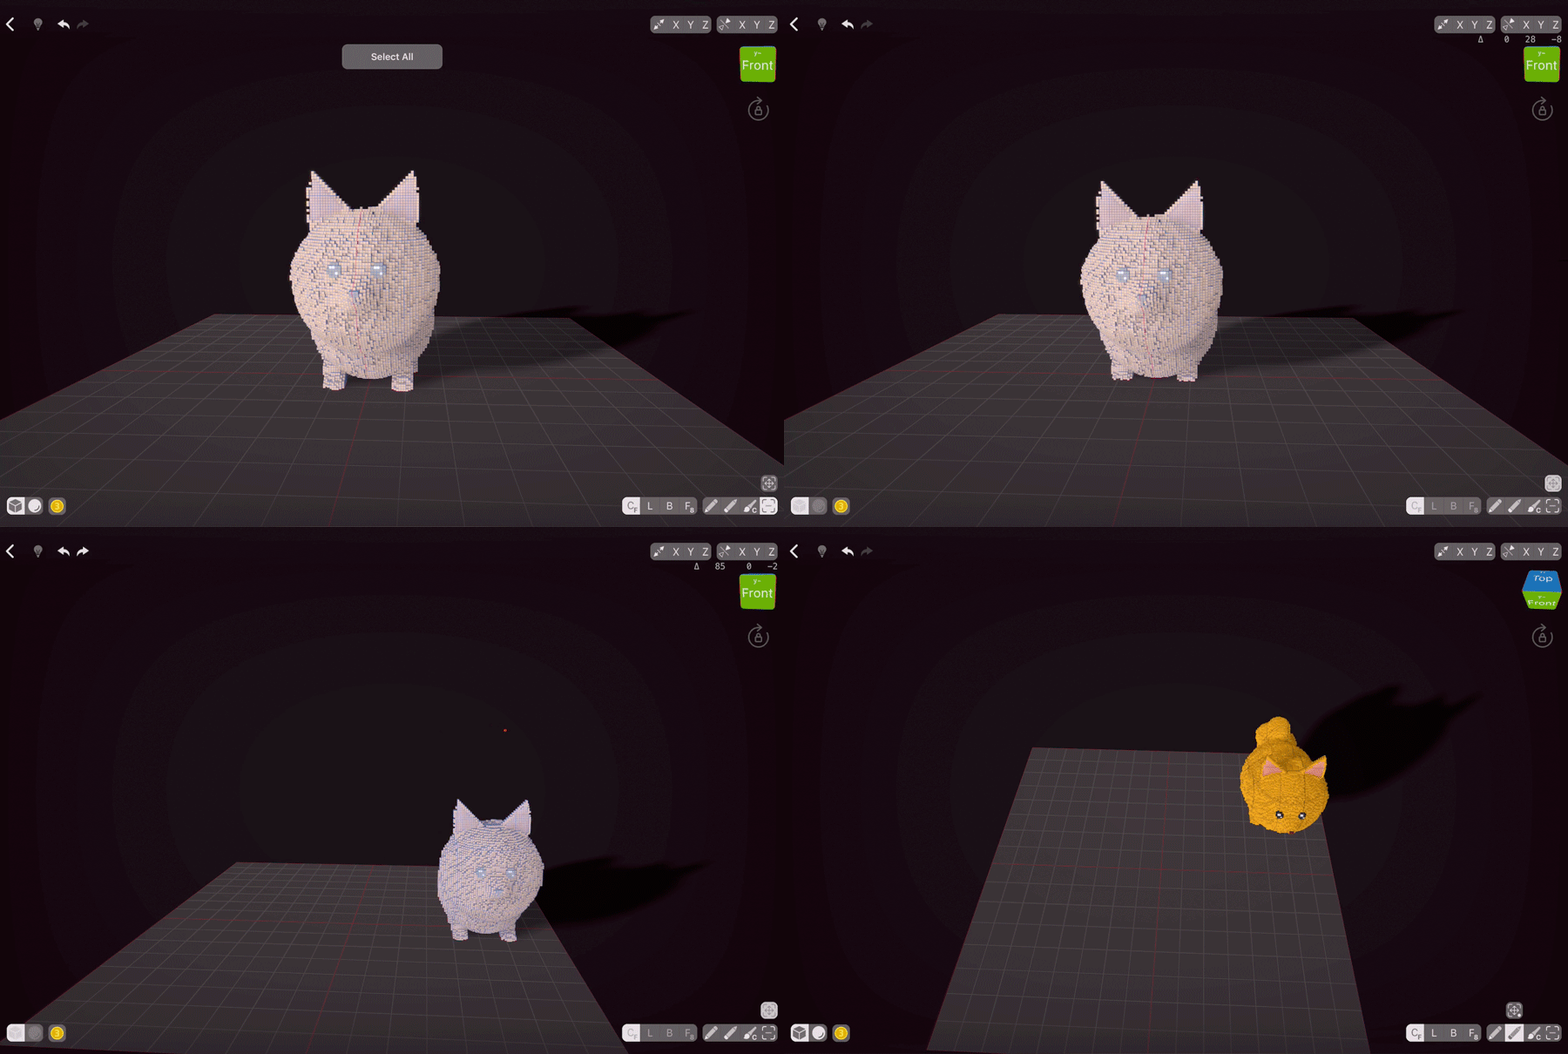
As Mirroring saves up so much time, let’s move our dog from the centre so we’ll have more space to work in. Hold and swipe up the Selection tool to quickly select all, and then tap on the icon above it to move the dog away.
The Dog Bed
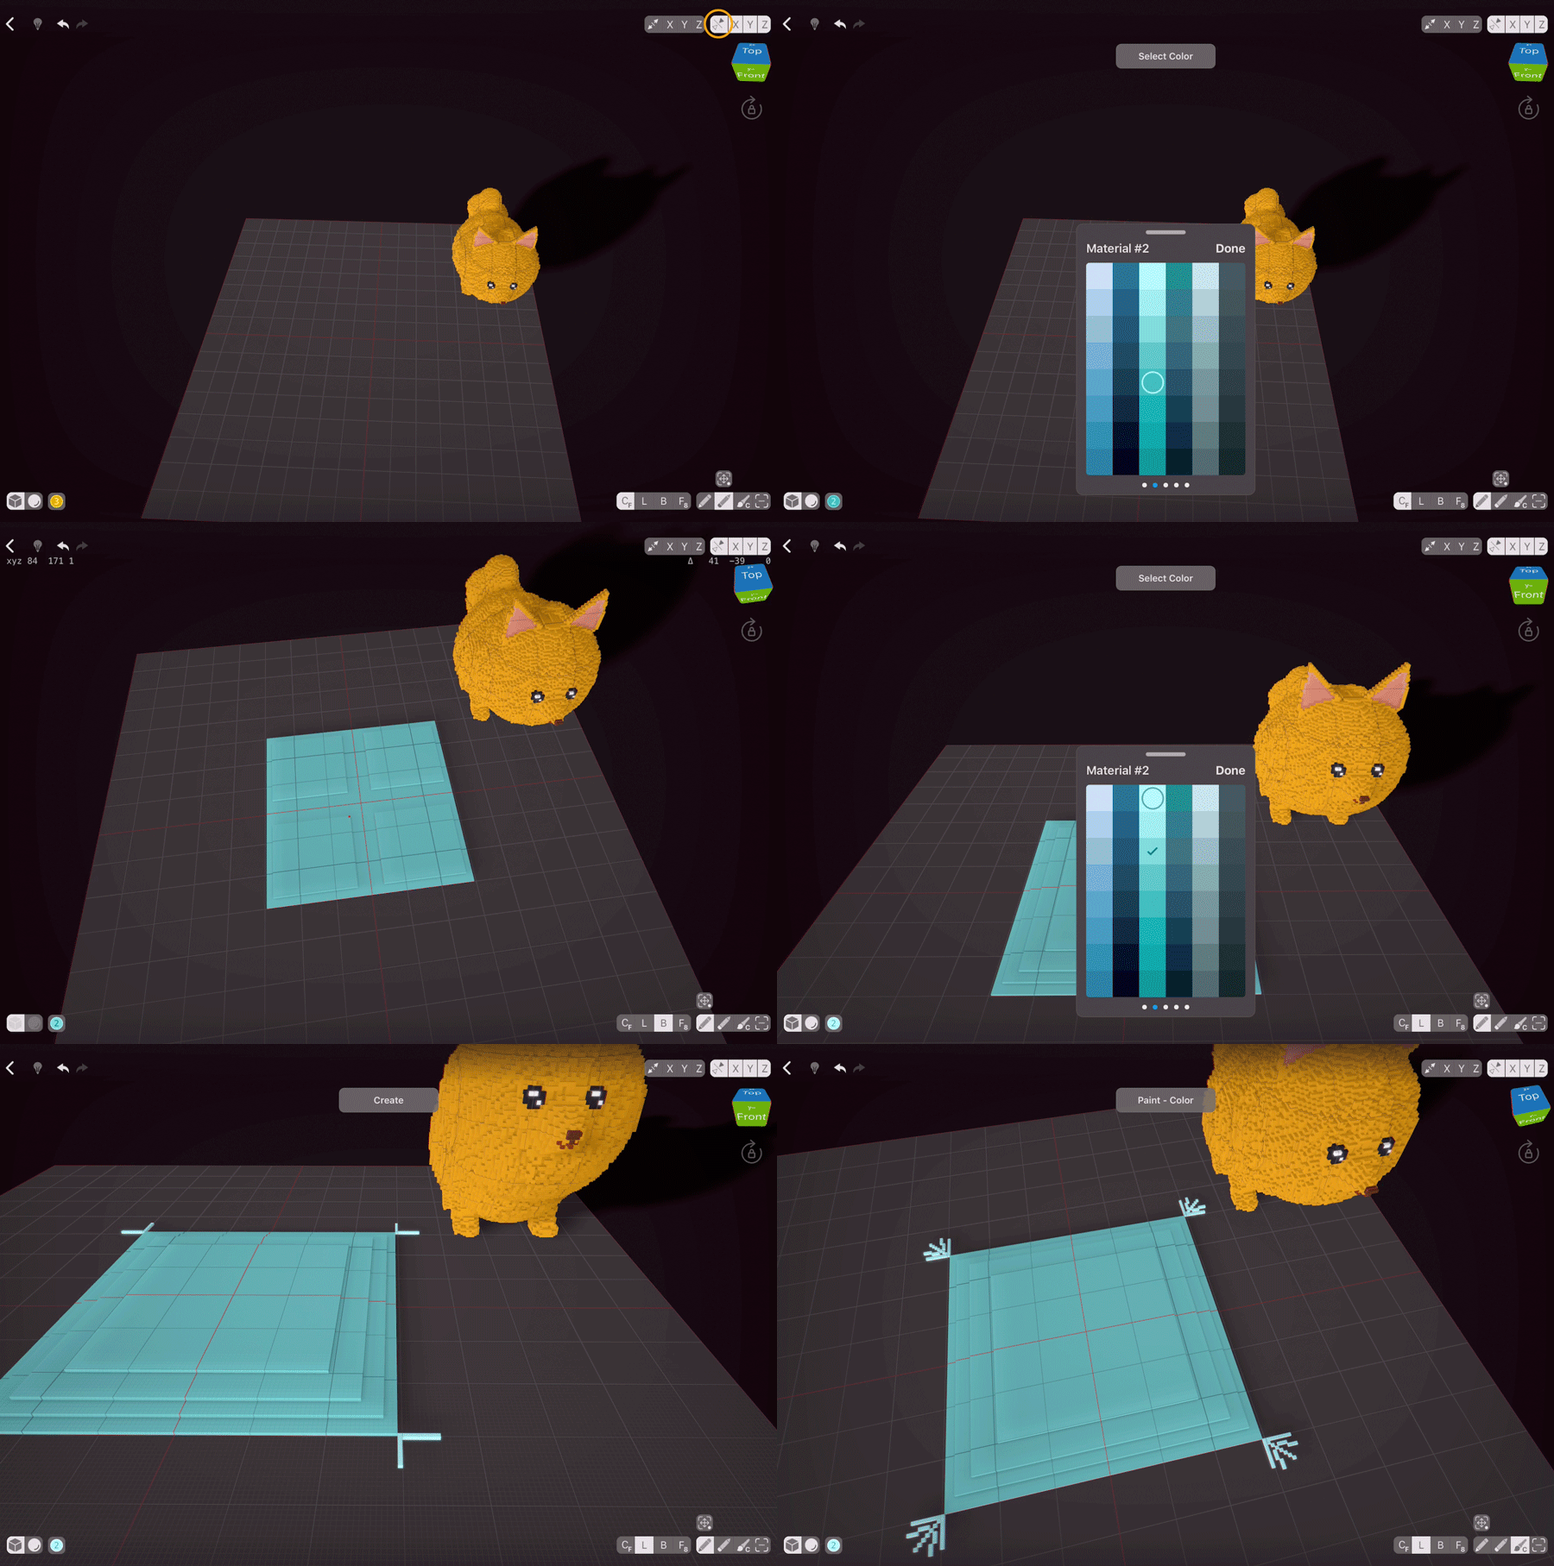
As we have freed up the mirroring centre, let’s use mirroring on all axes. To quickly turn it on, tap the Mirroring icon — it will enable mirroring on all axes at once.
Switch to a new material (cause we can quickly select materials, and we still need to move our dog back once we’re done) and choose any colour to your liking. I went with this blue-green shade as it compliments the Pom’s fur.
Using the Box Mode, create the bed. I went for the basic shape and then added some tassels of lighter colour with the Line Mode to make it interesting.
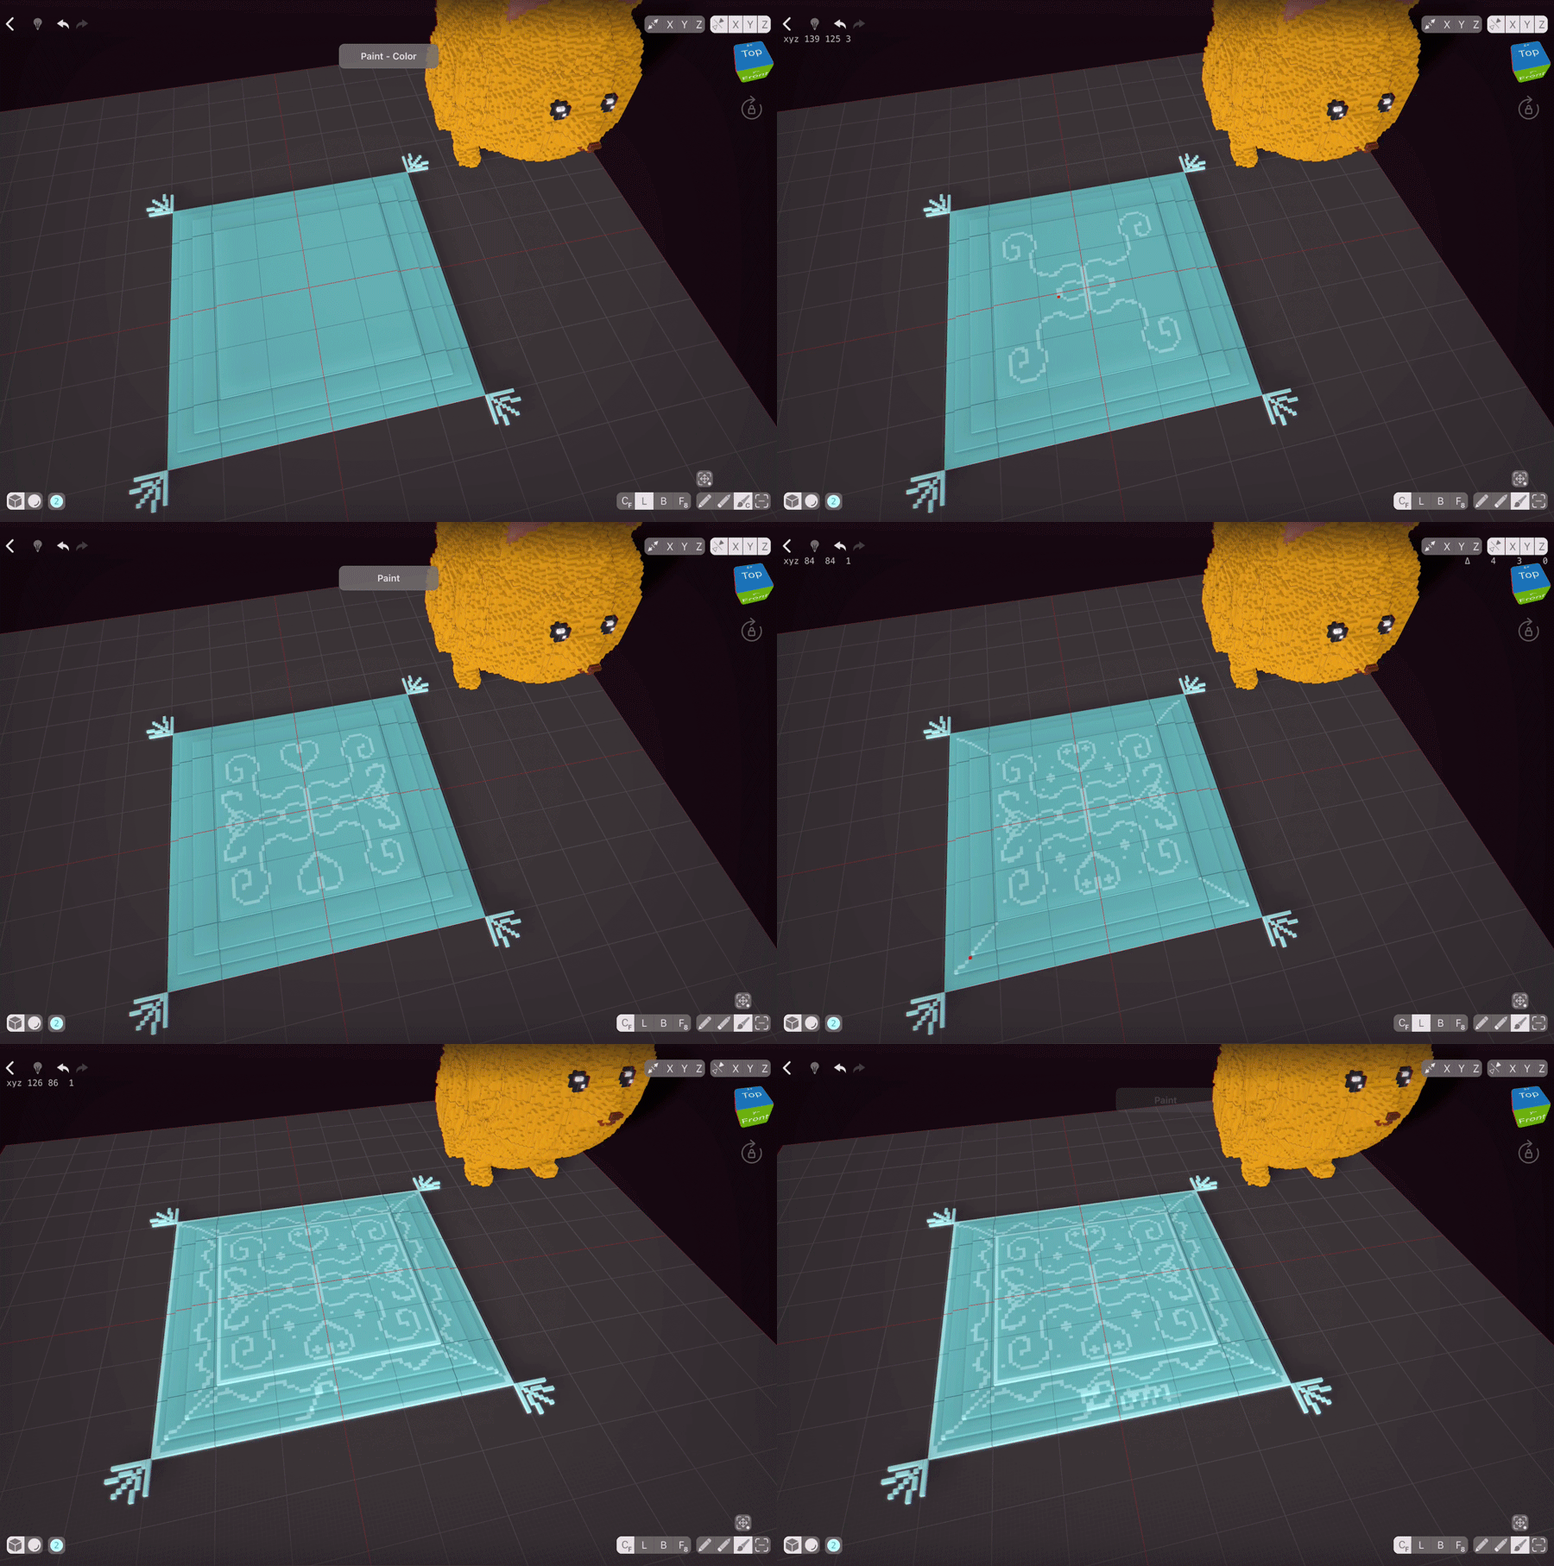
To make our bed pretty, let’s paint some patterns on it. Just go with the flow and let your mind think of the design (or use a reference). Mirroring is great for textile patterns. Once I’m happy with the design, I’m going to turn off the mirroring and personalise our bed by writing “Pom” at the bottom.
Bringing Things Together
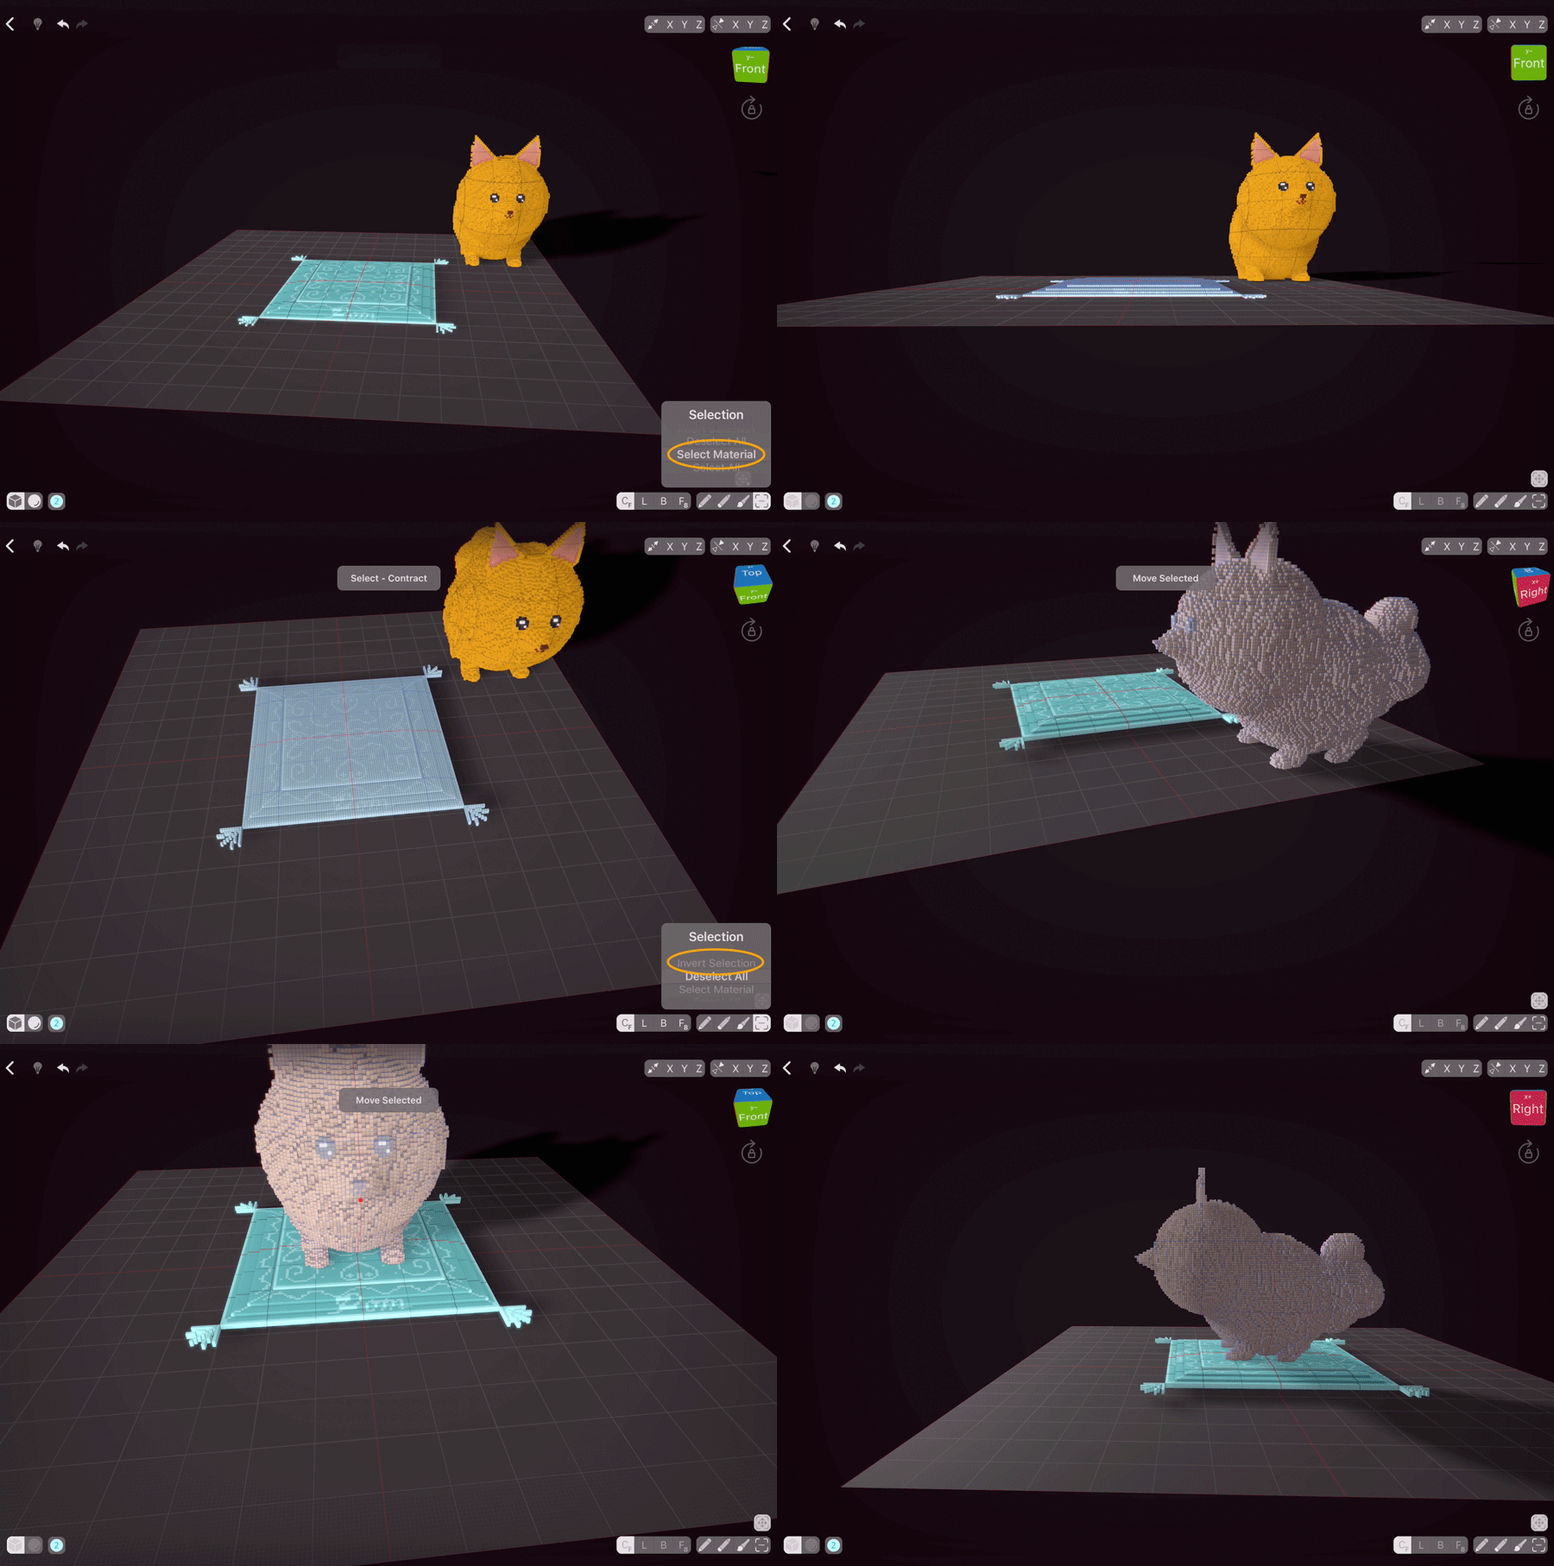
Once the bed is done, let’s use Select Material and then move the bed upwards to bring back the things that were mirrored on the Z axis. Once the bed is positioned correctly, we can choose the Invert Selection option and then use Move tool to put our Pomeranian on top of it.
Viewing The Scene
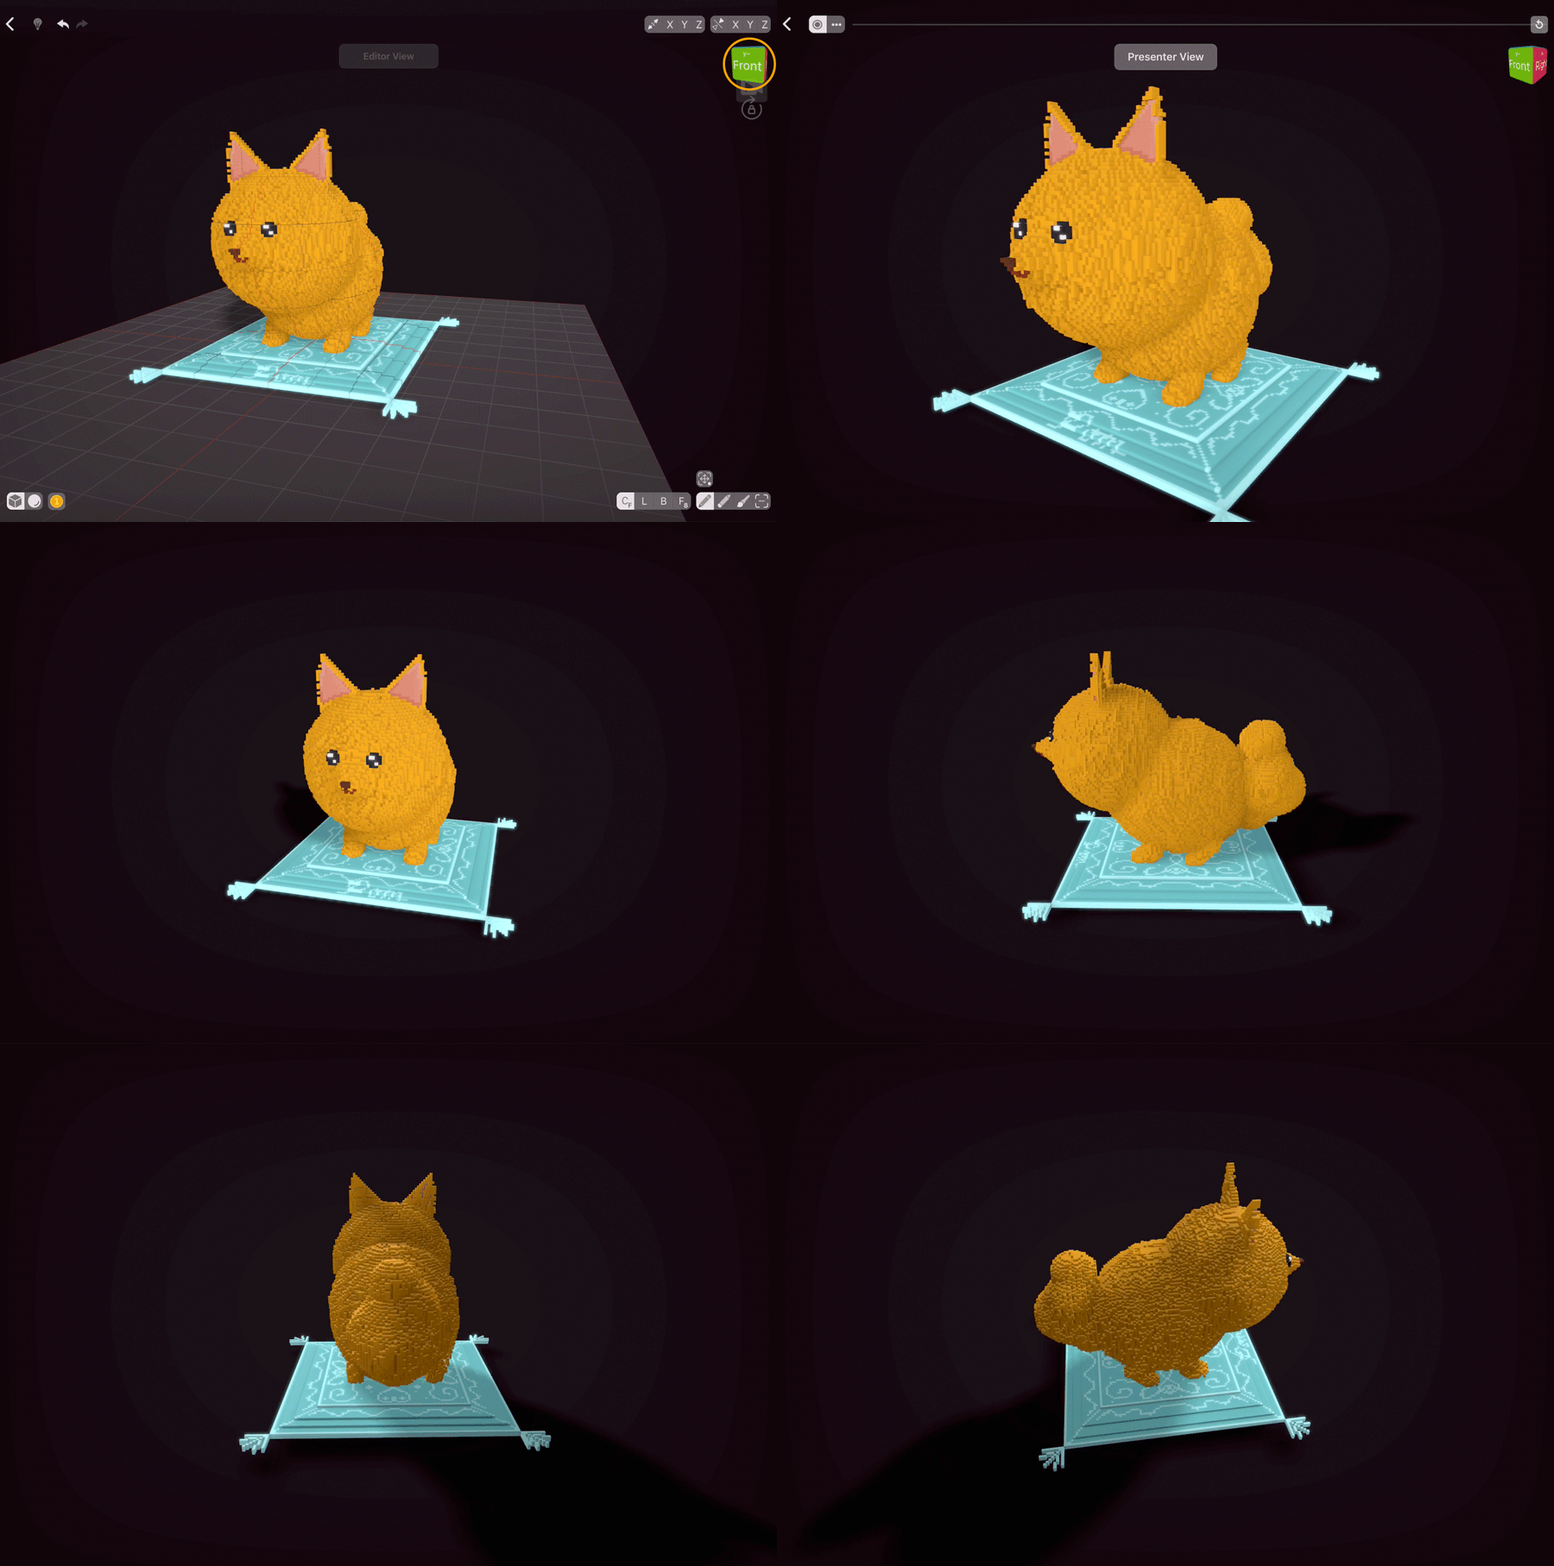
Although all materials and shadows are rendered in the Editor View, it’s best to enjoy our creation in Presenter View.
Hold the Perspective Cube and then choose the Camera icon to enter the Presenter View. The floor will disappear, and your model will start rotating. Tap anywhere on the screen to enter Distraction Free Mode, where only your model is visible.
Now you can adjust the angle of the camera and then either take a screenshot or record a video of your rotating model with the iOS screengrab feature.
Your Pomeranian is now ready to be shared with the world! Tag us in your creations on social media so we could enjoy them together, and thank you for creating this lovely dog with me.

