Intro
Waterfalls are beautiful natural (or hand-made) occurrence of flowing water. Let’s see how to create them with voxels.
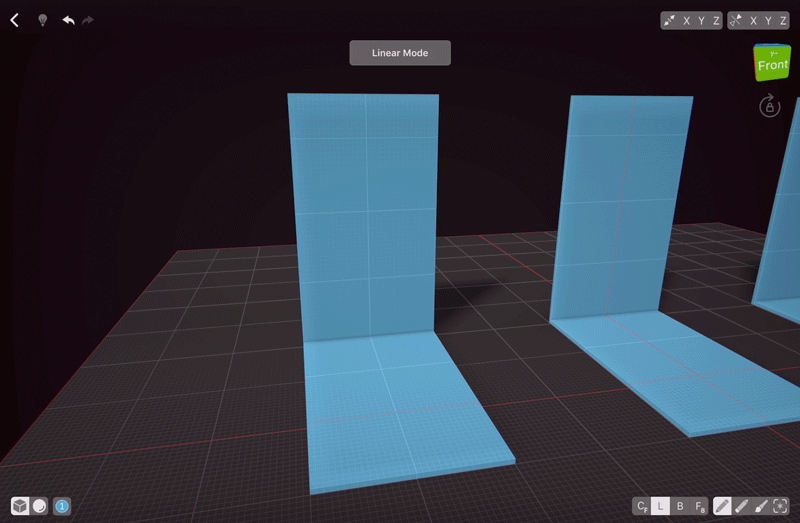
Base
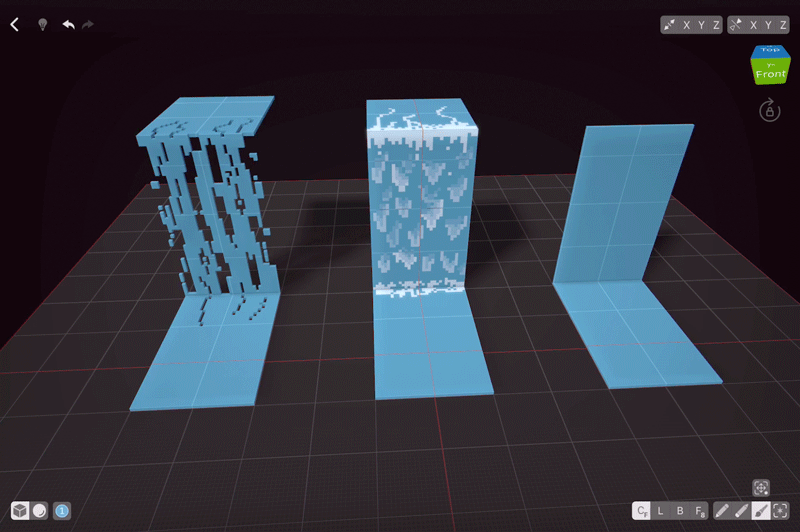
Every waterfall needs a base. I’m going to create 3 waterfall bases of the same size so it would be easier to see the style difference once we are done.

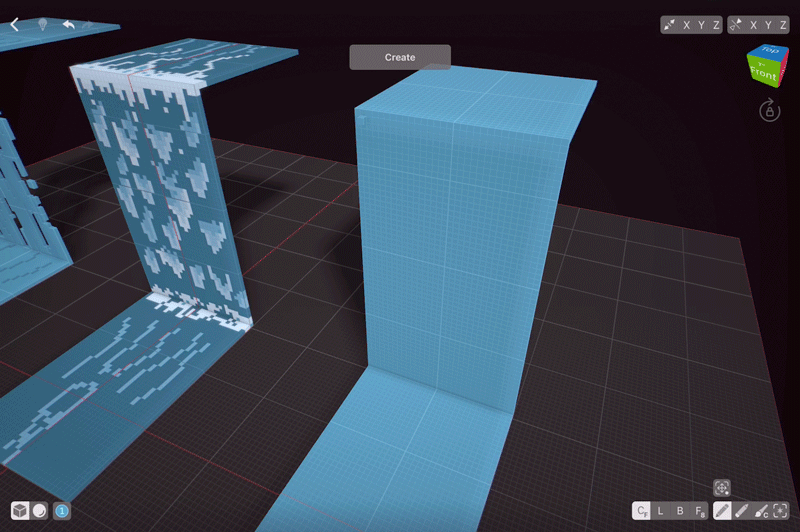
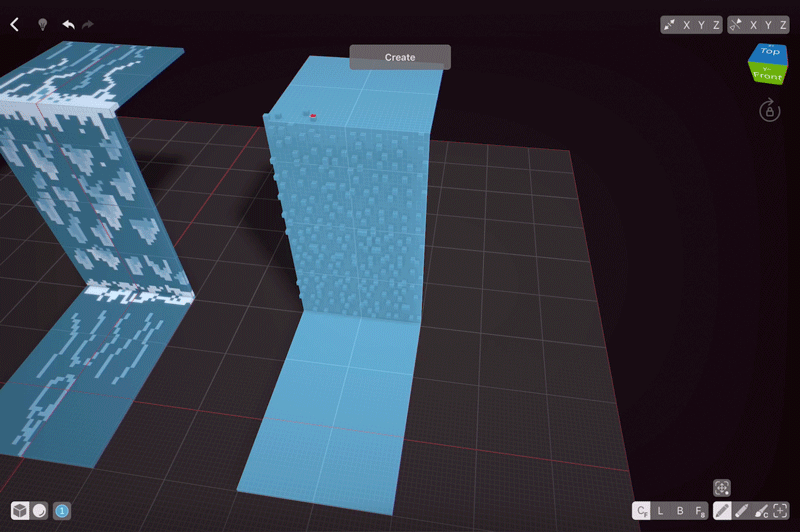
In VoxelMax, it’s easy to create the vertical part of the waterfall — simply turn on the Guide Plane by holding down the Perspective Cube and then tapping on the second icon. This way, once we start creating our vertical part with the Box tool, a new Guide Plane will appear and will allow us to quickly make the “falling” part of the waterfall. Another way to do it is to add a line of voxels at one edge of the river with either Line or Create Tools, and then use Face tool to “grow” it up.
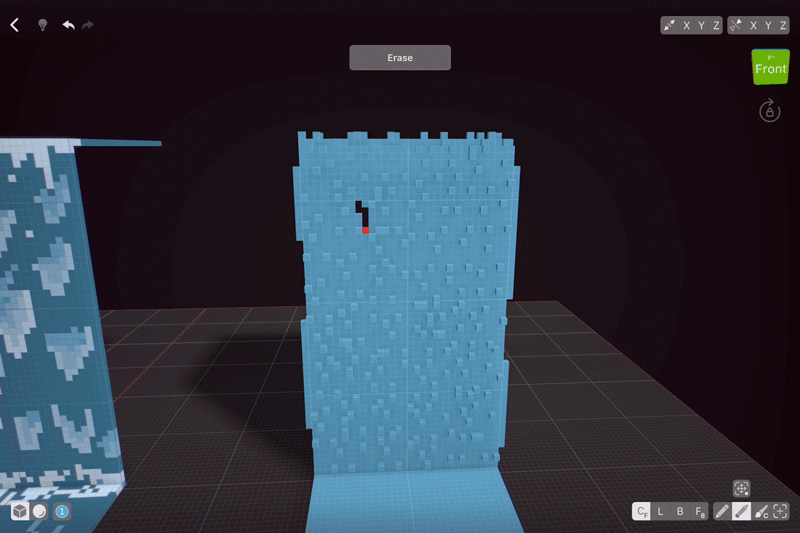
Flat Non-Textured Waterfall
First waterfall we are going to create is flat and simple one. Such waterfalls are good for low-poly art. Simply erase bits with Line tool to imitate the flow of water.
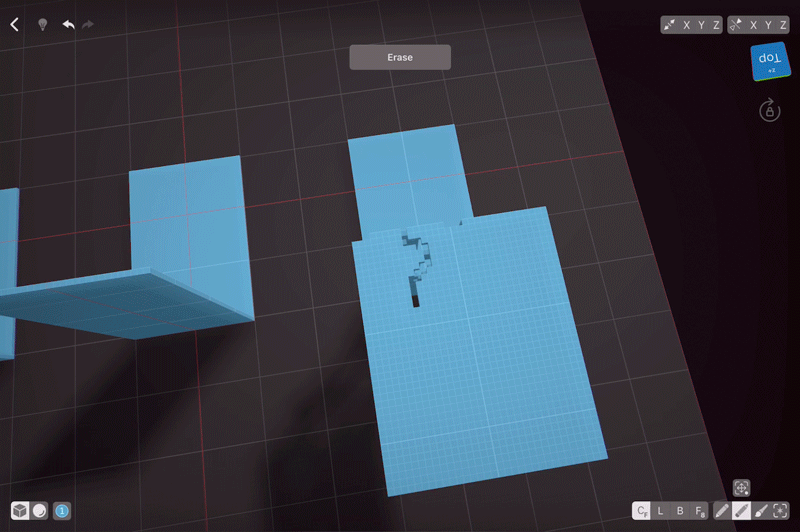
Cut a bit in the horizontal parts, too.
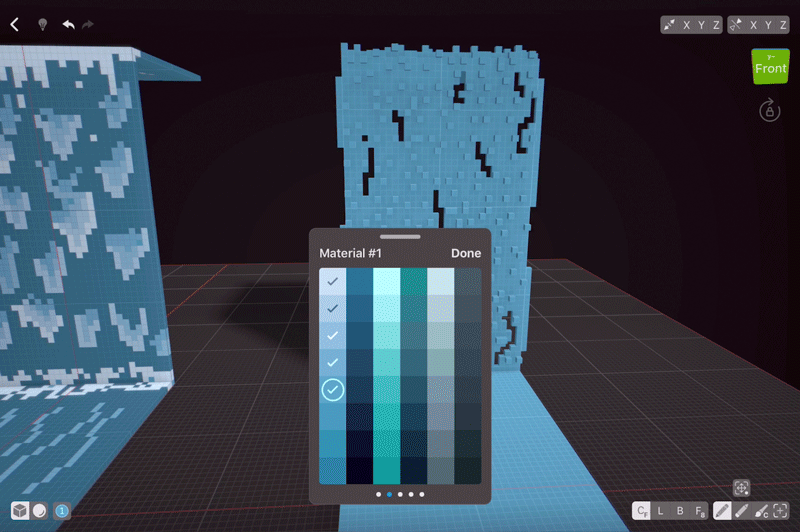
Textured Waterfall
Next we are going to create a textured waterfall. It’s going to resemble old games a bit. As voxel art is basically a 3D pixel art, this look might be useful for you.
Start with selecting colour that’s close to white. All waterfalls have a bit of clouded water on top and at the bottom, so we are going to draw that and then add waves of falling water.
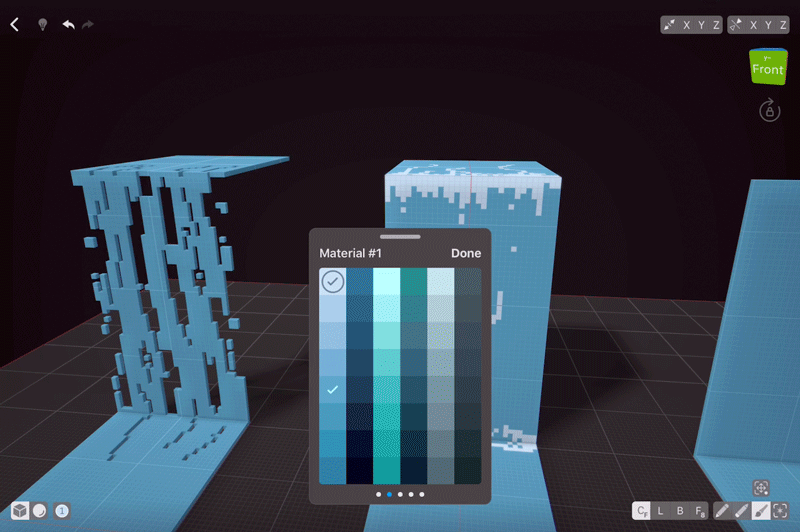
Next, choose a more saturated shade. Add more falling waves.
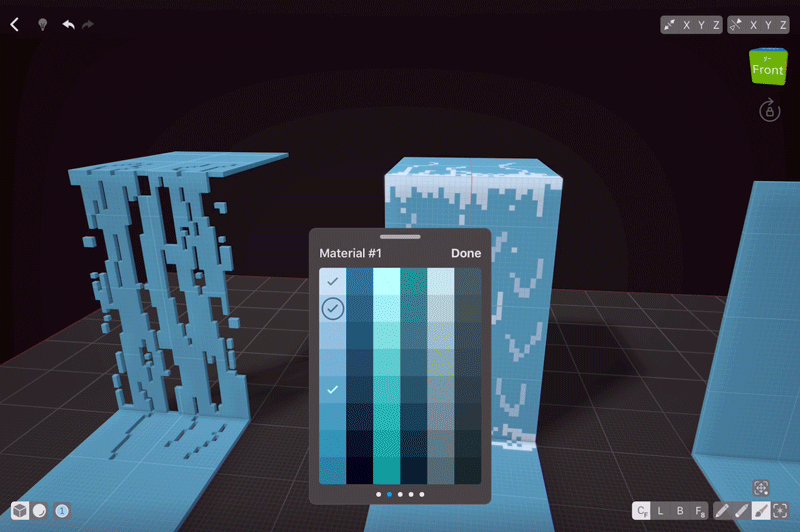
Repeat the same with the third colour. Then start blending in the waves, adding blotches of the more saturated colours on top of whiter ones.
When done with blending, add several coloured lines at the top and at the bottom to represent water movement. Our second waterfall is now done!
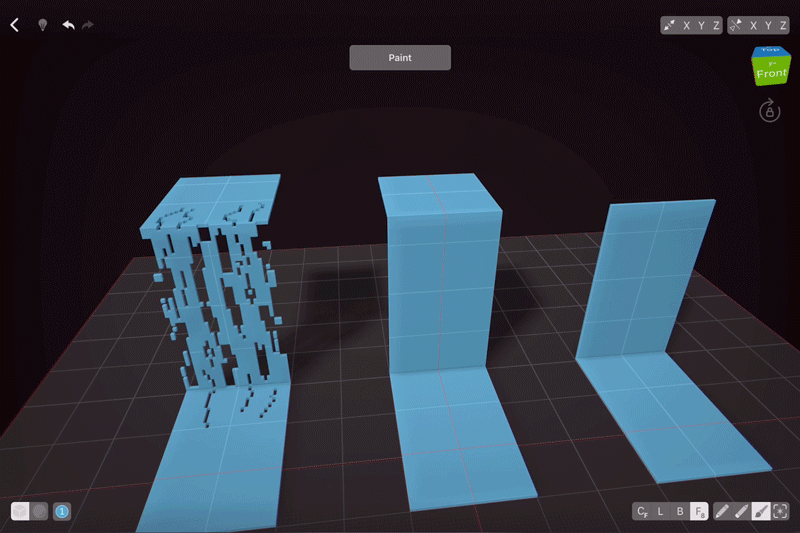
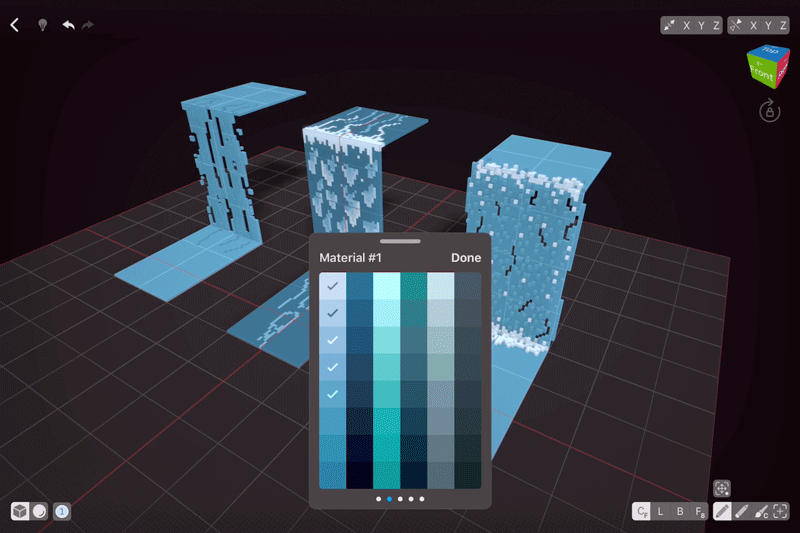
Non-flat Waterfall
For the next waterfall, we are going to add more voxels to the flat basic shapes. Previous waterfalls were flat, because for many scenes waterfalls with volume to the fall would draw too much attention to them. But if the waterfall is the centre of your composition, I suggest you go with this technique.
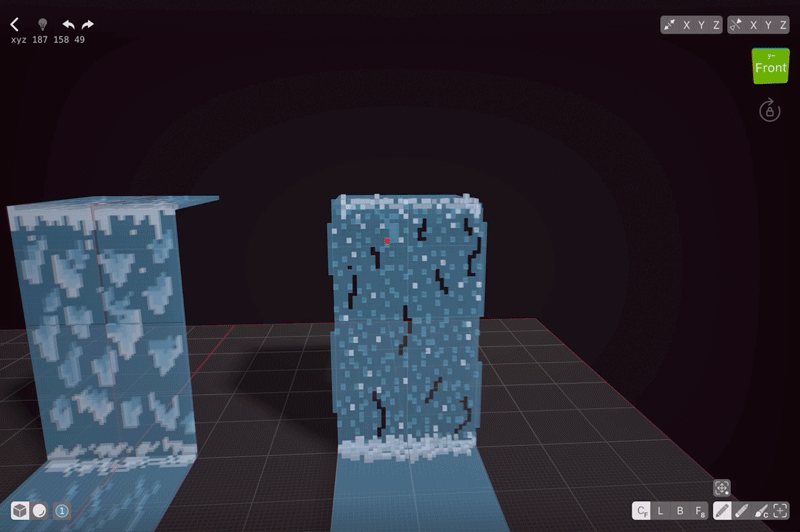
Start by adding single voxels. You can either do it by hand, or select several voxeld and then use Clone tool to make this task quicker.
Add some voxels on top and sides to enhance the feeling of movement.
Cut out a bit of voxels to make the waterfall more lively.
Add cloudy waters, but this time, instead of Paint, use Create tool.
Let’s see how our waterfalls will look if we make them semi-transparent. I lower the Alpha setting for each colour I used to make them see-through.
Looking at my waterfall, I decided to add more volume. This time I’m going to simply draw on top of voxels — cause we already have two layers, it will give it a nice touch. Be careful to avoid the cut-out areas, cause if you hit them, new voxels will be created behind your waterfall.
Finished Scene

My waterfalls are now done, so I’m going to export it via Presenter View — hold the Perspective cube and choose the bottom icon to enter it. Your creation will start rotating, and you can adjust the viewing angle to your liking. You can either hold the rotation and screenshot or use screengrab and later share a video.