Getting started
Upon starting the app, click on the + icon to create a new file.
There are many ways to create a scene, you can just go with the flow and create everything on the spot with no planning, or you could plan ahead a bit to make your process easier.
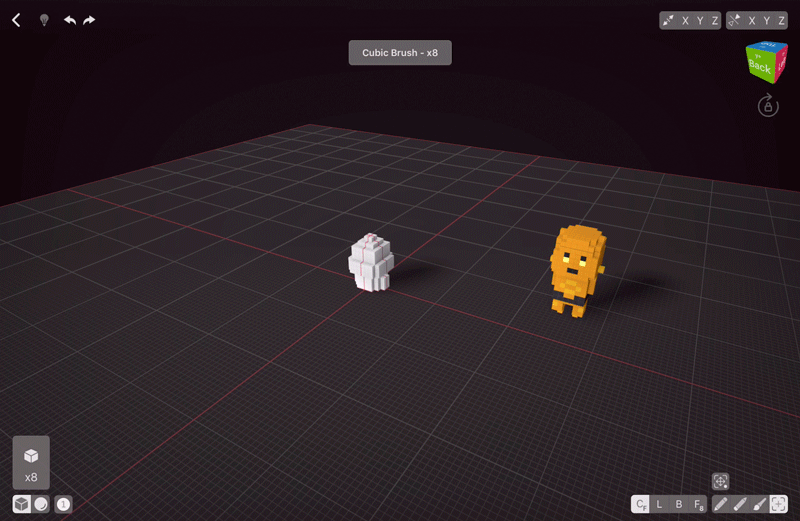
I almost always start with a cubic brush sized to 1 voxel as it gives me more control.
For example, in this tutorial I’m going to create 4 characters, which are mostly symmetrical, so I’m going to start with enabling Mirroring on one axis and creating the first character. First, I create the legs with the Create – Free Hand tool in Create mode. When I need to add more of the same shape, I switch to Face option. For this part I can use either Face 4 or Face 8, as the shape isn’t complex, but in future keep in mind that Face 4 applies the chosen mode (Create, Erase, Paint or Select) to voxels that are sharing sides, and Face 8 — to voxels sharing sides and corners.
Sometimes I’d use Line tool to add lines as it’s easier to control than Create – Free Hand. The fundamental difference is that Line tool creates, erases or paints voxels when you lift your finger or Pencil from the screen, so you have full control of where your line will go, while Create tool follows the path you draw on screen.
Materials
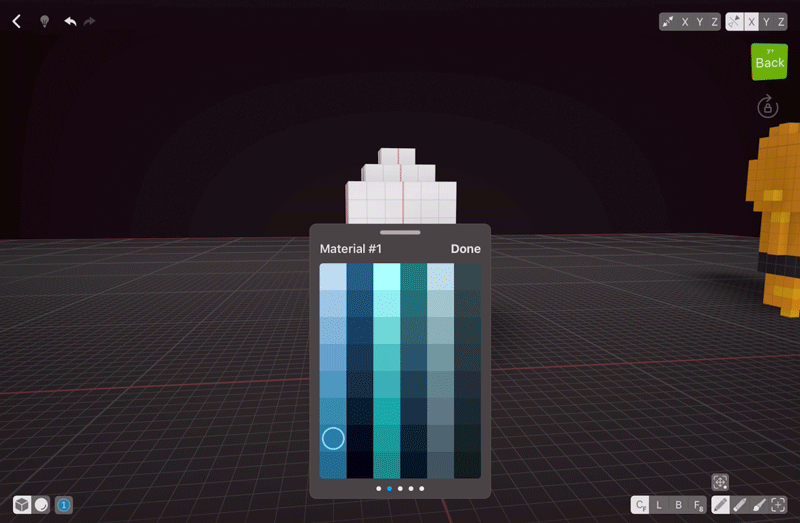
VoxelMax has 8 Materials which can all be tuned independently. That way, you can have several types of metal, emission and so on in one scene. This character is supposed to be metal, so Material #1 will be metallic for me. As this doesn’t affect the scene, I will set this material up later on. But I want his eyes to glow, so I switch to another material — Material #3, press Edit and set the material settings to my liking. Experiment with material settings to see how they affect the scene. Don’t forget to switch between Material layers, cause otherwise you’ll have to repaint your model later on.
Creating more than one character

Once done with my first character, I’m going to select it and move it away from the mirroring axis so I can easily create next one. As there’s only one character so far, I can simply choose Select All, then choose Move and Deselect All from the drop-down menu.
Sometimes it’s better to create the body of the character first and then add the legs. VoxelMax is great for selecting things as it allows you to select things with custom brush size. For this portion, I enlarged my cube brush and simply swiped across the whole body, then moved it upwards.
Select tool has a drop-down menu with many options available, so take your time to look through them.
Changing Palette Colours
It doesn’t really matter in what order you create & paint, my workflow differs depending on the moment. Most of the time I create solid chunks in different colours and paint smaller details later on. Default palette might not suit your needs perfectly, but you can always double tap on the colours to edit them to suit your needs. VoxelMax automatically highlights the colours in the palette that you’ve already used in this scene, so there’s no need to group them in any way — you can just choose the most suitable colour and tweak it to make it even more accurate for your needs.
Drawing Things That Float in Empty Space
Sometimes we need to create something that’s either floating by itself or only touches some other thing.
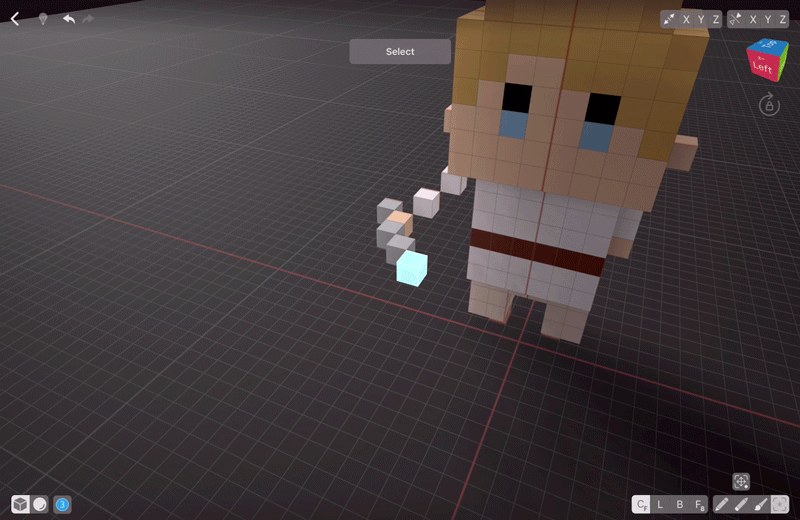
In VoxelMax, you can turn on and off the Constrain to Guide Plane option (press and hold the perspective cube to do it within the app or go to Settings → VoxelMax and turn it on/off there). When on, this option creates an additional plane for you to work on. Sometimes this additional plane might obscure the view of what lies underneath. For this scene, I had it turned off all the time. But to create “floating” things you can use the Clone tool. For example, to create the lightsaber I added 1 glowing voxel and then cloned it multiple times till I was satisfied with the blade’s length. Notice that the Palette shows I’m on my Material #3, as this is the one I’ve chosen for glowing things.
Deciding What’s Important
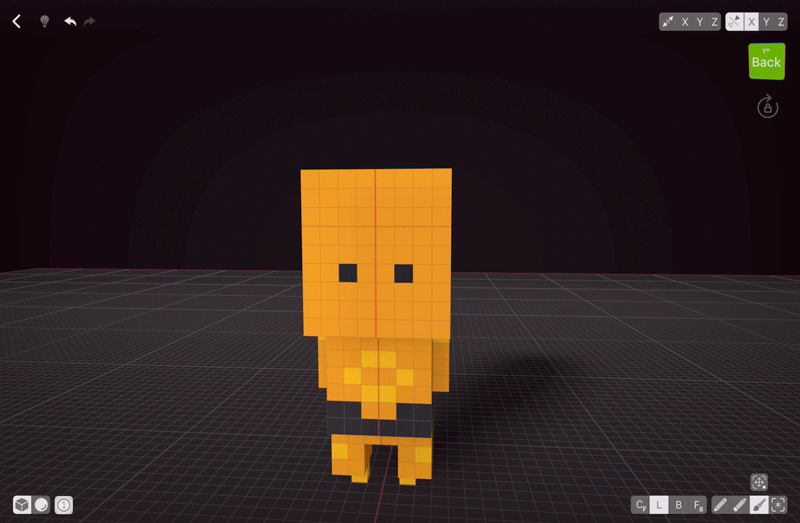
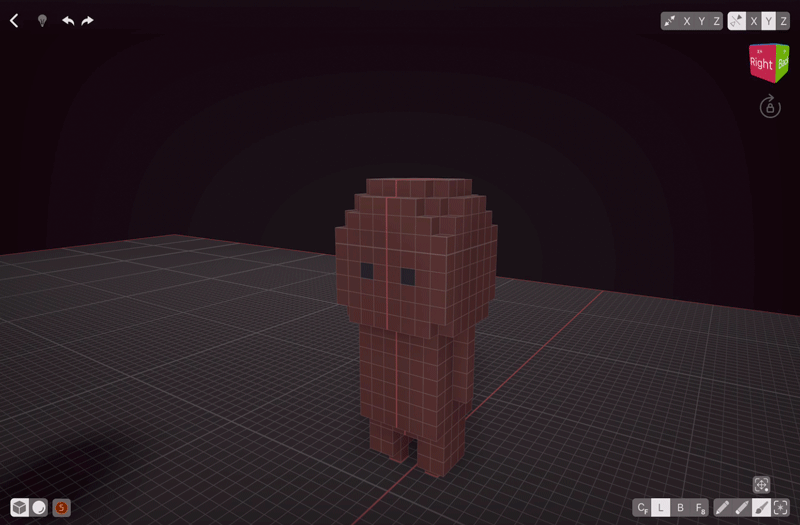
When creating such low-poly scenes as mine, keep in mind that you’ll have to exaggerate some parts of the look and completely leave others out, like my characters have ears but are missing noses. There’s no rule when it comes to lowering the level of detail: what you leave out and leave in is completely up to you.
Quickly Select Colours from the Palette
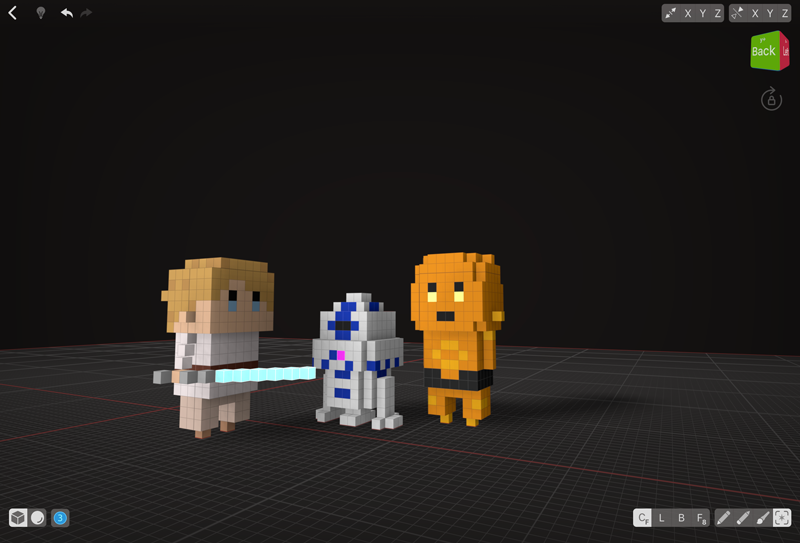
If you’re doing some texture work within the same shade, you can quickly change the colours that are nearby by holding the Palette icon and scrolling up and down. Small preview will appear and you’ll see which colours are nearby. This can be a real time-saver when you need to add texture to things. Notice that I’m working with Material #5 — as Luke and Chewie aren’t metal, I switched the Material again.
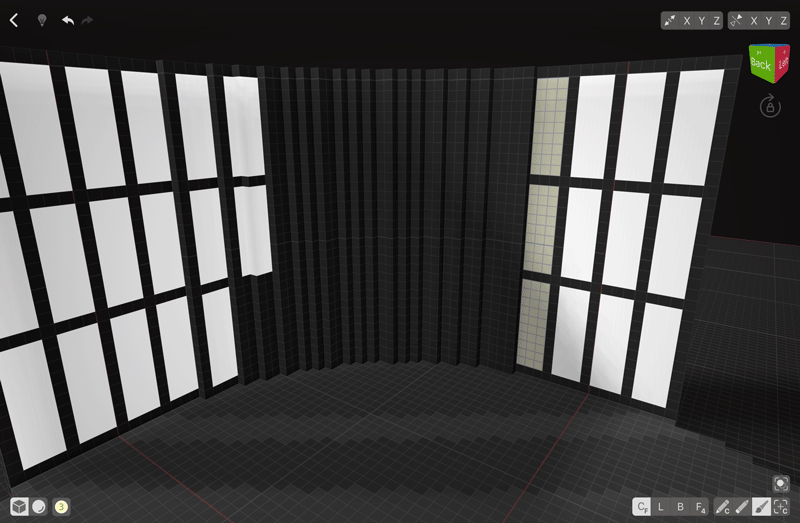
Creating the Interior
When all characters are done, I assemble them so they look nice together. Keep in mind that Mirroring affects Selection and Move, so turn it off before selecting and moving things. I move my characters around a bit to make sure they are standing around nicely.
This scene looks nice as it is, but I’d like to add some interior for my characters. Using Stretch x1, I’ve created a circle. As VoxelMax allows us to export turntable videos, I think circle will be a suitable shape for the floors. To liven it up a bit, I’m going to create a bit of texture. VoxelMax has a cool feature where the brush size affects not only Create tool, but Line tool as well. So to create a quick texture we can just set the line width to different values and create a few quick lines of different width across our circle.
When our creation gets pretty complex, the powerful tools of VoxelMax start to shine. I need to create a wall. To do that I can draw the complex outline, and then use Face 4 tool in Create Color mode — that way, I can ”grow” my wall without disturbing the floors. Color option is available for Create, Erase, Paint and Select tools. Basically it applies the chosen action only to the colour you tap.
Clone is a powerful tool when it comes to texturing things. Saves a lot of time to just clone things, like I did here with lights. I painted a few lights, then selected them and chose the Clone tool. After that I simply drag the copies around same as I did with the lightsaber.
Sometimes when I create, saving time is not my goal as painting voxels is very relaxing for me. So I created the additional texture in this light wall by painting by hand.

Once done with the interior, select all the characters and move them back to the centre of the scene. Now, of course, a lot of times you will be creating things from the bottom up, but this method of selecting and moving is always nice for little scenes like those cause it allows to freely edit each part of the scene.
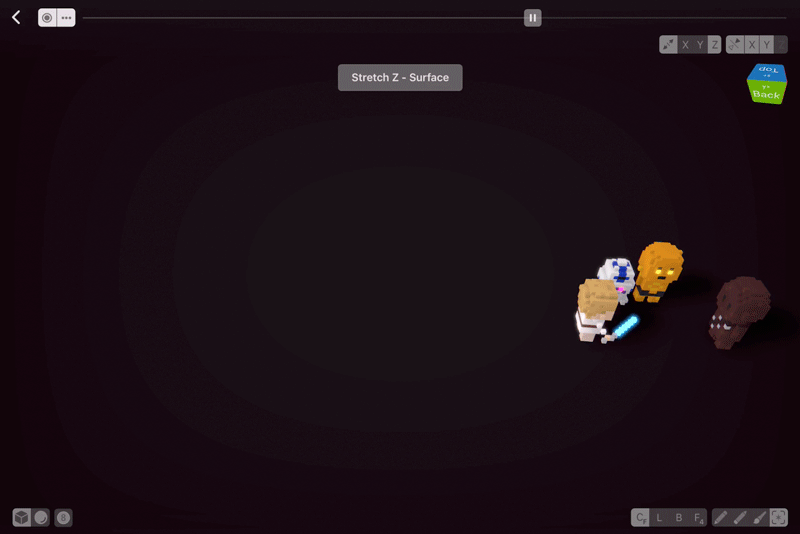
Presenter View
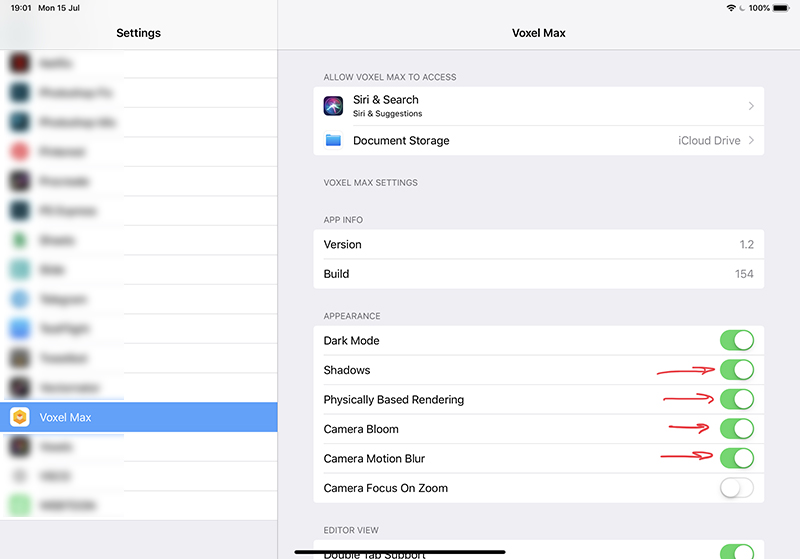
Before rendering, check the app settings to enable Shadows, Physically Based Rendering, Camera Bloom and Motion Blur for the turntable preview.

Long press the Perspective Cube to enter the Presenter View. Here you can set the angle of your creation, and then record it as the turntable with built-it screengrab, or watch the playback of your creation by pressing the ↺ button.
Finished Scene
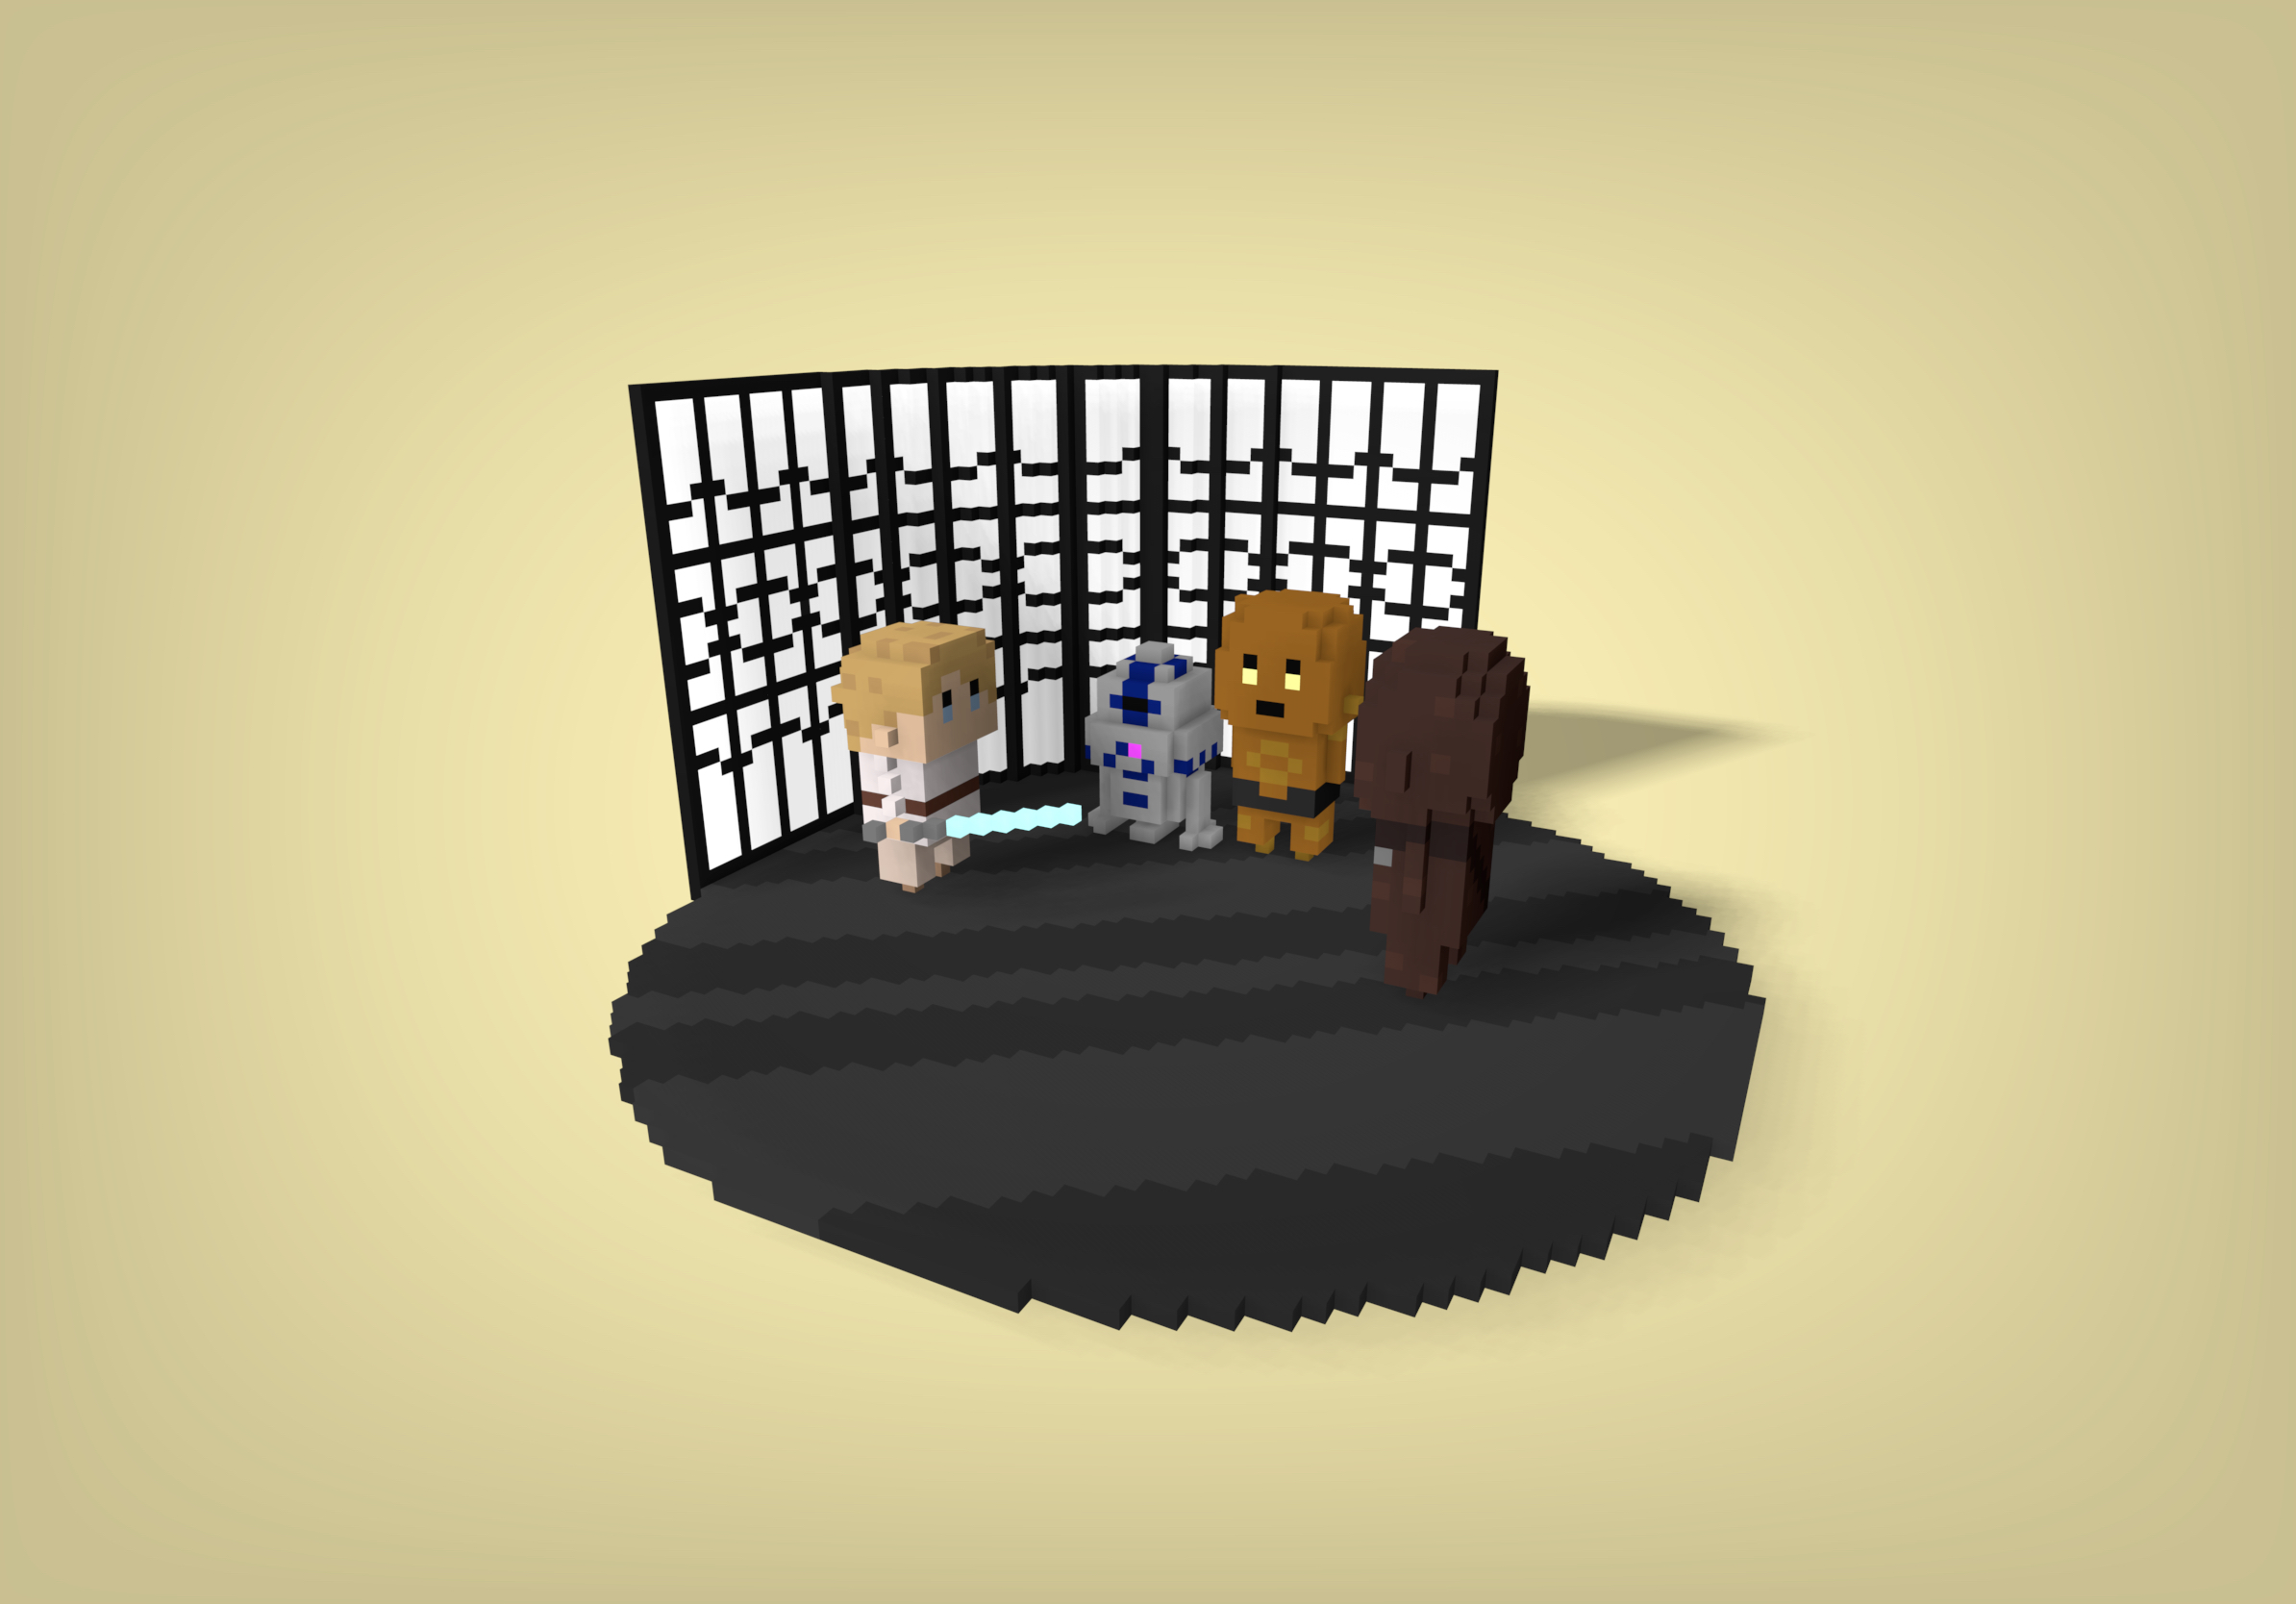
To take a still of your rendered creation, pause the turntable at the angle you like best and take a screenshot. Crop it to your liking. Your first creation is now ready to be shared with the world :)