Intro
Mirroring is an essential tool for voxel art. In real life, most things are symmetrical to some extent — so it saves us a lot of time to first create them with mirroring, and a lot of the times we are done! Sometimes, though, we’d need to turn it off once done with creating the basics and add some details or texturing.
Split View
If you’re working on iPad, like I’m going to today, you can look up for references or draw a sketch and take a pic, and then use Split View mode to open two apps at once.
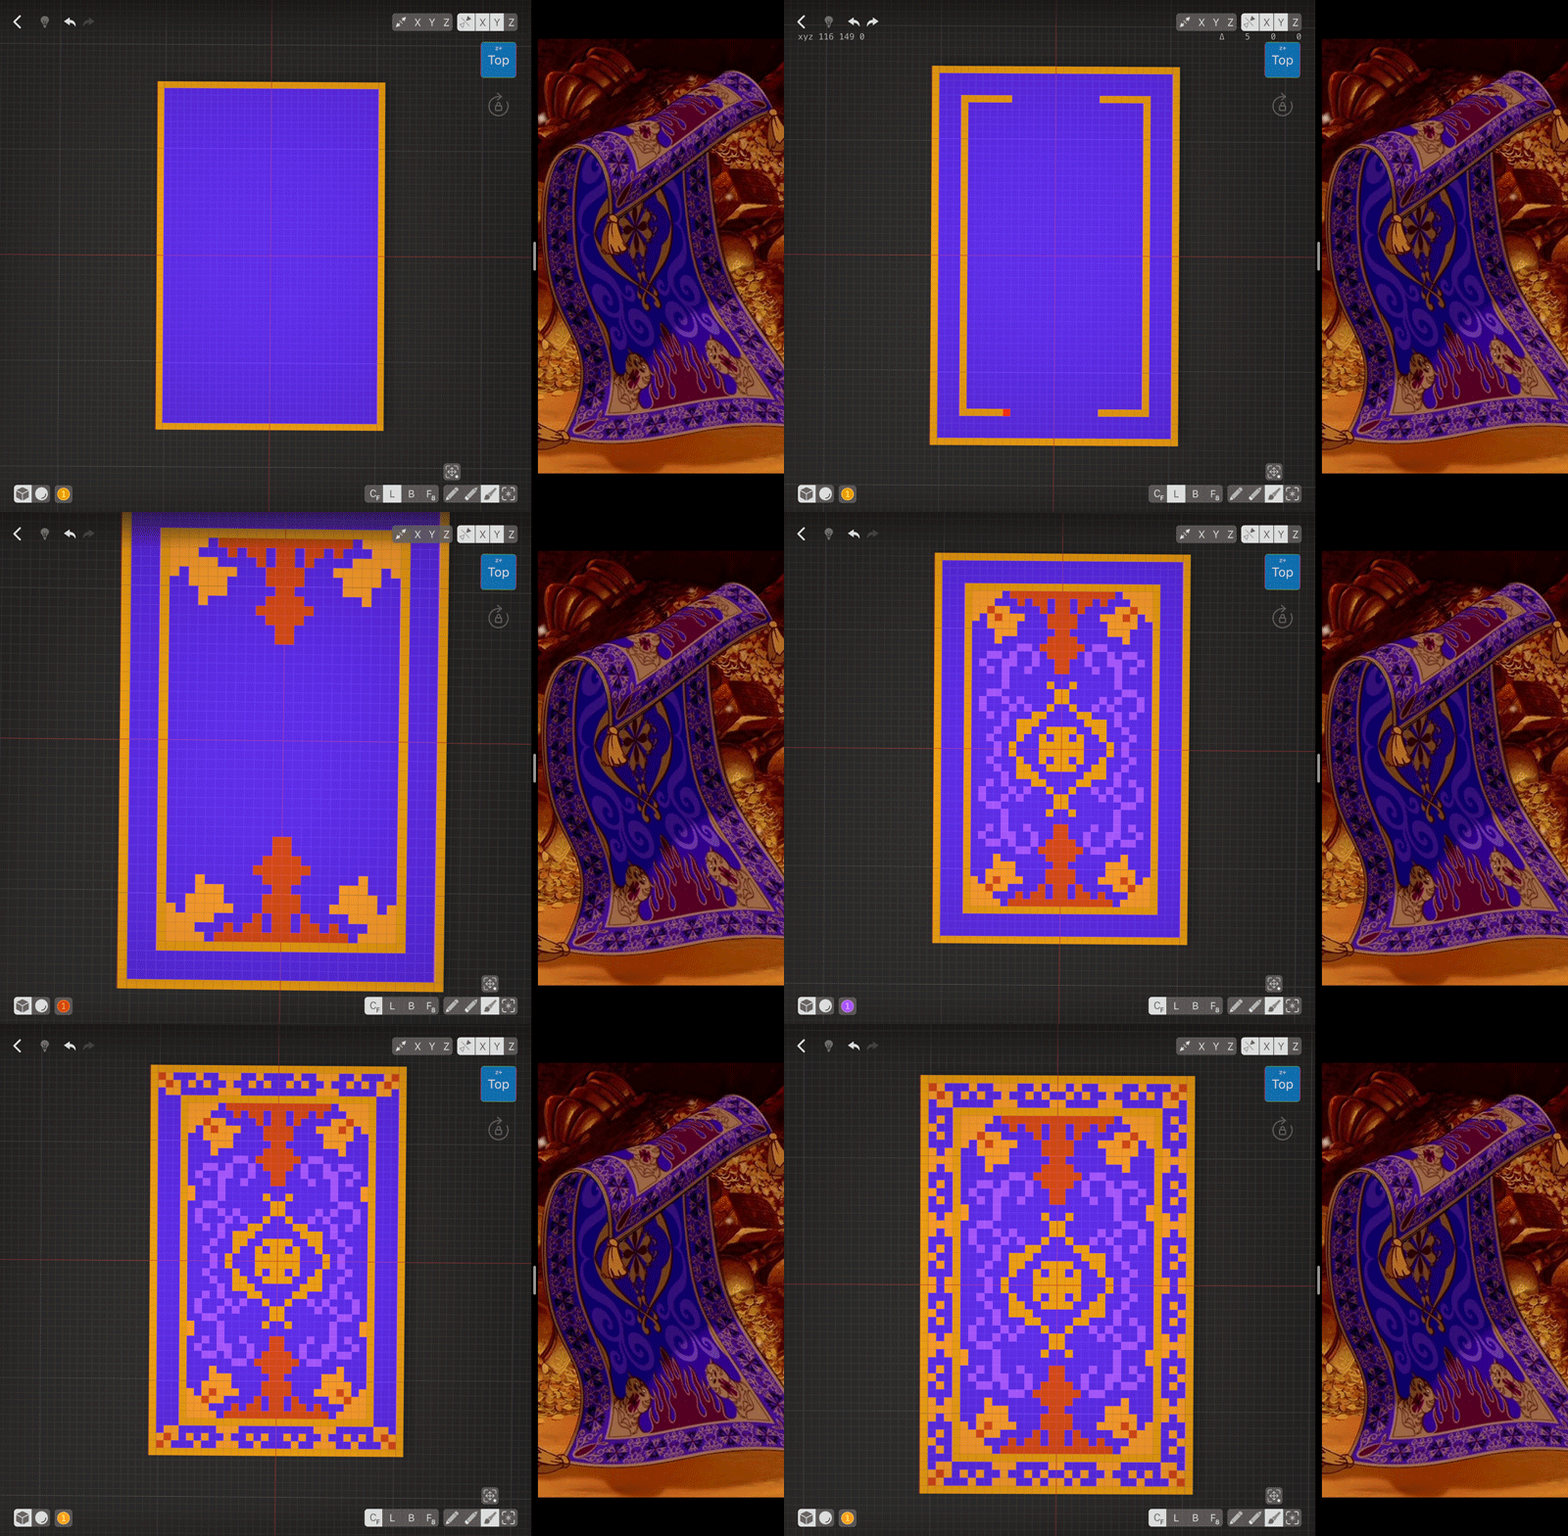
I’m going to create the Magic Carpet from Aladdin, so I found a pic of it that will fit my needs. I need to see ¼ of the design as most carpets are mirrored on two axes.
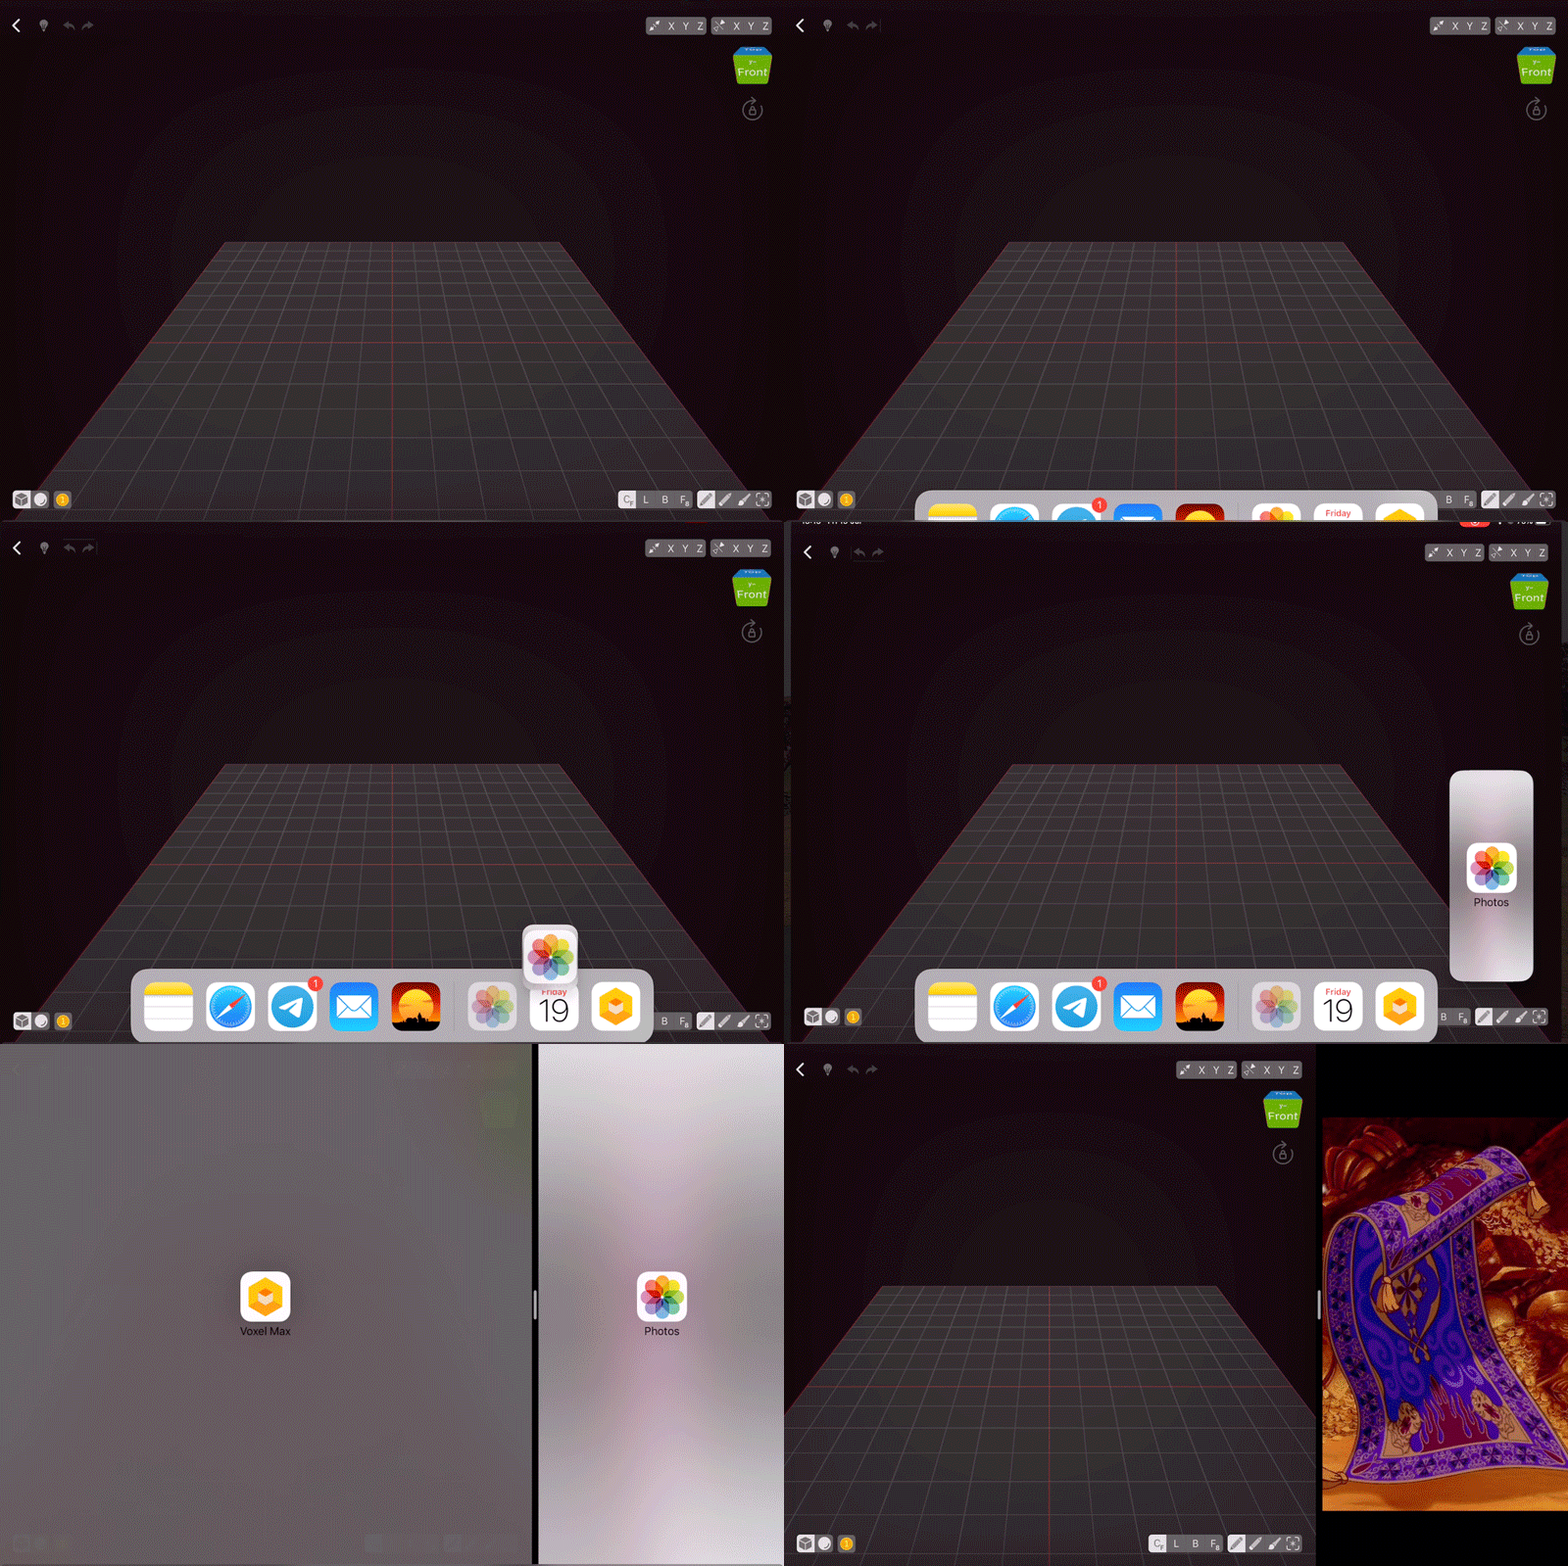
To enter Split View, launch VoxelMax, and then drag from the bottom of the screen. Your Dock will appear. Hold the Photos app icon and drag it to the right corner. Both apps are fully working, so you can zoom and use multiple references with no restrictions. To close Split View, drag the right app down from the top — it will unstick from the side — and then swipe it off the screen to the right.
Mirroring
VoxelMax gives you a lot of control when it comes to mirroring things. First of all, you can enable any of the axes in any combination. The red lines always show you where the mirroring lines are, so you don’t have to search for the centre yourself.
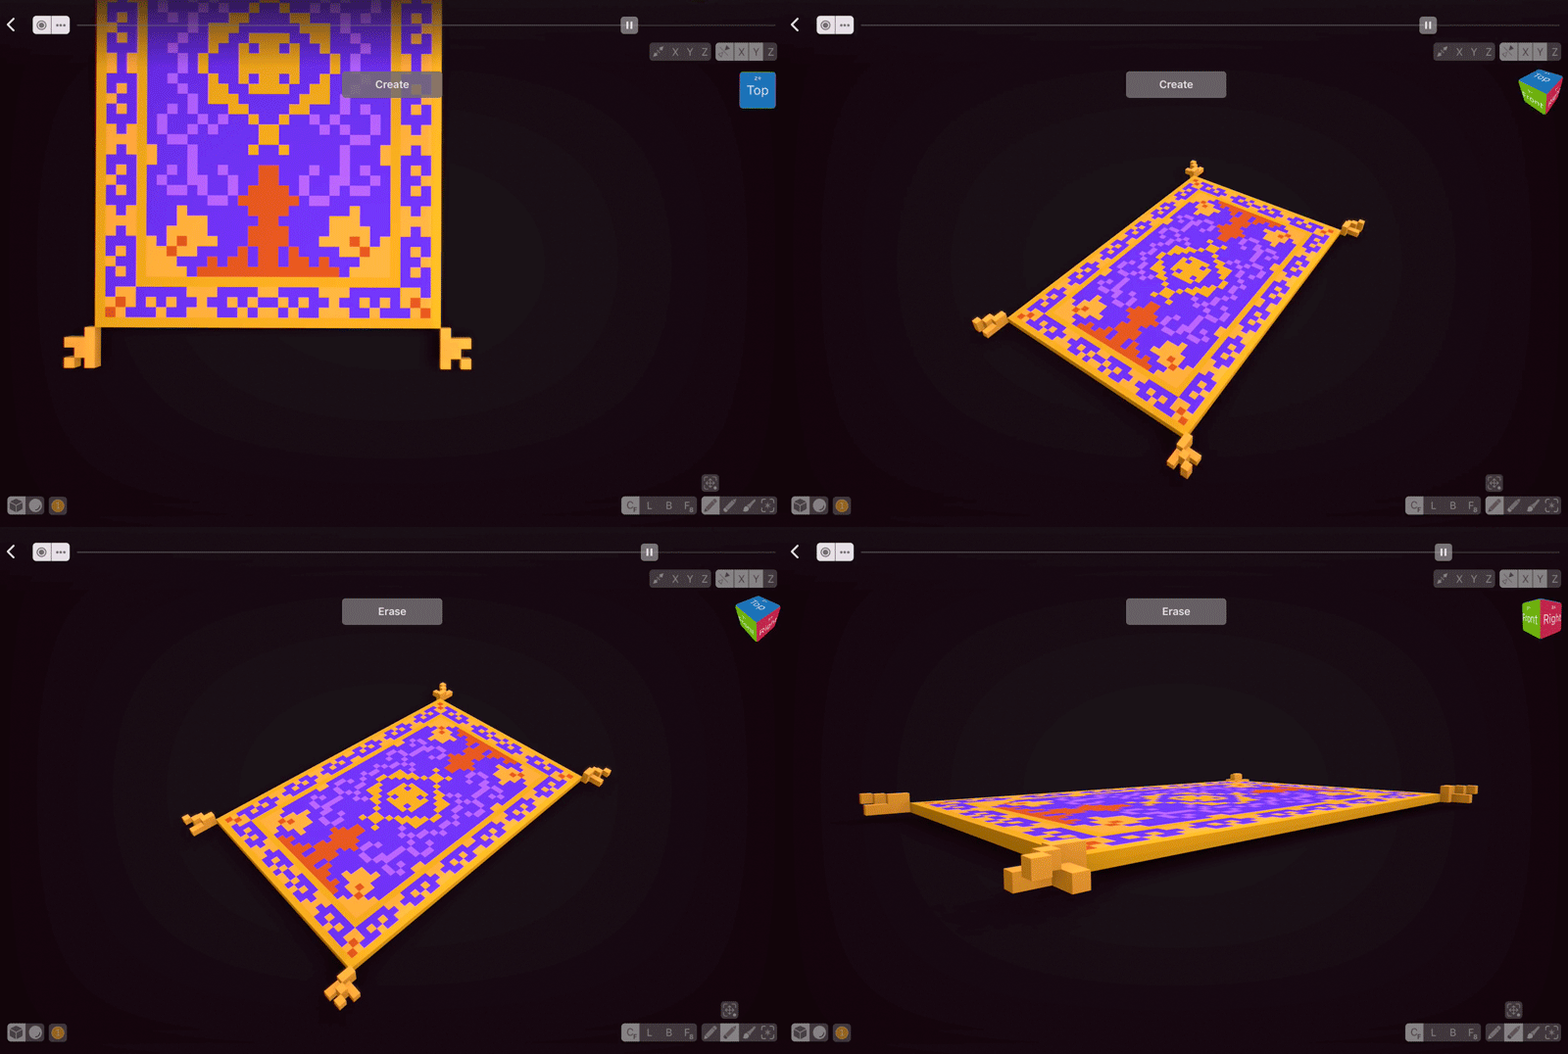
As Eastern carpets are mostly mirrored on two axes, I’ll turn on mirroring on X and Y.
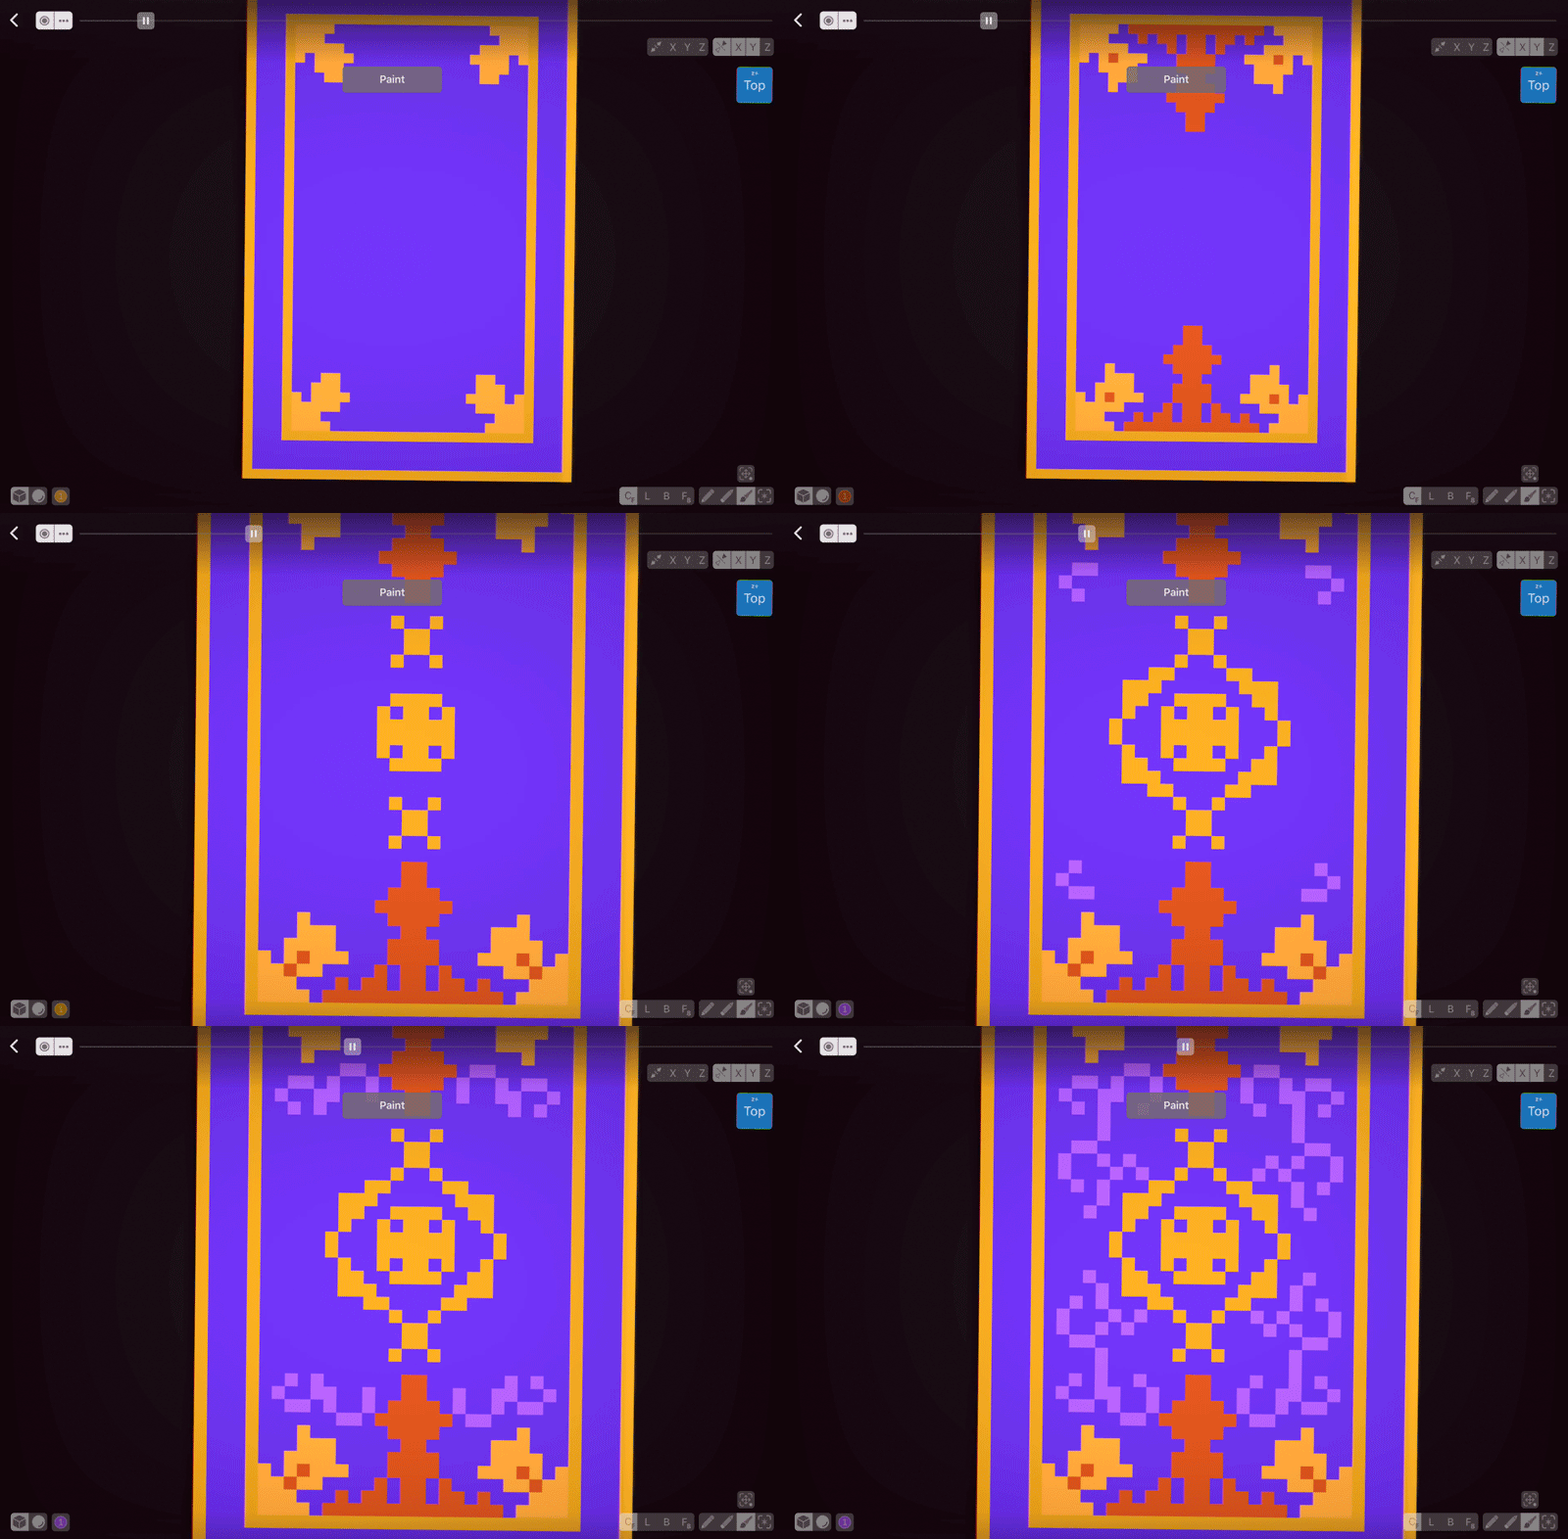
There are several approaches when it comes to texturing things when using references. First way is to grid out your reference and then just draw each part block by block. This approach works well for things that are hard to replicate either way, cause grid allows you to easily save proportions of the reference. Second way is to just draw different elements the way you see them — this approach definitely work better for the Magic Carpet as it’s design is very distinctive.
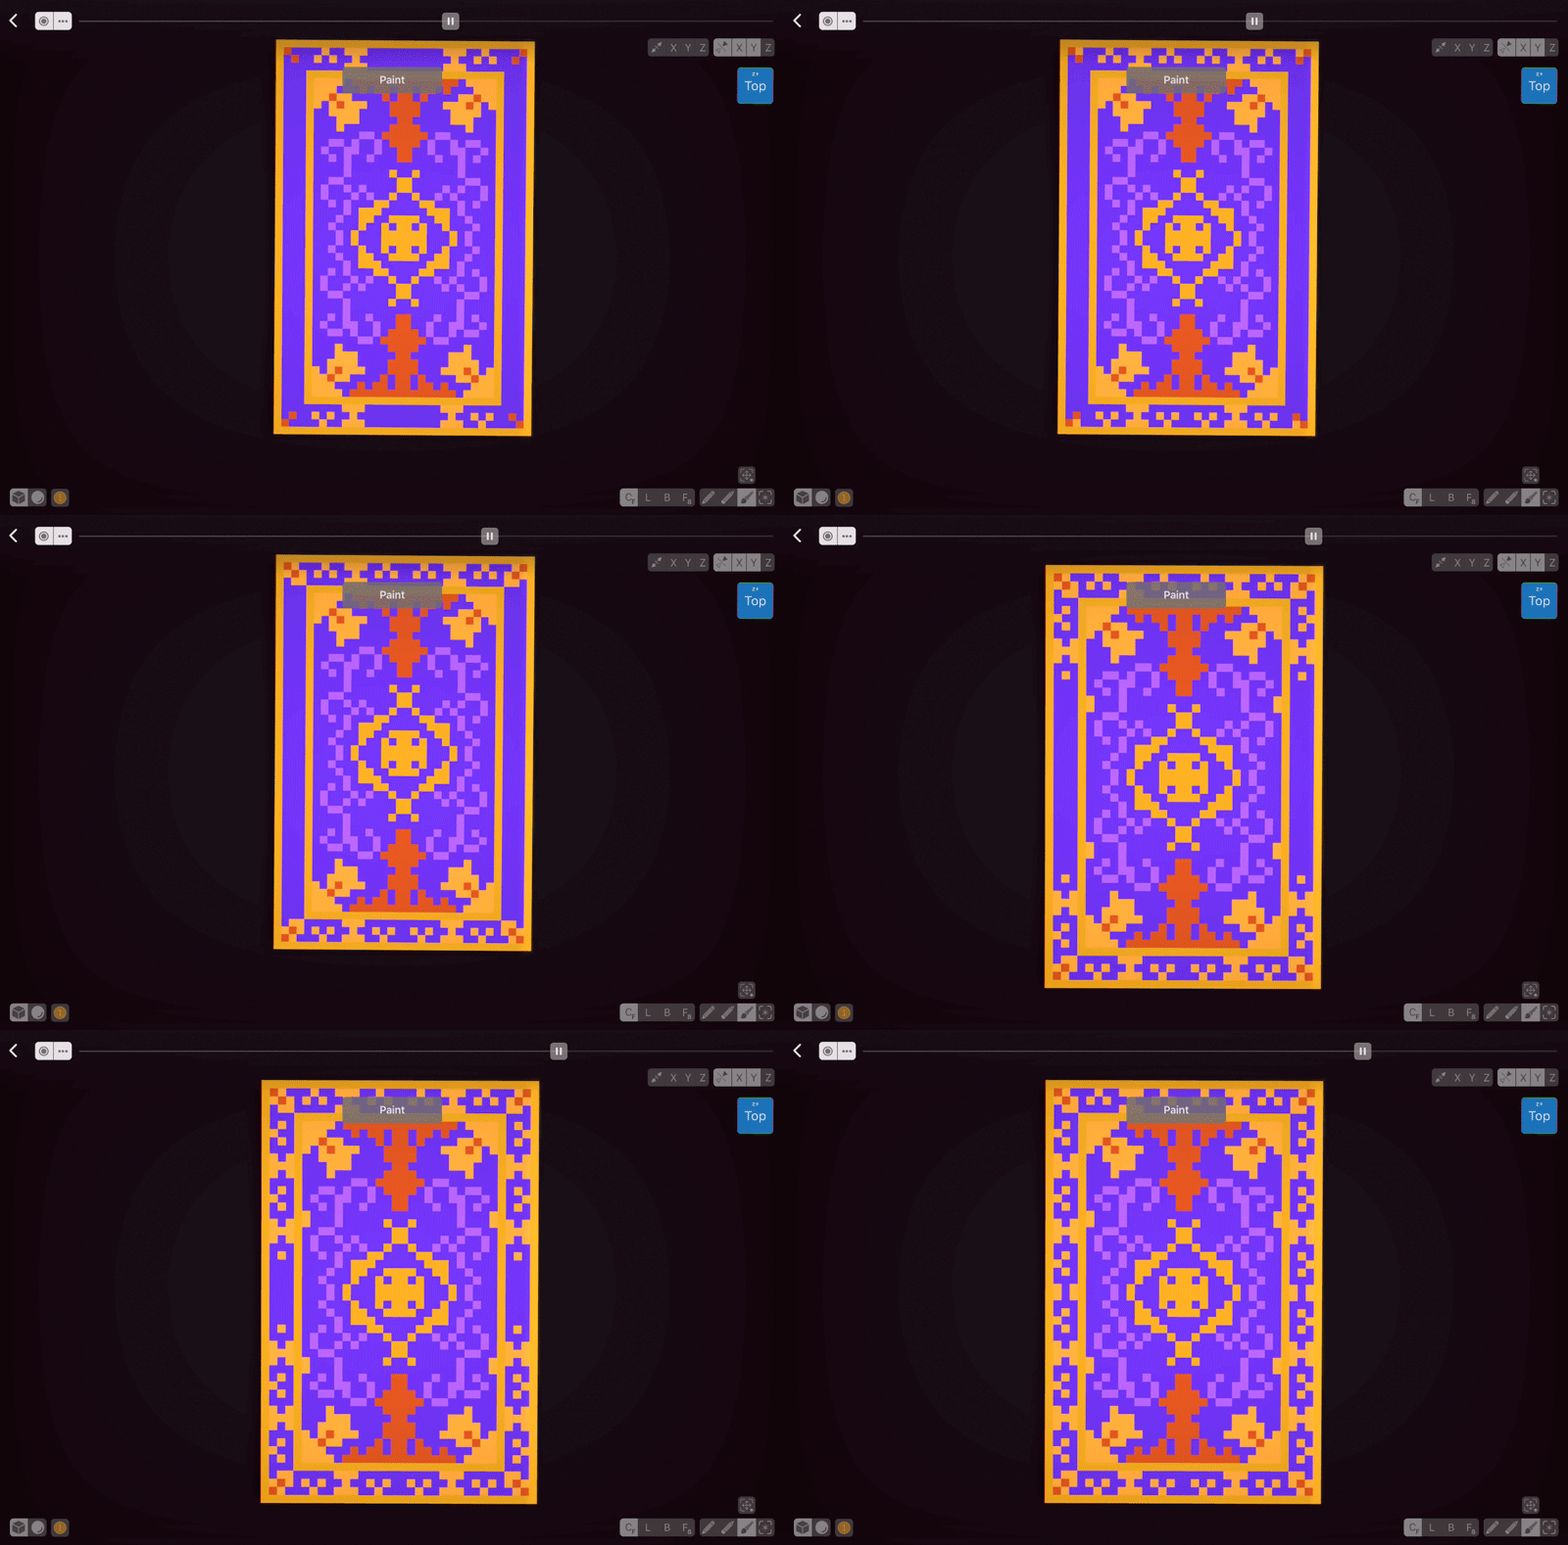
Of course, voxels are just 3D pixels — when working on a smaller scale we’ll have no choice but to omit some details. I normally do all the texturing and then look at my creation once again to see if the design looks wholesome and is recognisable.
It’s better to create more complex things first and then follow them up with simpler things, like I did here with the border design. In reference I’m using, the Carpet has one golden colour for all the golden elements, but I’m using two to make the borders stand out and visually separate the body and the borders.
While carpet itself is quite flat, tassels are not, so it’s better to give them some volume.
Imitating Motion
While my Carpet already looks nice, it doesn’t quite look alive. Motion can be imitated by moving bits of its body to create the illusion of flight.
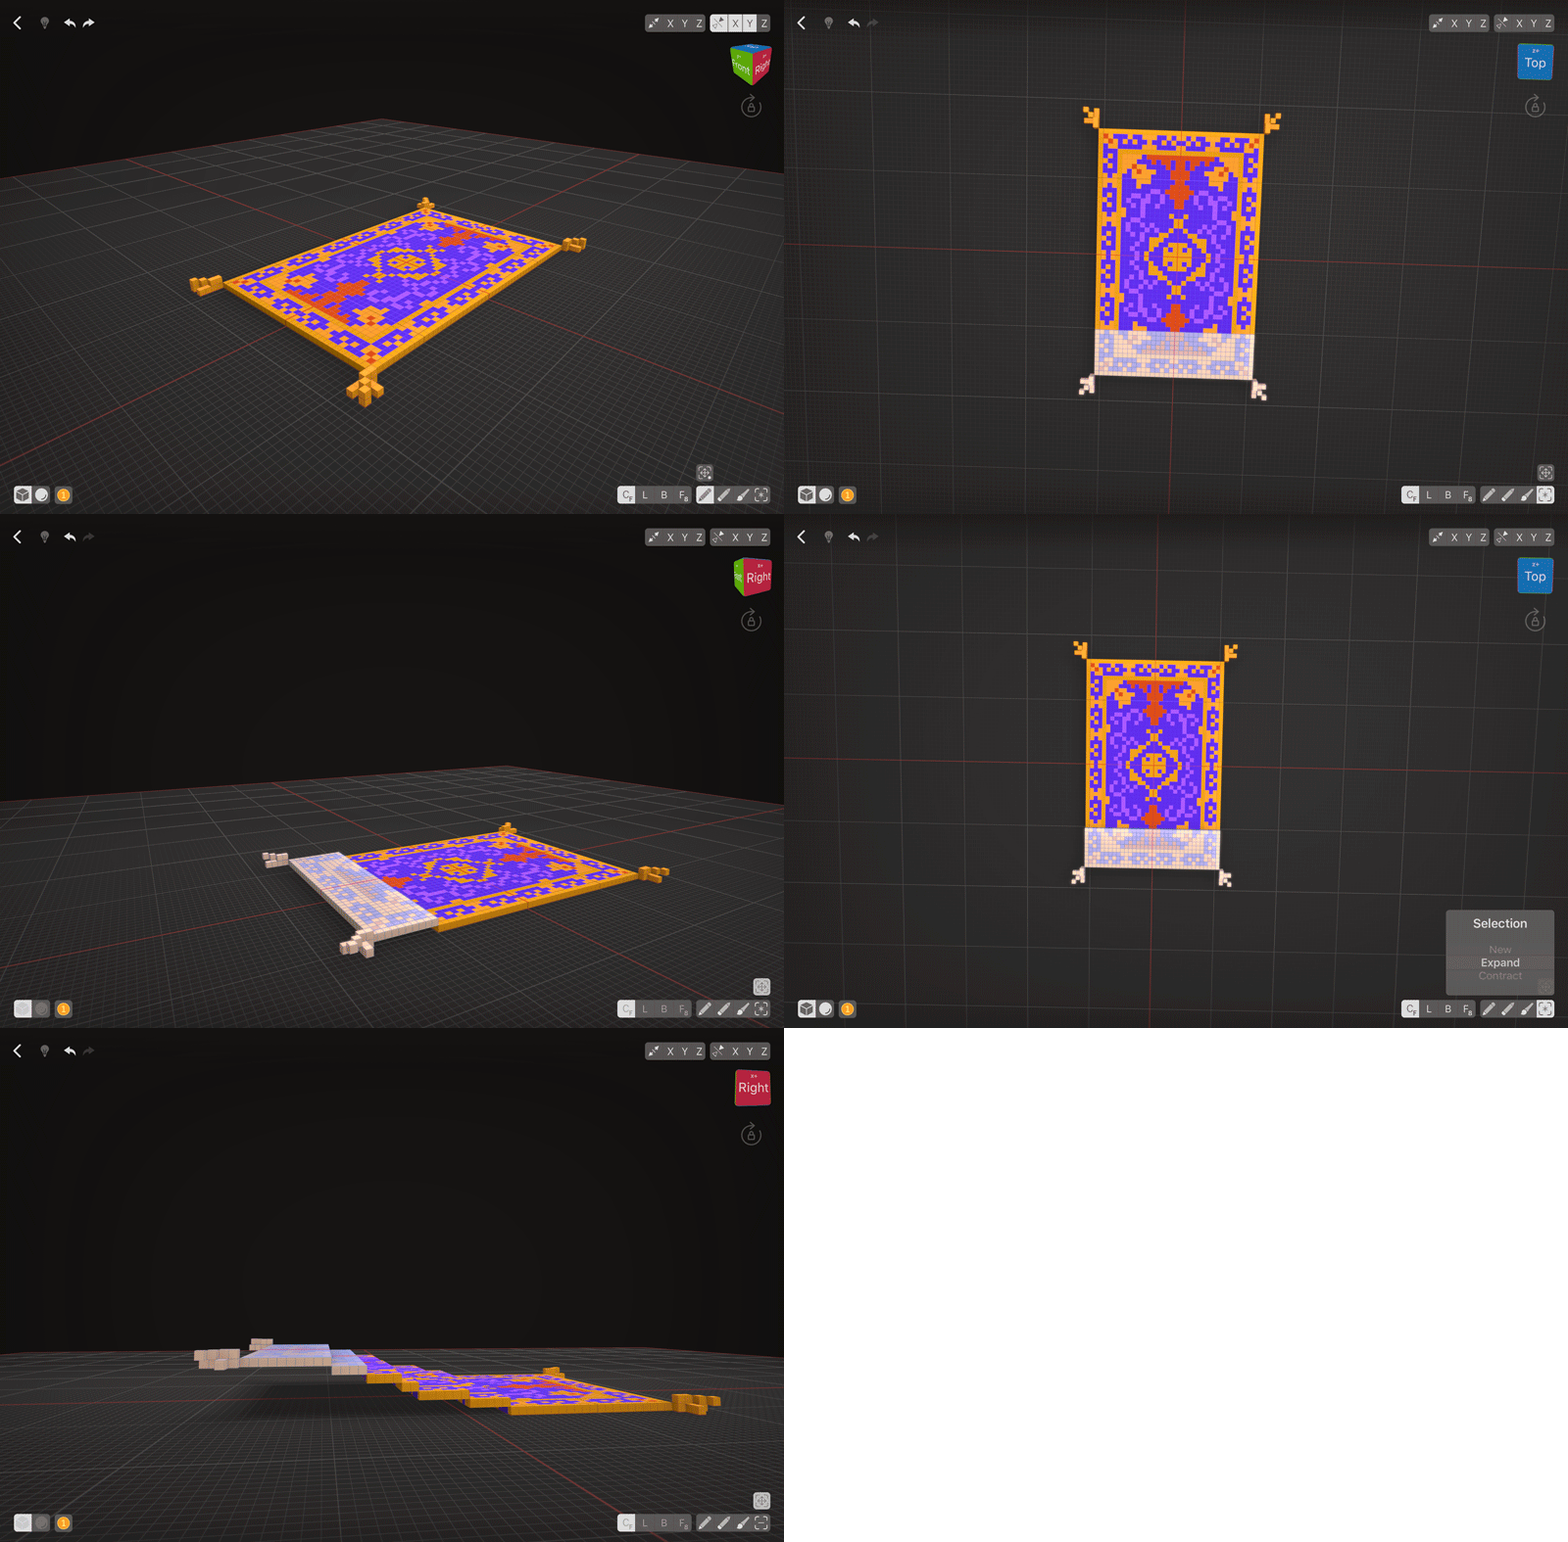
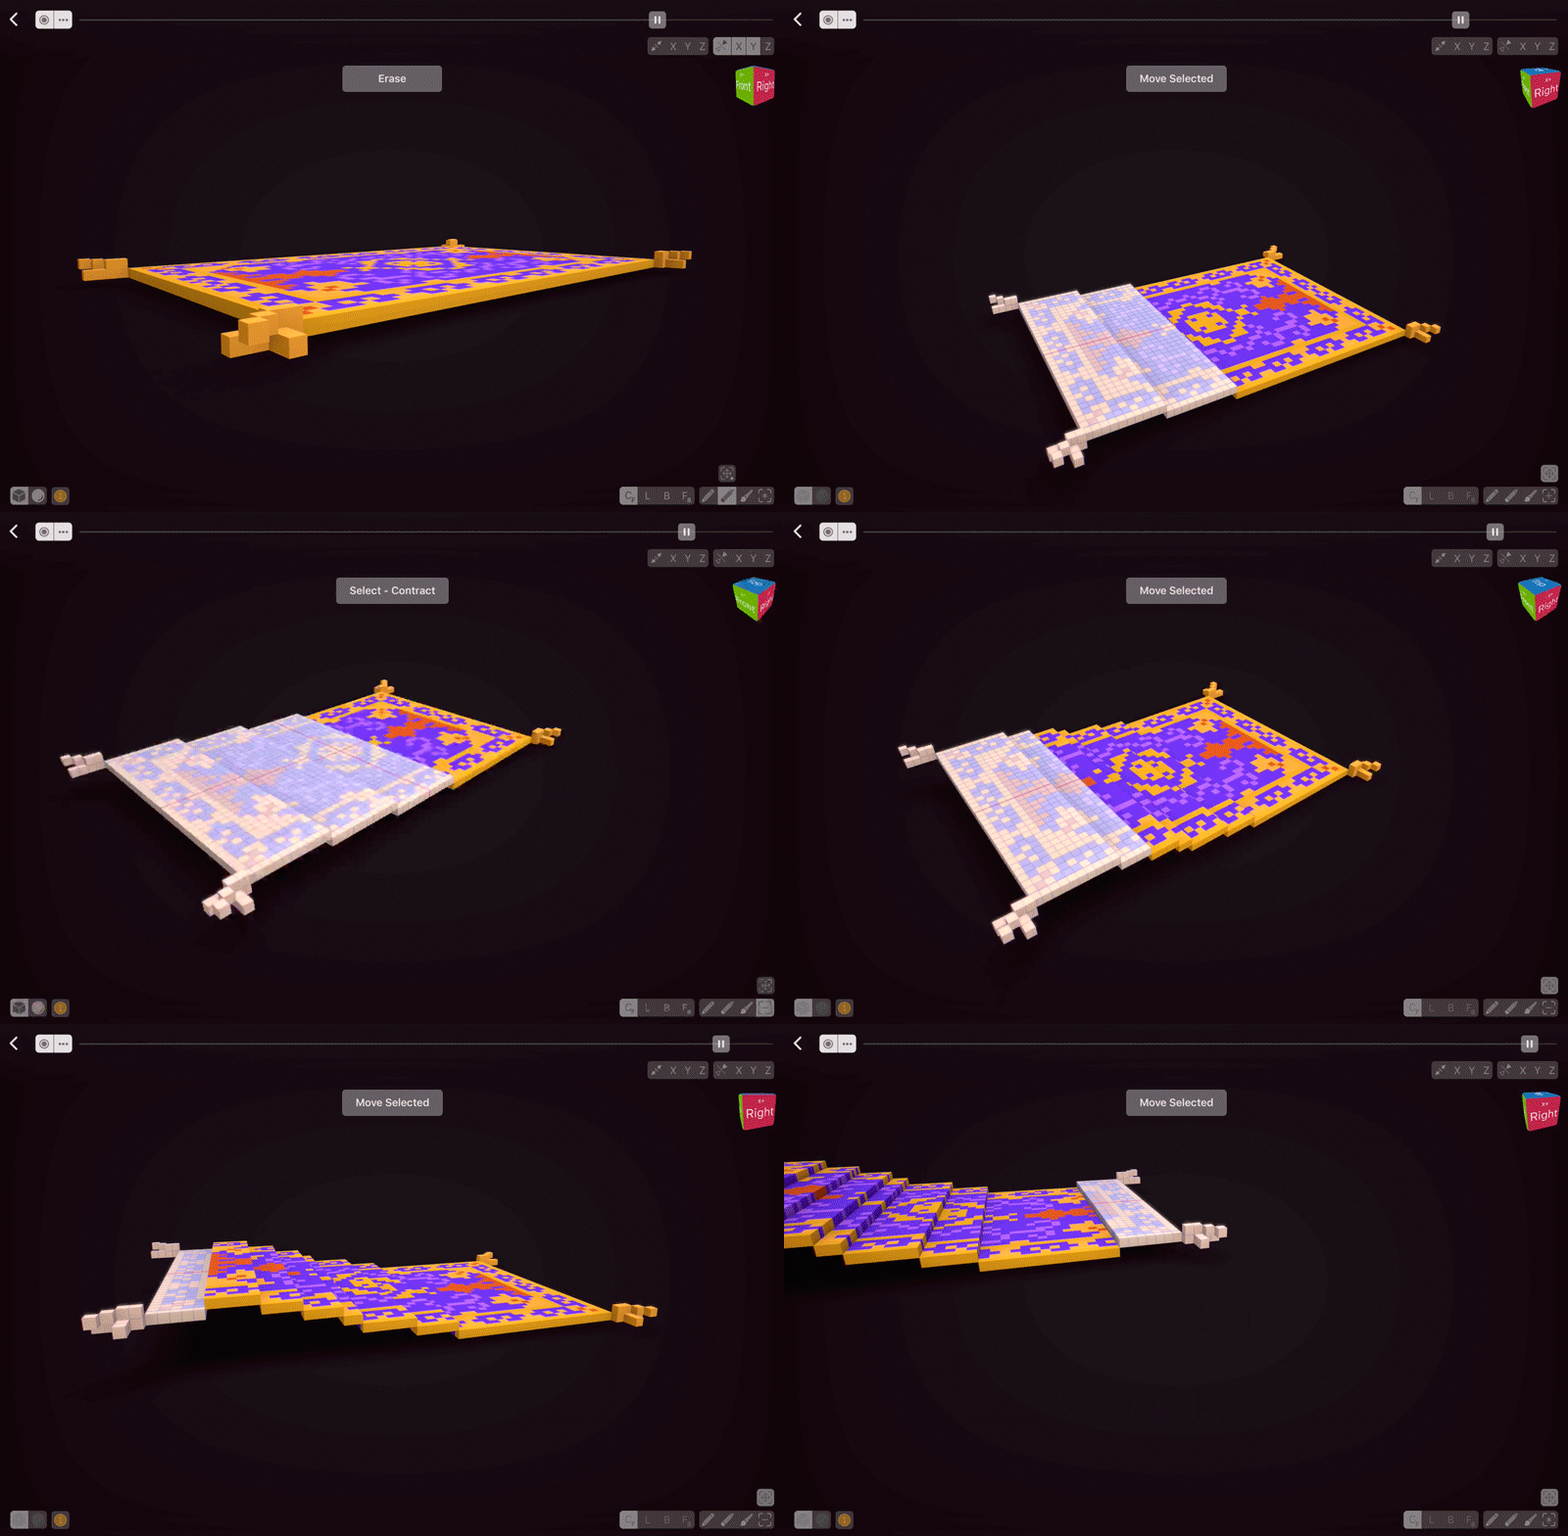
Selection is amazing tool in VoxelMax that has a lot of options. First of all, brush size affects the selection size, so I’m going to choose a larger brush, and then I’m going to select the first part I’m going to move. In VoxelMax, you can quickly Move or Clone selected things by tapping the icon above Selection tool.
I’m going to move my selection 1 voxel up, and then instead of creating a new selection, I’m going to change my Selection tool mode to Expand instead of New. That way, I can add more voxels each time I’m moving stuff.
My initial upward moving of voxels wasn’t enough, so I switched my Selection mode from Add to Subtract and moved some more voxels. Depending on your creation, sometimes it’s better to use uneven chunks to create movement (for example, in water or fabrics), and sometimes it’s better to use even ones (hard objects). To enhance the motion effect, I moved a bit of the carpet at the back up as well.
Finished Scene
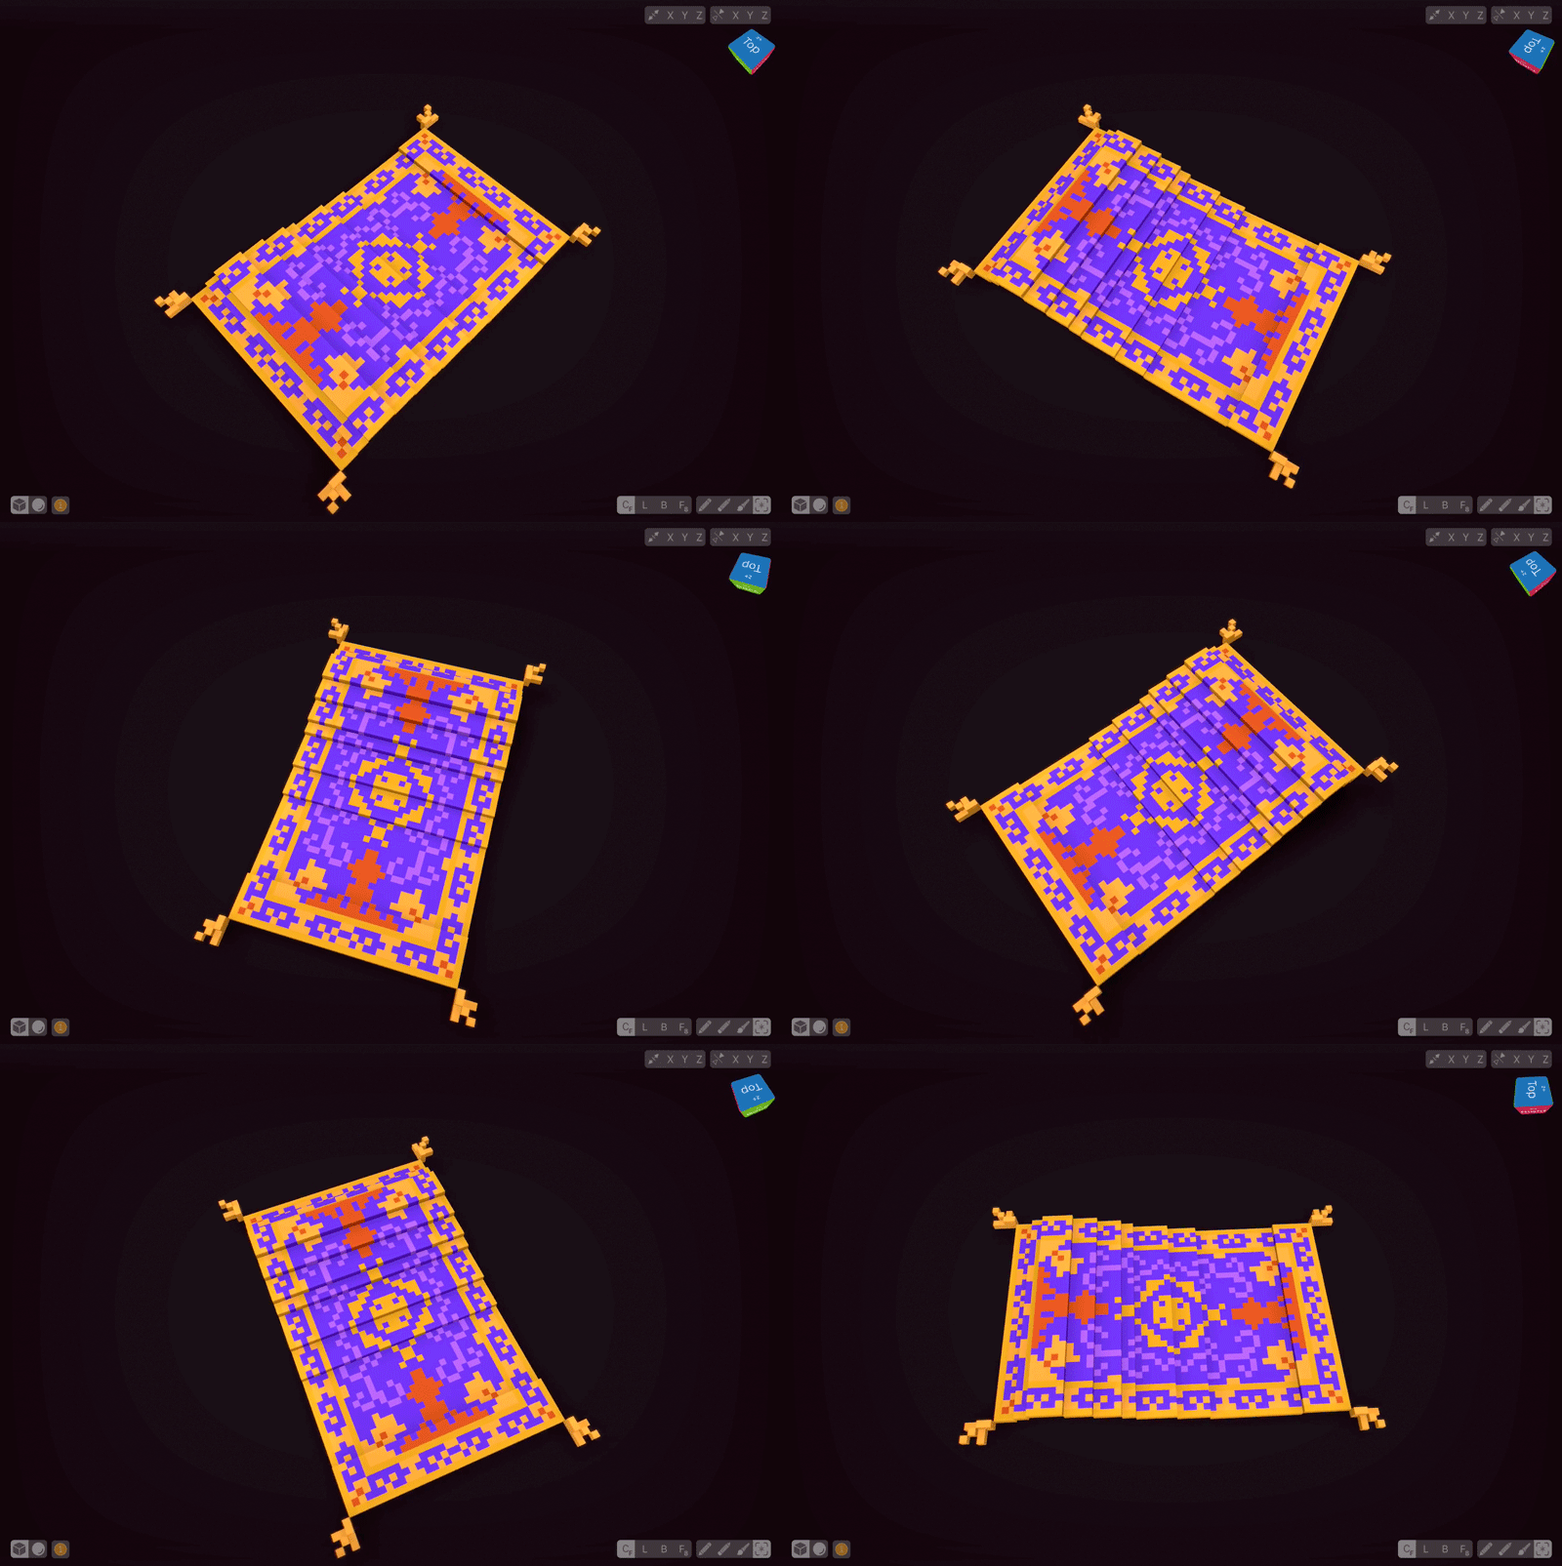
I’m pretty satisfied with the details and the way my Carpet looks, so I’m going to export it via Presenter View — hold the Perspective cube and choose the bottom icon to enter it. Your creation will start rotating, and you can adjust the viewing angle to your liking. You can either hold the rotation and screenshot or use screengrab and later share a video.

