Intro
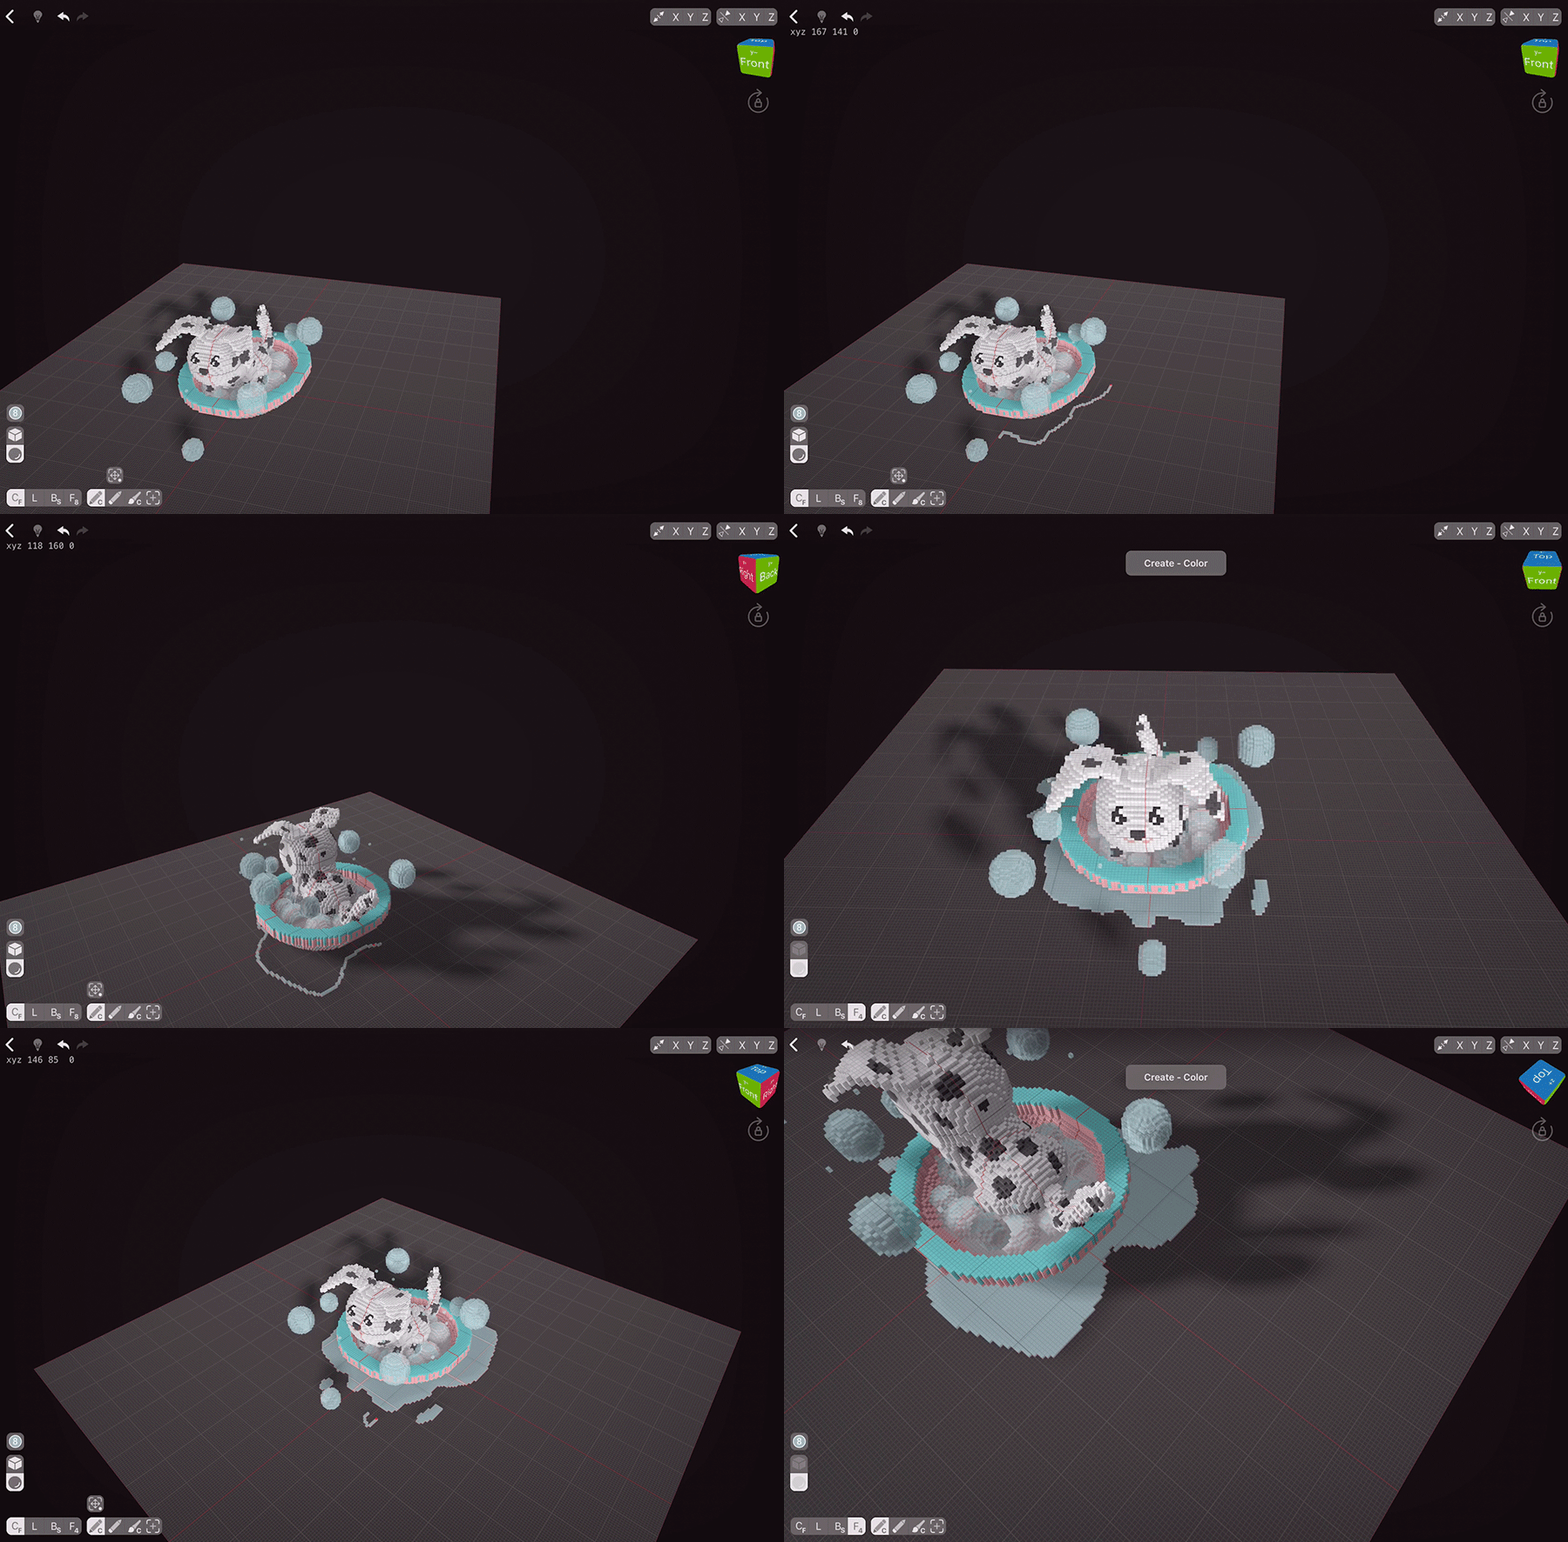
Today, let’s create a cute Dalmatian puppy. I’ve always had a soft spot for the 101 Dalmatians animated movie and wanted to create a voxel Dalmatian. Cruella DeVil, you’re also invited to join this tutorial, maybe that way you’ll stop hunting down those poor pups.
Body
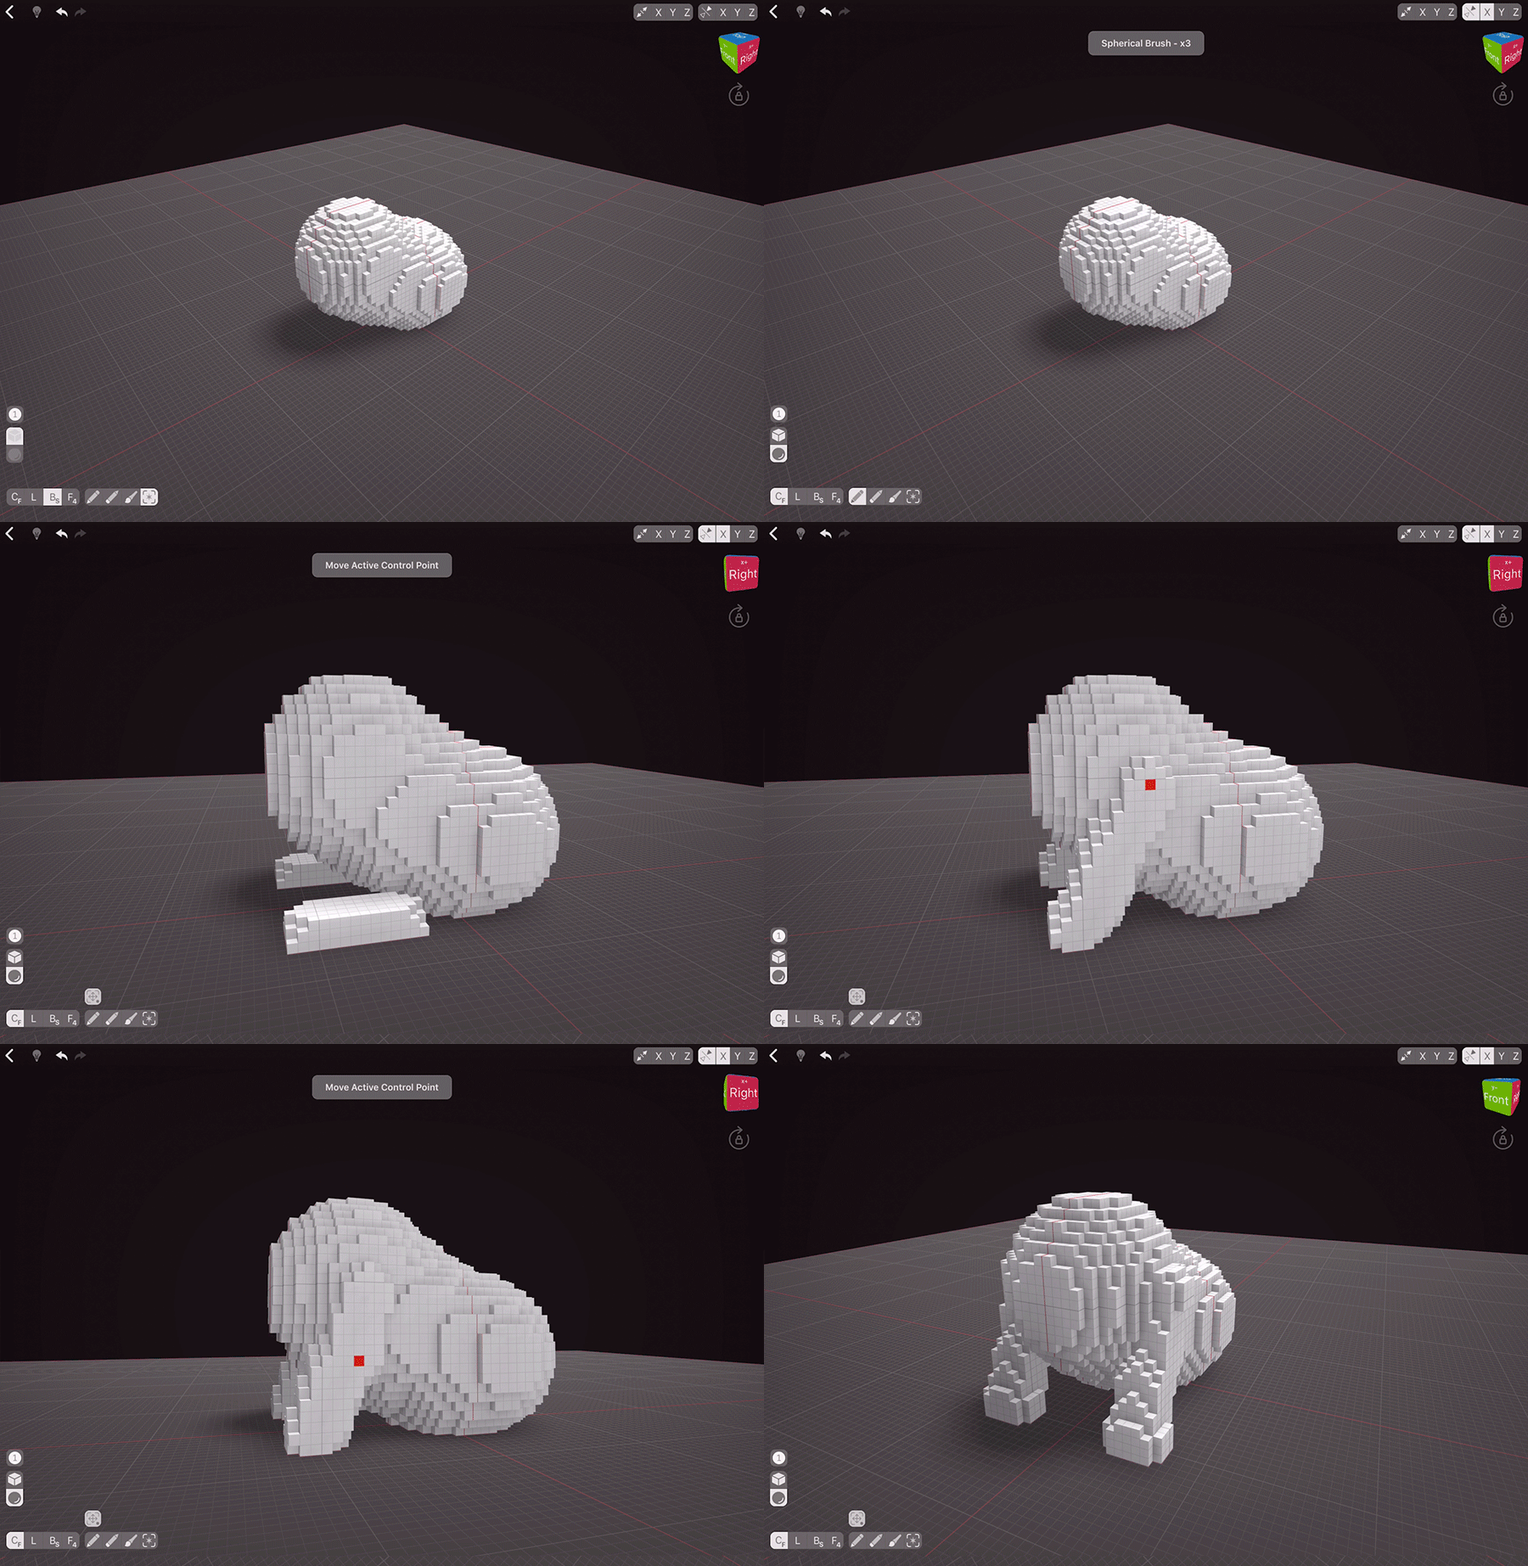
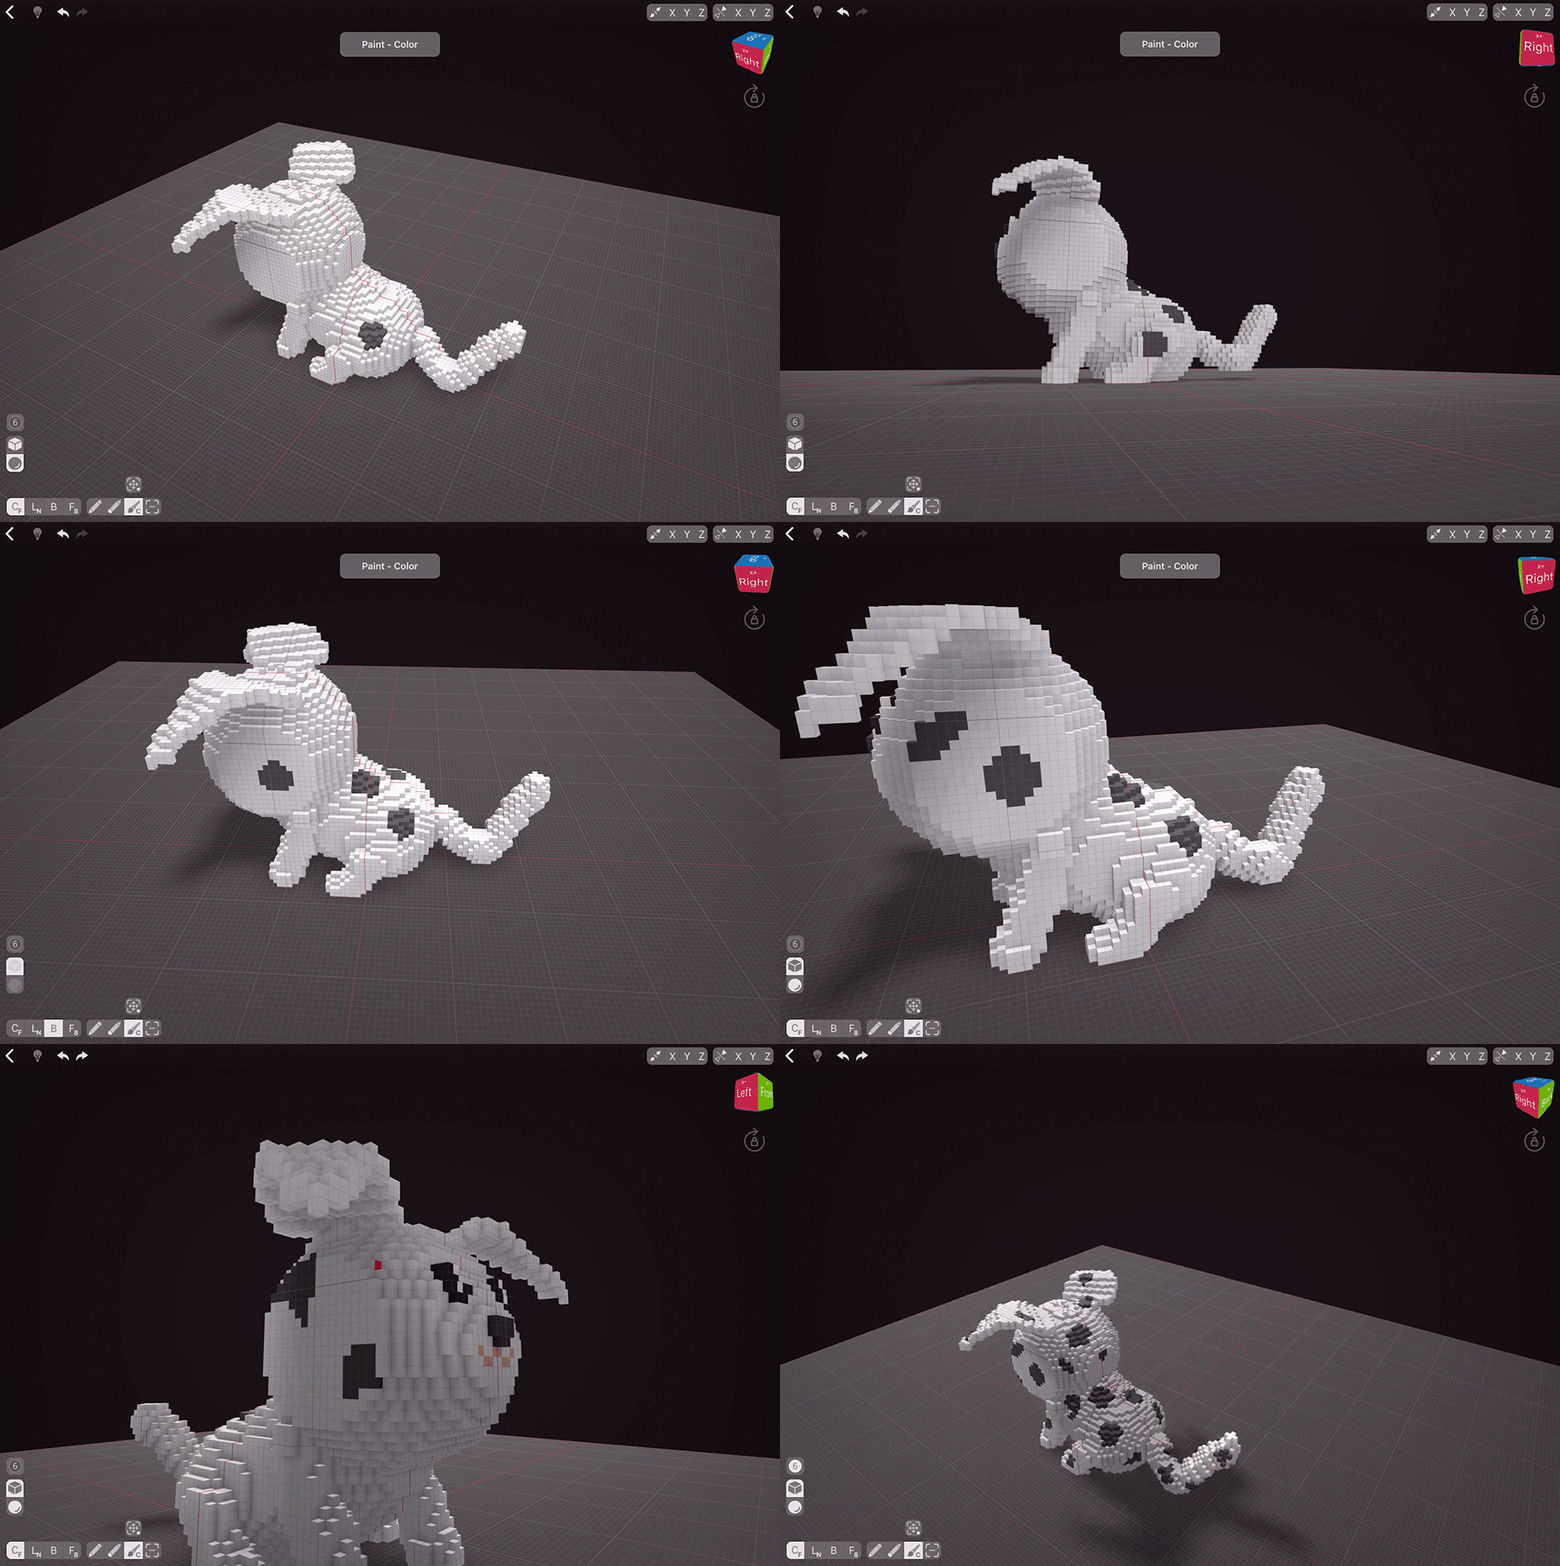
To create a body, let’s use Centered Mode with a spherical brush. You can go as big as you like with the brush size, keeping in kind that later on we’ll need to create a head that should be a tad bigger than the body. So, you can go up to 26 voxels for the brush size.
I don’t want my dog to be too big, so I’ll choose 10 voxels as the brush size.
As we’ll be using Mirroring at some points to ease our creation process, we need to position our creation in the centre of the working area where two red lines meet.
Create a straight line and then switch to Adjust Last Action Tool on top of Create Tool. First let’s Move some control points so our body is positioned correctly for a sitting puppy, and then let’s use Resize to make a fuller upper body.
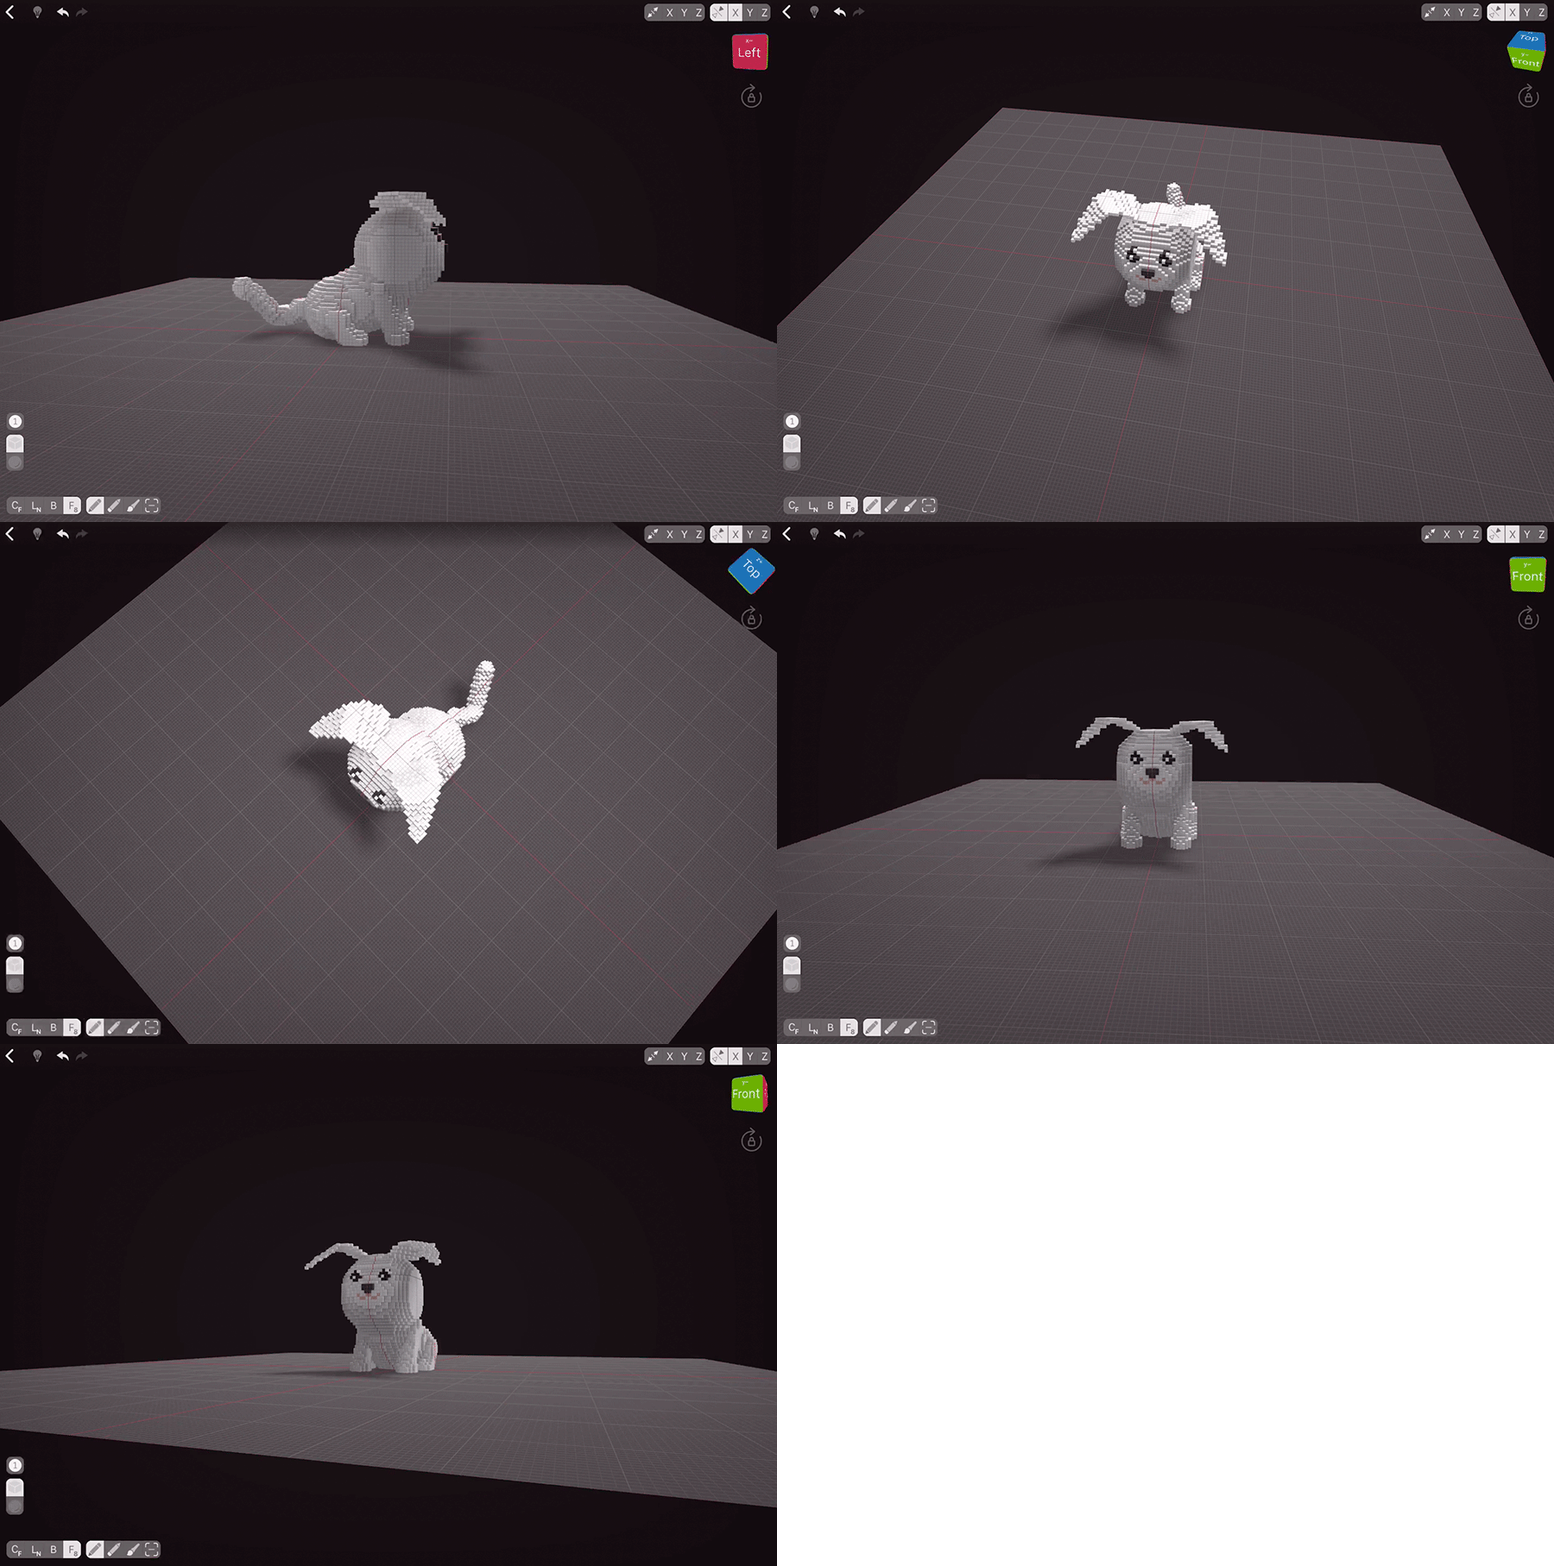
When creating organic things, it’s important to always check how our creation looks from different angles.
Symmetry
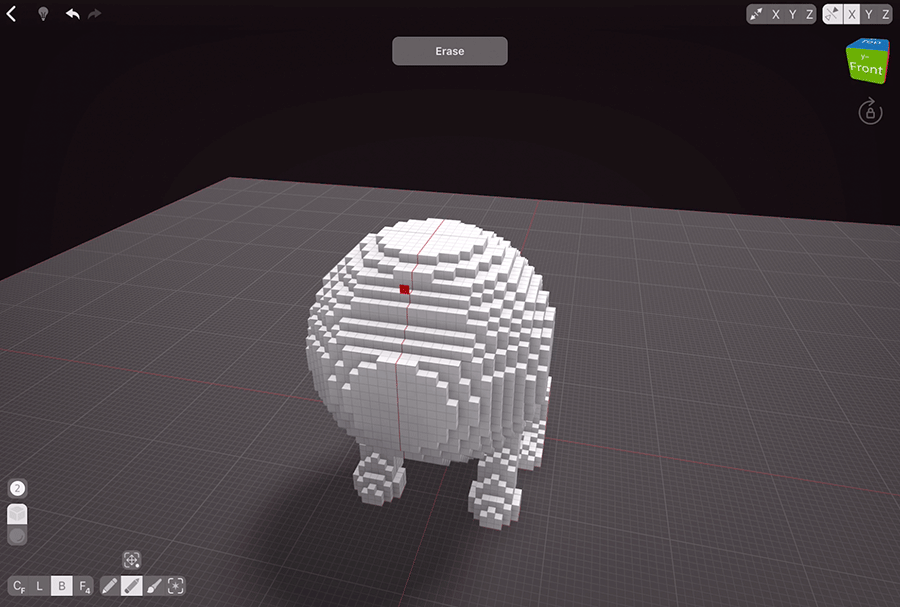
By default, VoxelMax creates uneven spheres. Let’s use Box Select Mode to make our puppy’s body symmetrical.
To do that, we’ll need to switch to Orthographic view by double-tapping the face on the Perspective Cube. For our selection, Top, Front or Back will work.
Once in Orthographic view, choose Box Select Mode and Selection tool and simply drag across the part you want to select. Everything in your way will be selected, even the voxels you can’t directly see.
Now we can switch to Move tool and slide our selection one voxel to the centre of the working area.
Our creation is now ready for the next step.
Front Legs
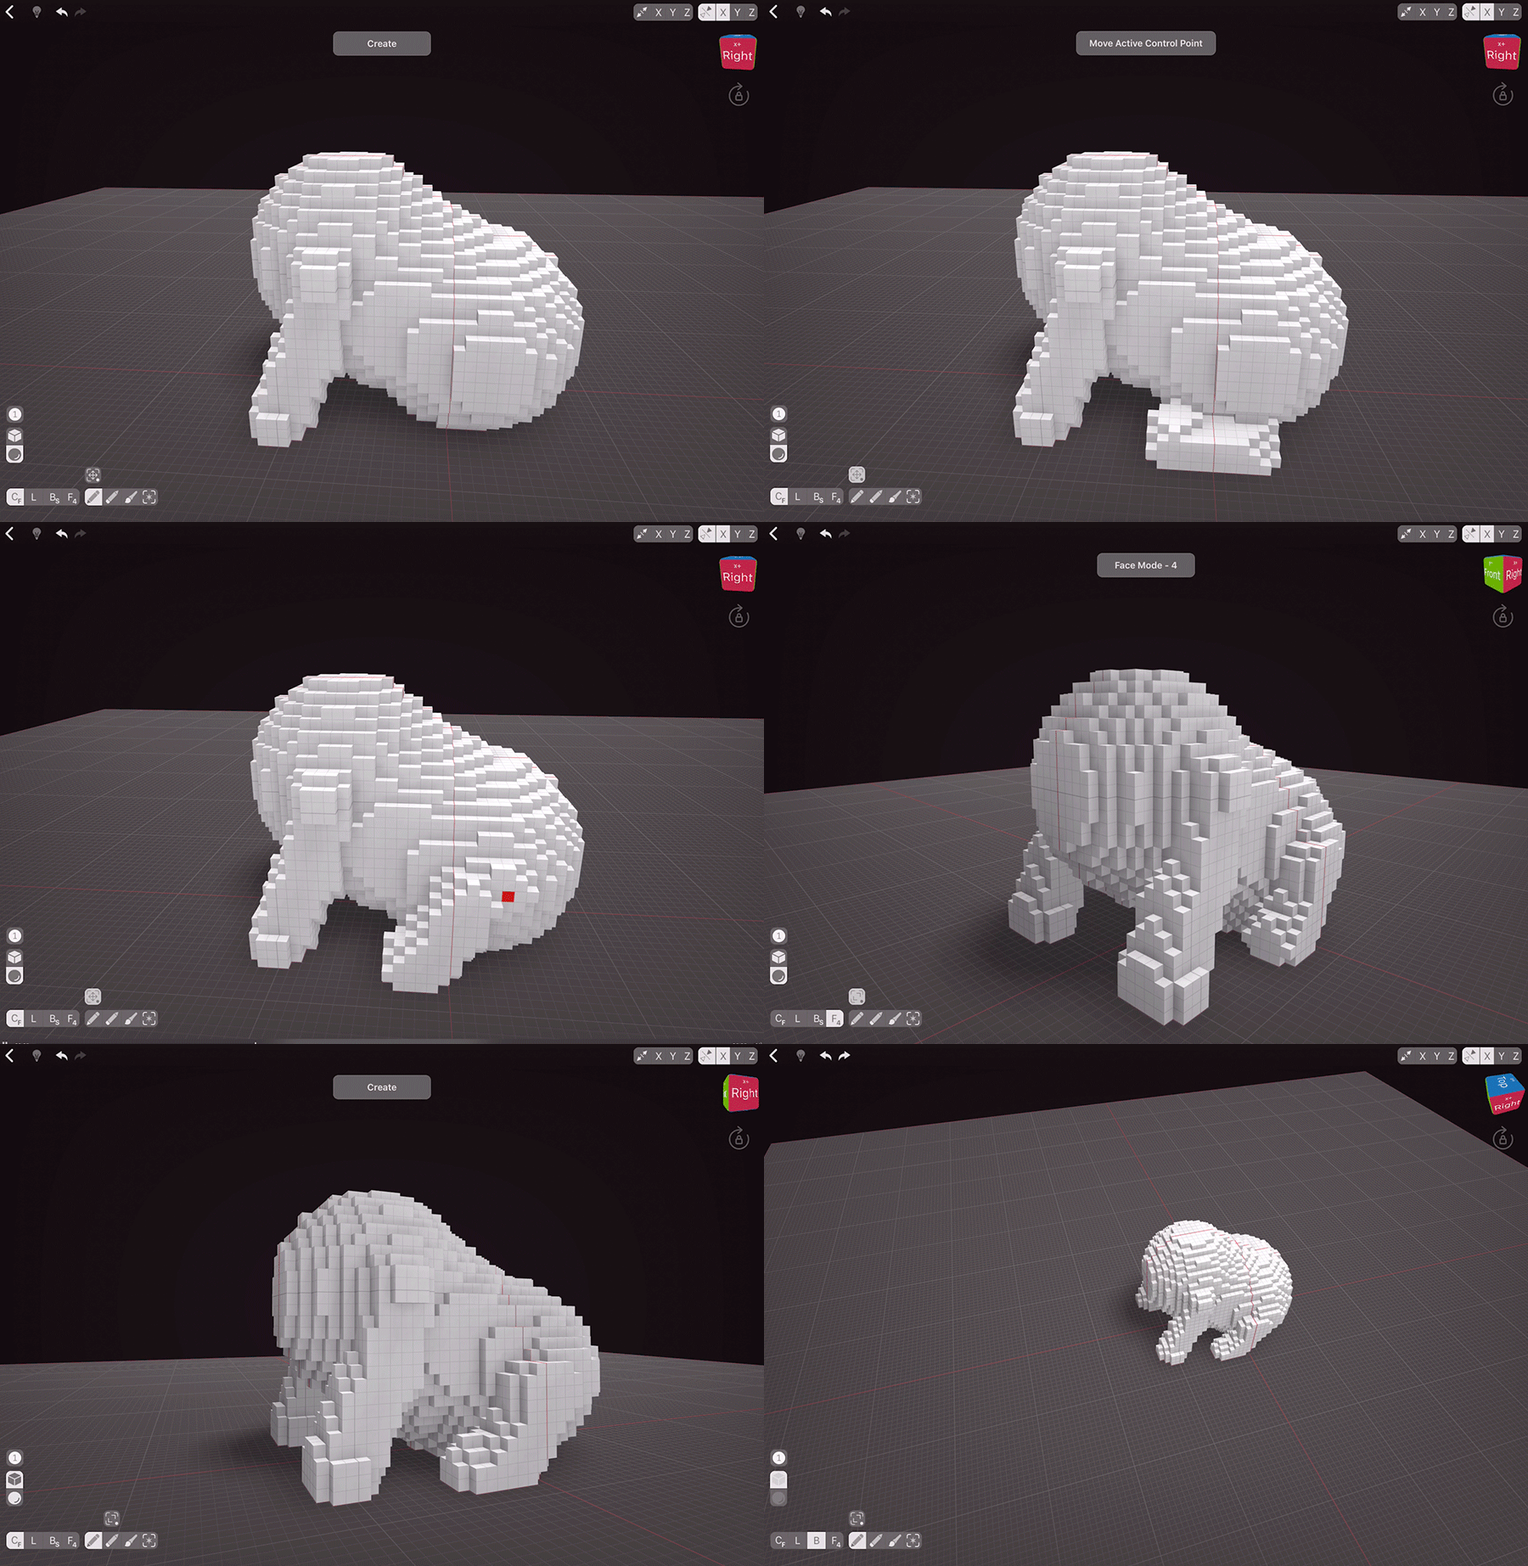
To create the legs, let’s enable Mirroring on X axis. Using sphere brush with a size of 3 voxels, draw a straight line near the front of the body. Using Adjust Last Action, Move the control point up to connect the leg to the body. Because of the Mirroring, the other leg will be moving accordingly. Choosing the Resize Active Control Point, enlarge both ends of the leg to create a joint and paw.
Back Legs
Repeat the same process for the back legs, and then bend them a bit. When resizing the top part, remember that when a dog sits, they bend their back legs, so we need to show that. Once done with adjusting, add a bit with Face and Box tools to the paws to make them stand out.
Head
To make our puppy cuter, let’s make their head bigger than the body. This trick almost always creates cuteness effect as infants have bigger head to body ratio than adults. If you’re using same sizes as me, let’s go for 14 voxels sphere brush. With Mirroring still enabled to create an even Sphere, tap on the top of the front body. If needed, adjust the head position with Adjust Last Action tool.
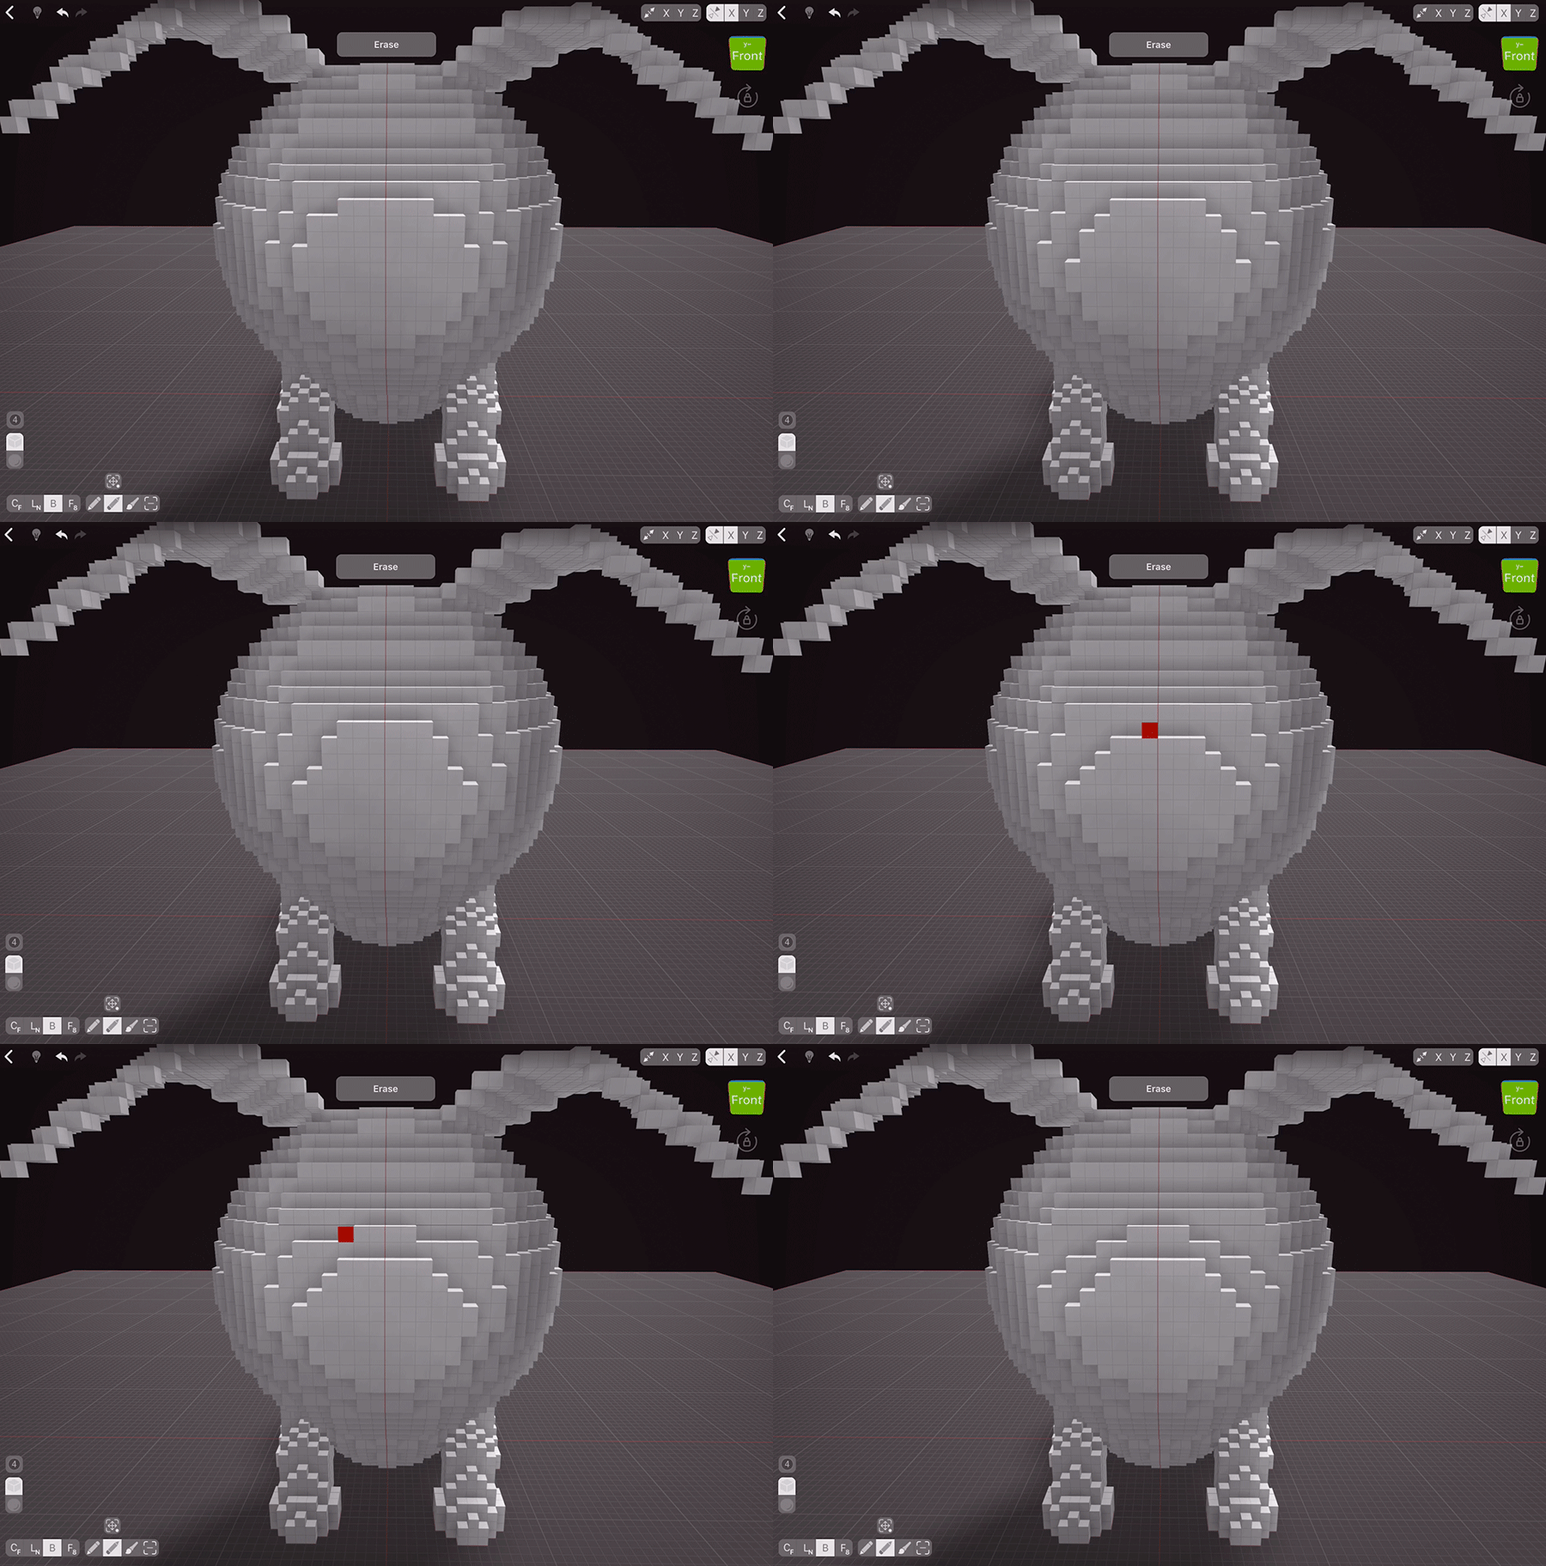
While sphere works as a general shape, we need to refine it. Let’s trim a bit in front with box tool so later we can start the nose.
Ears
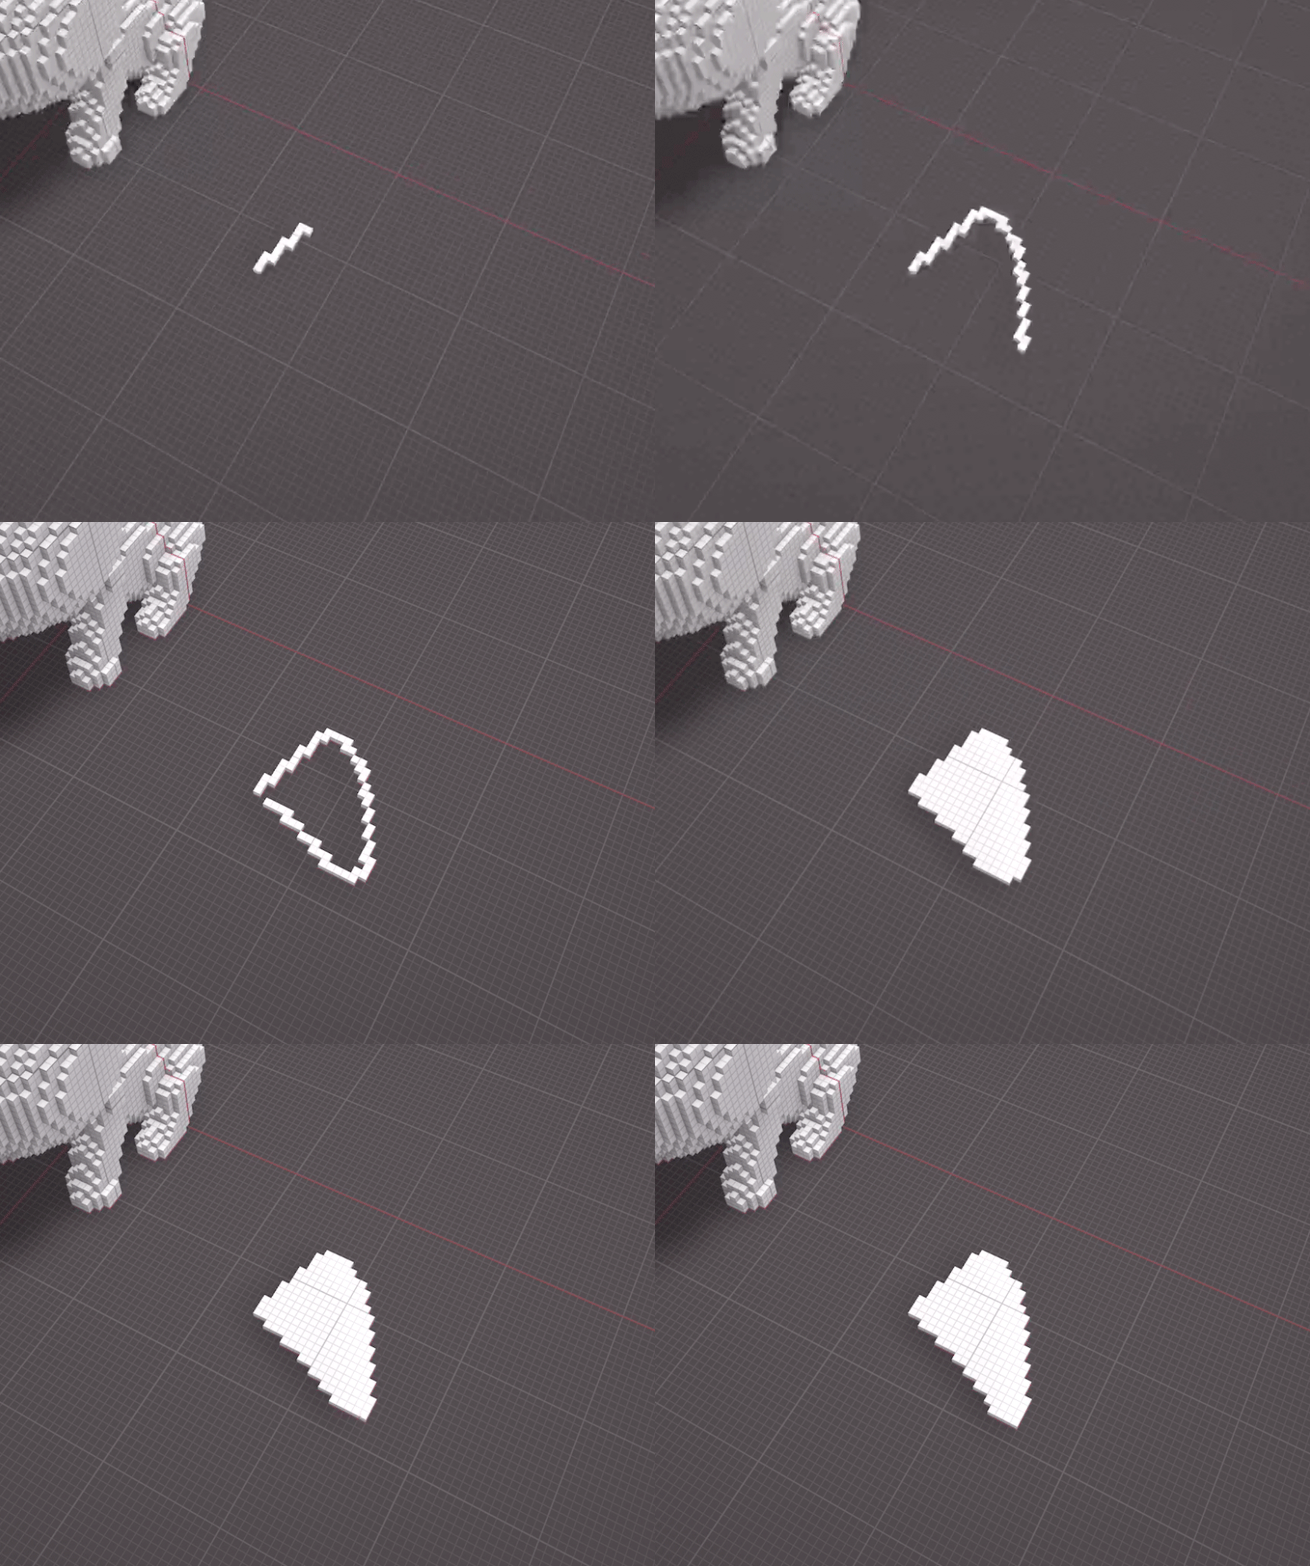
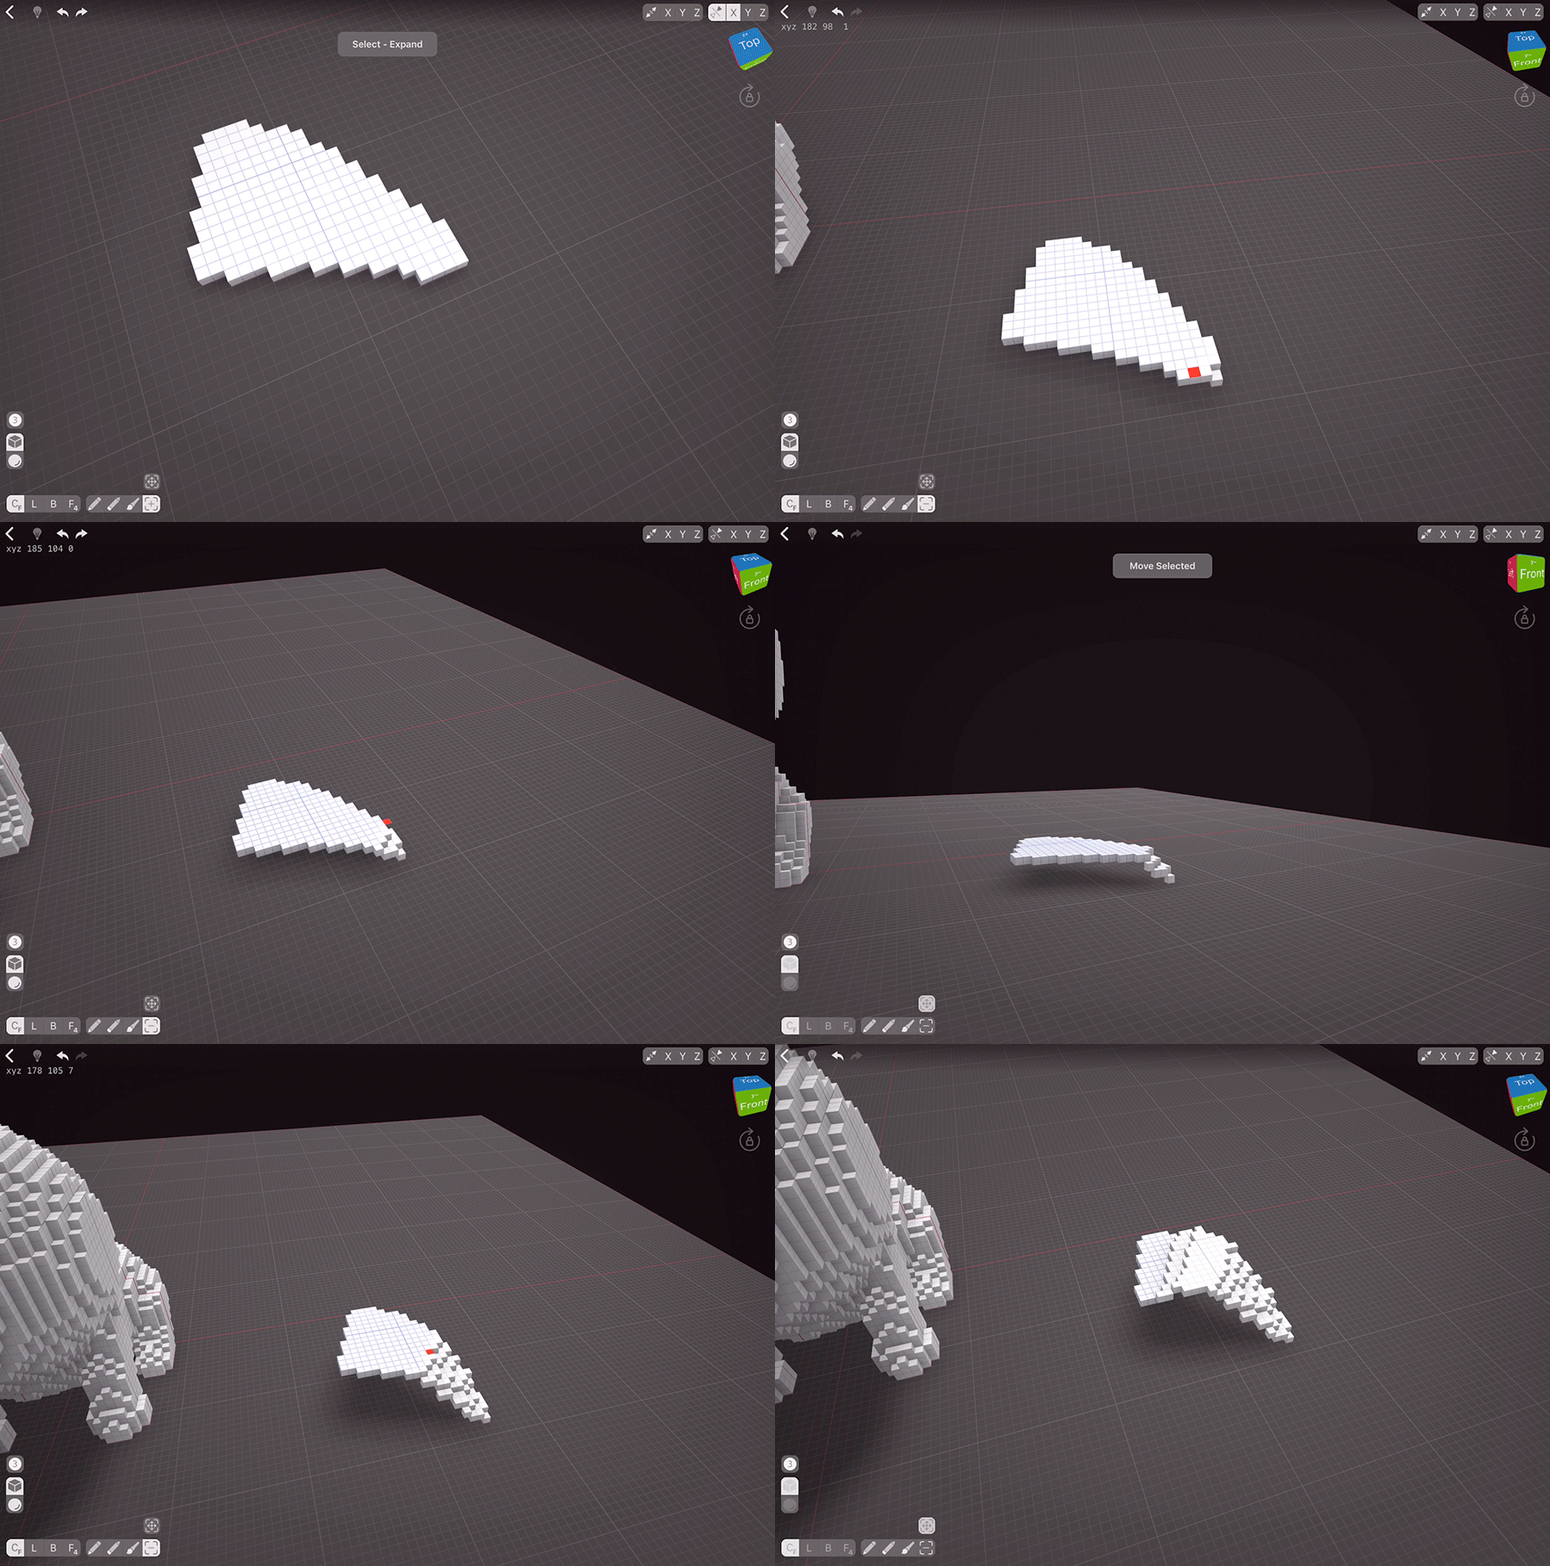
To create the ears, let’s start with turning off the Mirroring on X axis, and then creating a shape resembling an ear in some empty space of the working area with Centered Free Hand Mode and 1 voxel sized brush (I use cubic brush set to 1 voxel and sphere brush with adjusted size most of the time so I don’t need to resize the sphere each time I want to fine-tune something). Once you’re happy with the general shape, fill it with the Face 4 Mode to make sure everything else doesn’t get filled as well.
Flat ears won’t work for our scene, so let’s bend it. Select most of the ear and then move it one voxel up. Choose the Contract option from the Selection tool drop down menu and deselect a bit, then move again. Repeat this process a few times, then deselect a bigger chink and start moving the rest down. Now we have a nicely bended ear.
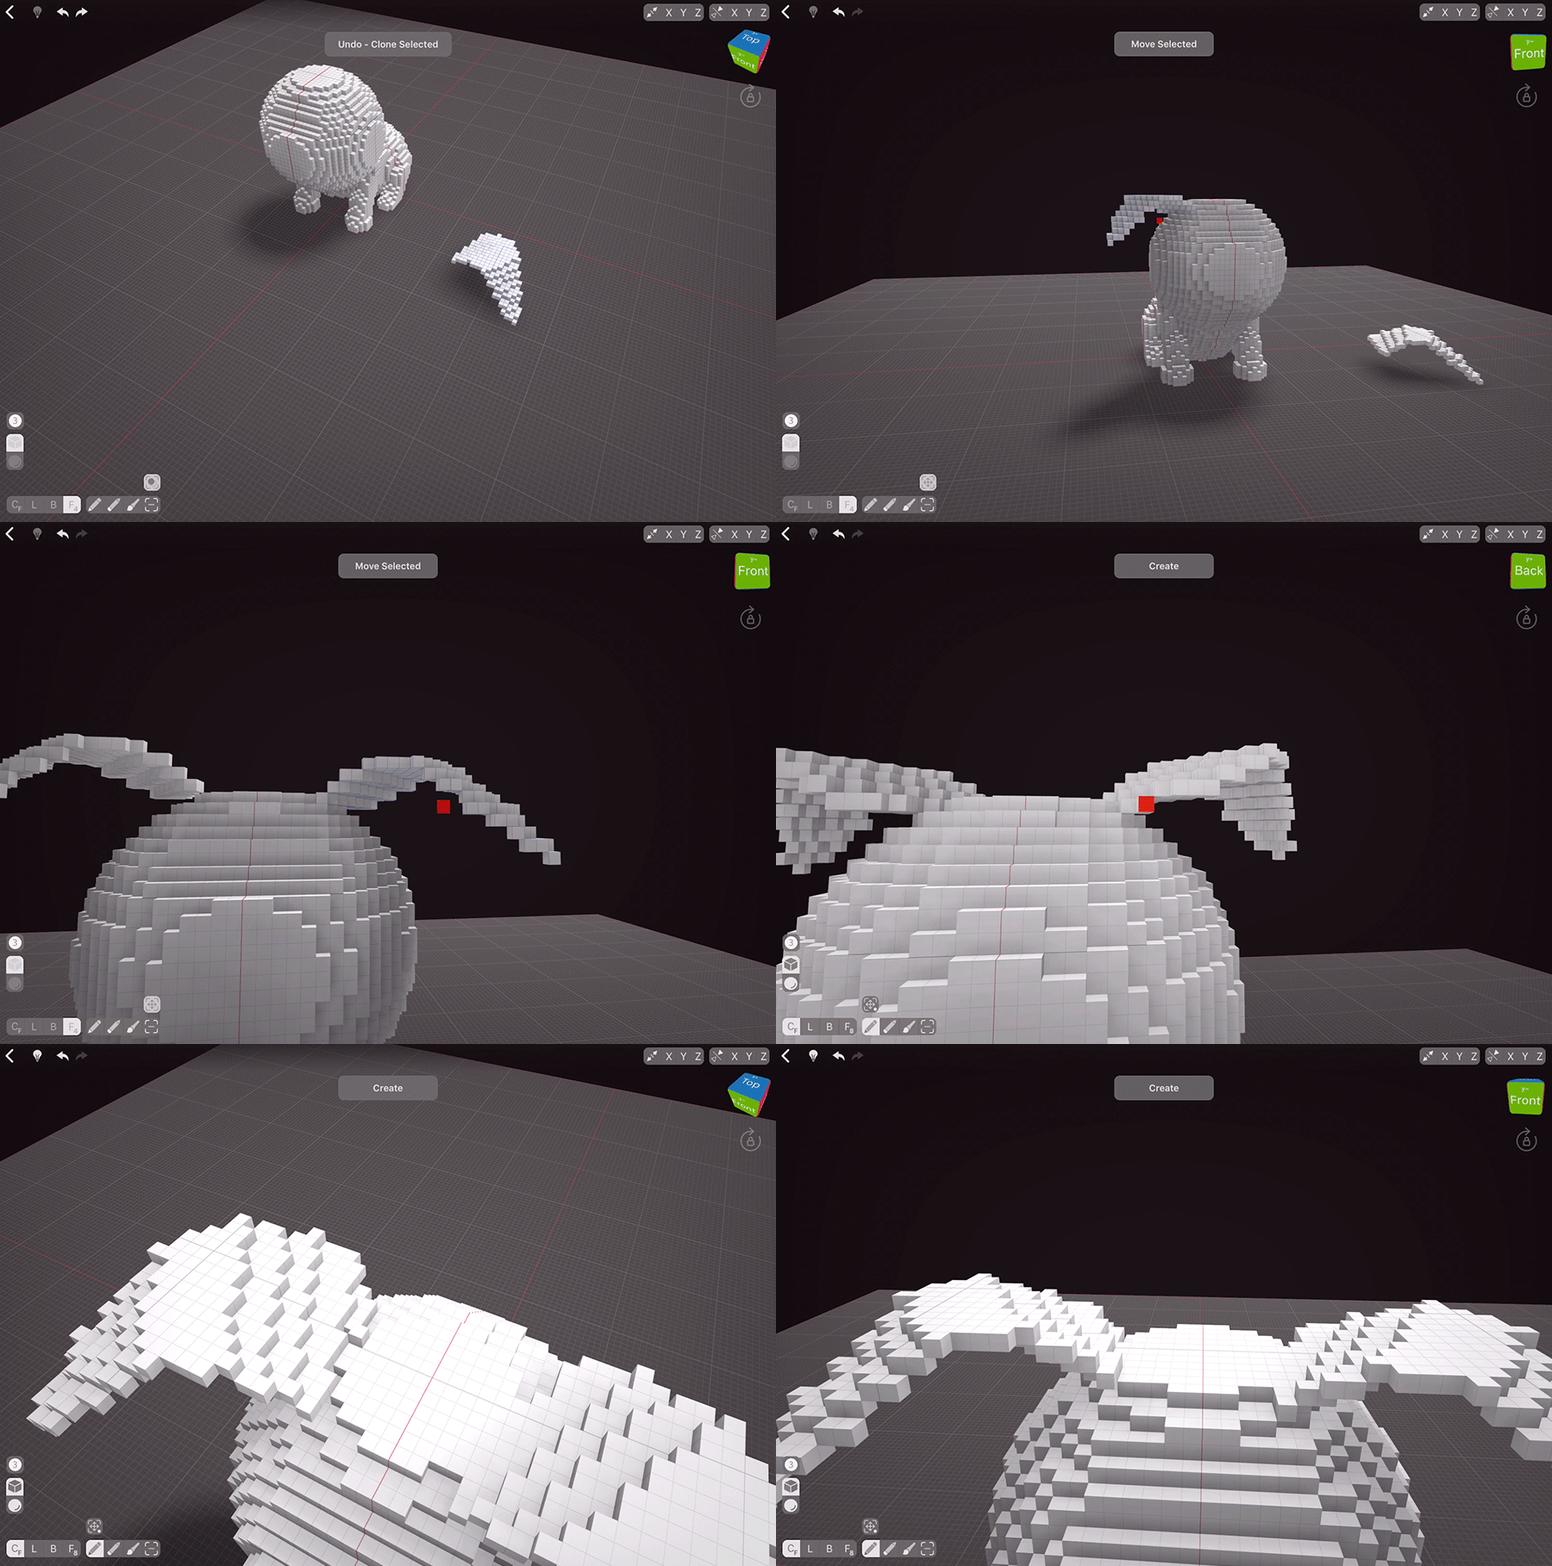
To copy the ear, select it by double-tapping on it with New or Expand options of the Select tool, enable Mirroring on X axis, double-tap the Move tool to switch to Clone and then simply tap in the area where the second ear should be. It will get copied and reflected, and now you can switch to Move tool to adjust its position. Move tool works better with Mirroring off as it’s precision gets better. Keep in mind that you should only release your ear once it’s either positioned correctly or is not yet touching the pup’s head: if you move it inside existing voxels, but later want to change the position, voxels that intersected with your selection will be cut. I think it’s better to have unevenly positioned ears, so I’ll move the second one a bit lower than the first one. Once both ears are in position, let’s fill in any weird spaces between the head and the ears.
Tail
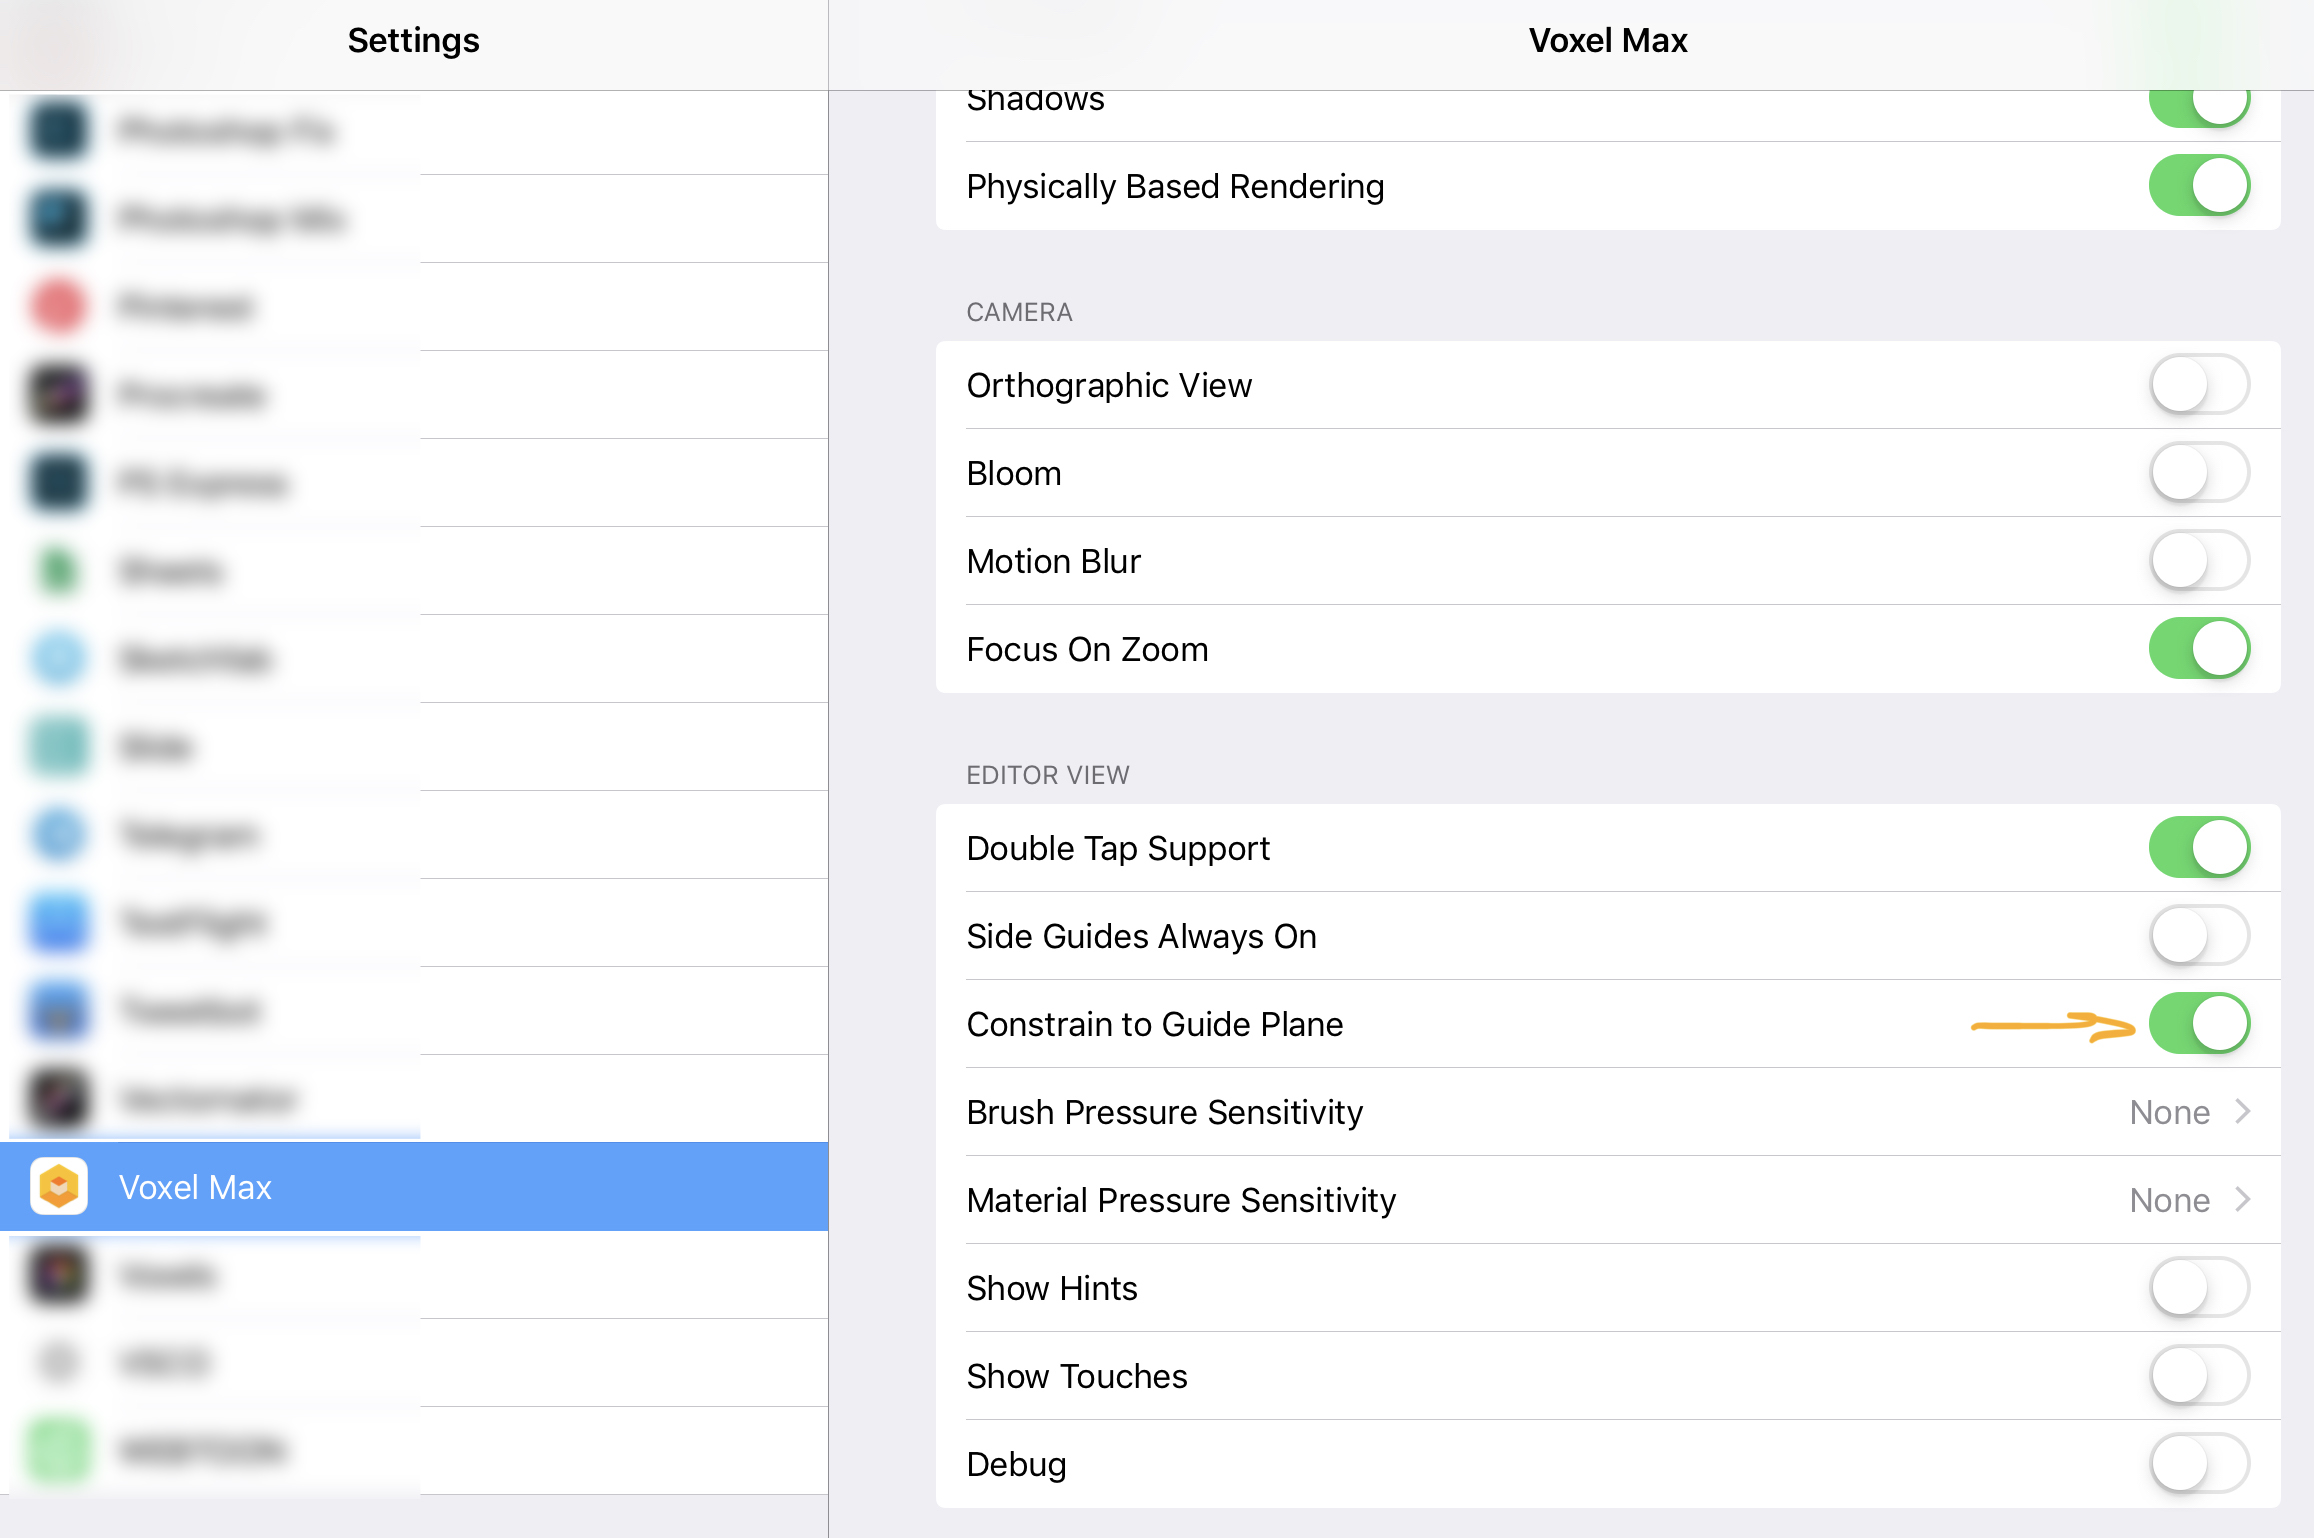
Every dog needs a tail, even if it’s a tiny one, and Dalmatians have gorgeous tails. To help us do that, we can enable the Constrain To Guide Plane option in Settings.
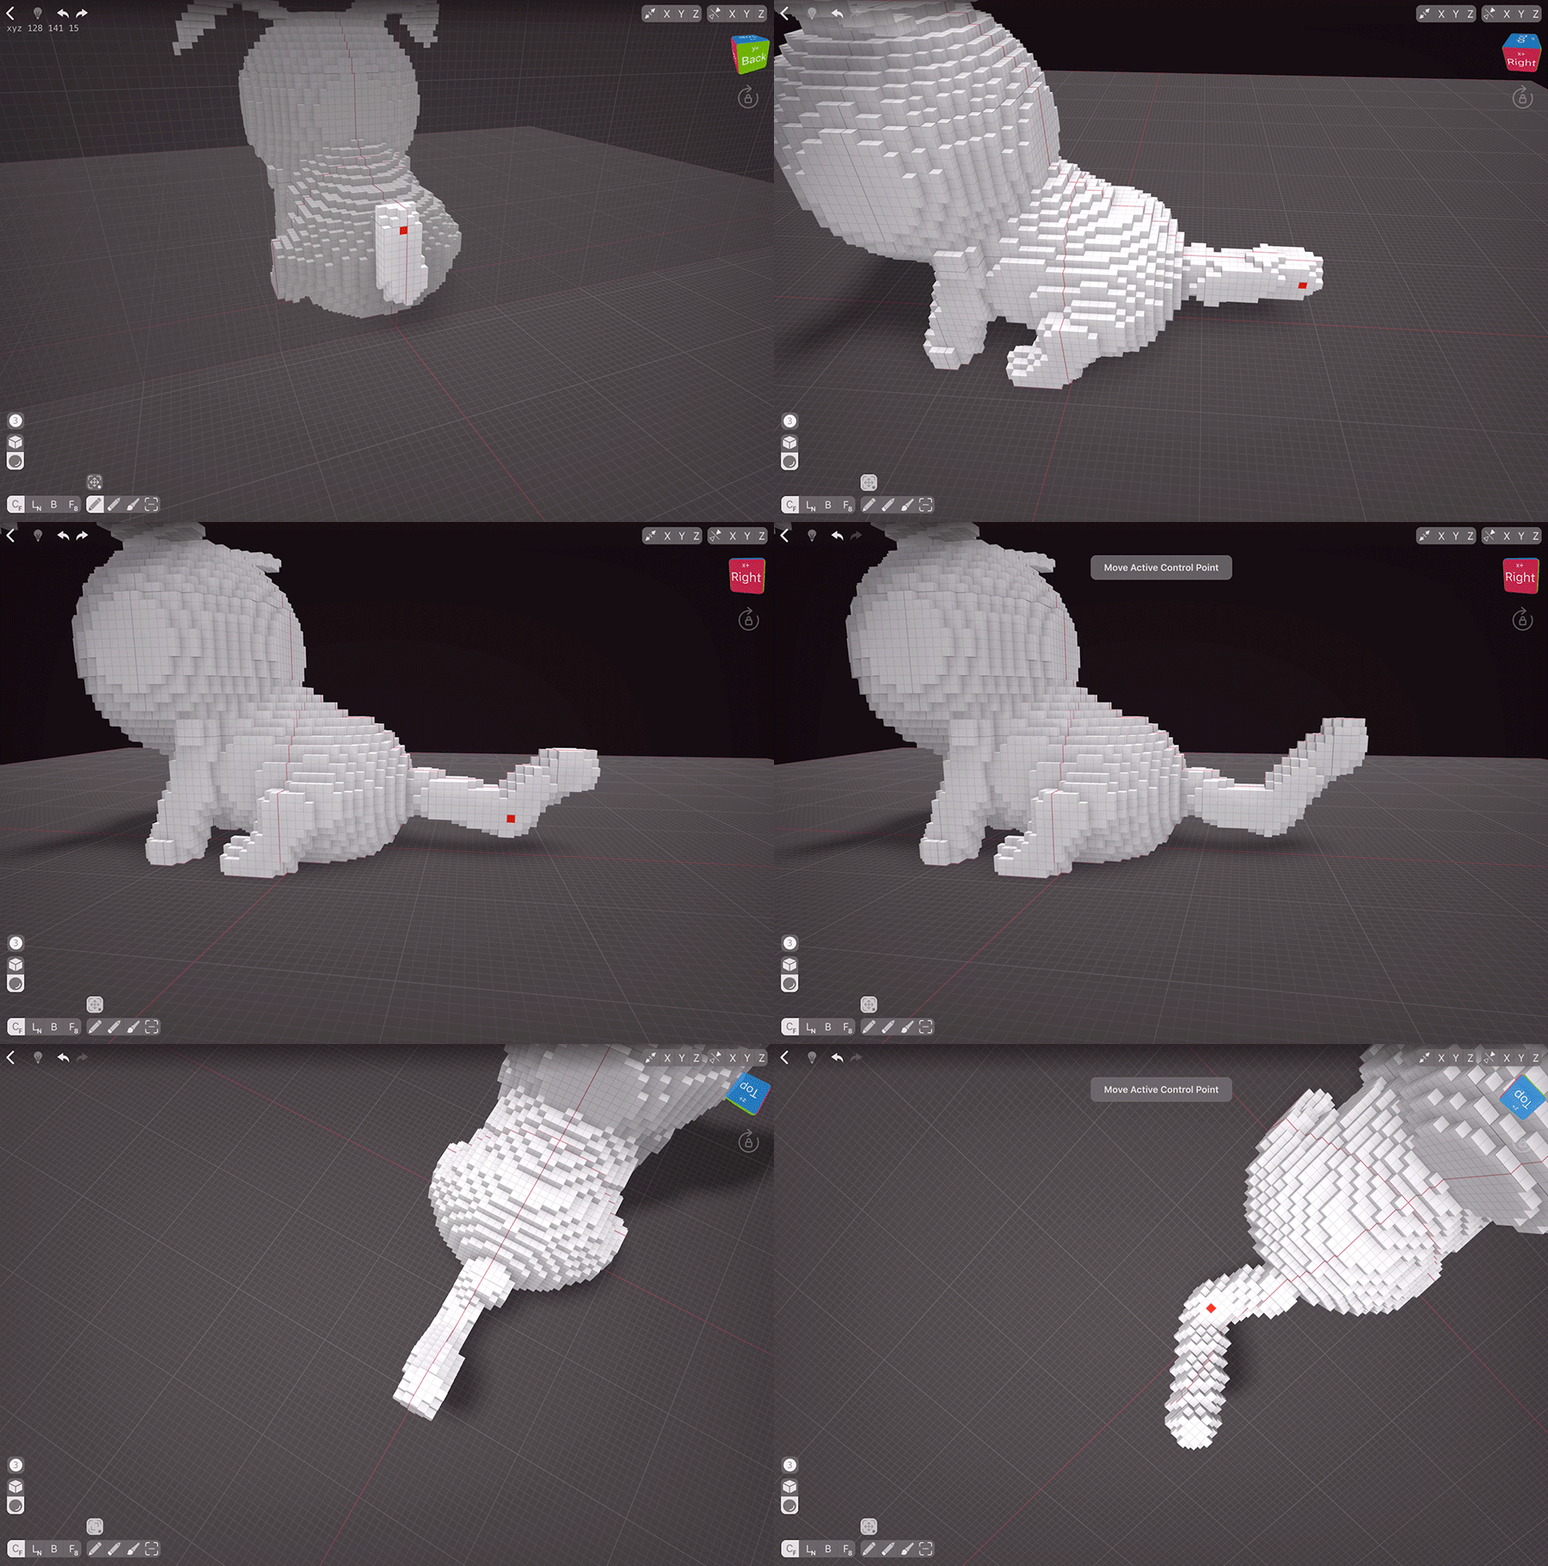
Now we’ve enabled the Guide Plane, let’s draw the tail going up. Simply touch the base of dog’s body, and an additional plane will appear. Drag your brush up like you would on any other plane. I’m using a 3 voxels sphere brush.
Adjust Last Action tool is super useful for anything organic, so let’s adjust our tail with Move The Active Control Point tool. You can make your tail go wherever you want!
Face
With the body sculpting done, we can now create the face. My approach is to create bigger things first and then fine-tune the details.
Although we’ve already adjusted the face shape a bit, let’s enhance the nose shape. We can now turn the Guide Plane off as it might obstruct our view a bit, and we need to turn the Mirroring on X axis back on. Using Box Mode and Erase tool, let’s cut off some chunks in front to create a pretty nose base.
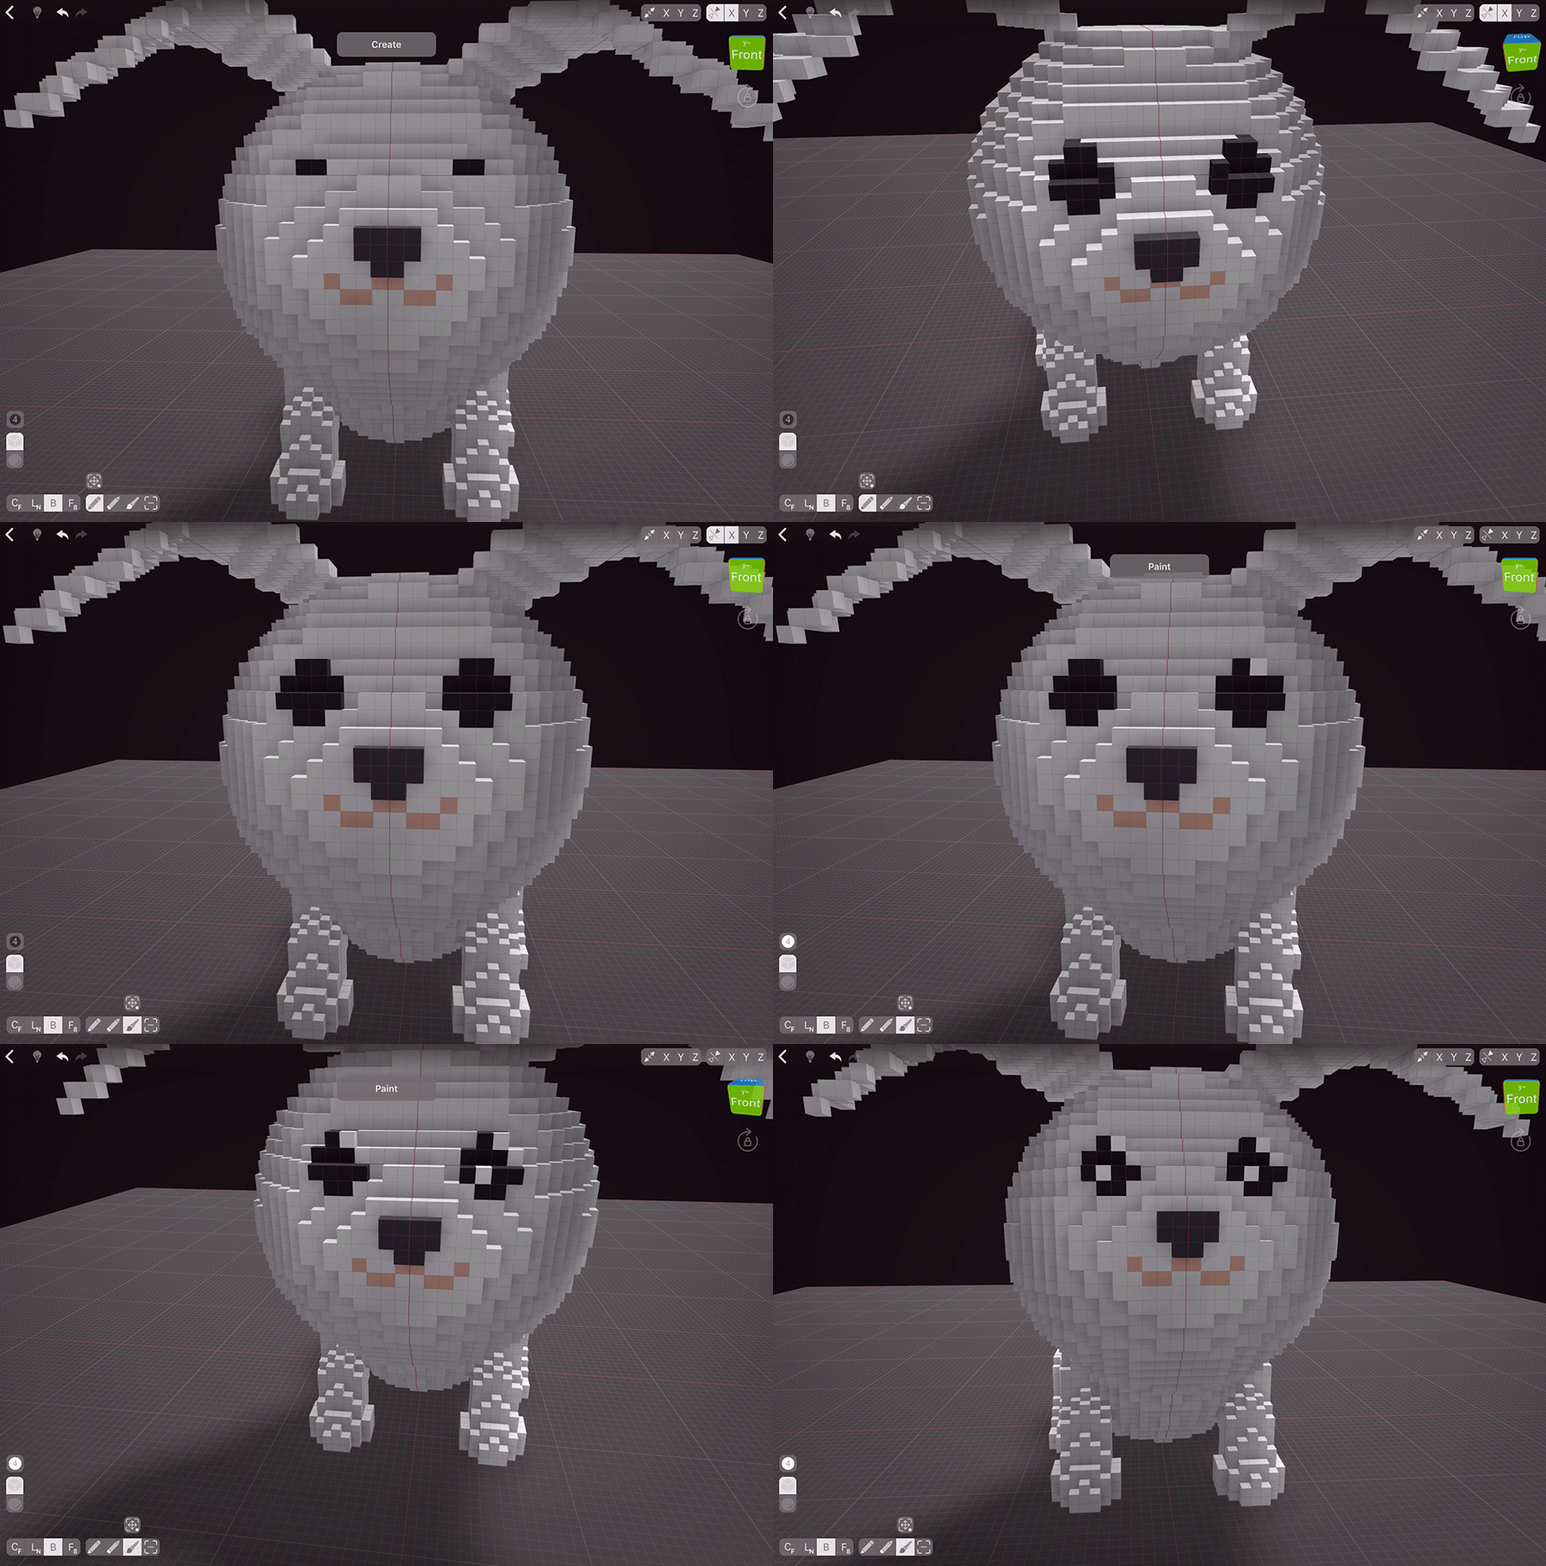
Once done with cutting, we can choose a darker colour from the palette and add nose shape. I don’t like mouths to stand out from the face surface, so I’ll use Paint tool to draw the pink mouth.
Now to the eyes. Again, with the Box Mode we’ll create the basic eye shape. Once done, check that there are no weird lonely voxels — if there are, simply paint them either to body or eye colour to make things look pretty. Most eyes look better with reflections in them, but the light source isn’t mirrored in real life; so we’ll turn off the Mirroring and then quickly draw white reflexes with three voxels.
Face shape seems to still need some work; let’s trim the sides with Mirroring back on using Face Mode, and then trim the chin a bit as well.
Once you feel that you’re done, check the general look of your creation from different angles. If nothing stands out as wrong, we can proceed. If something feels off, go back and adjust it.
Adjusting Ears
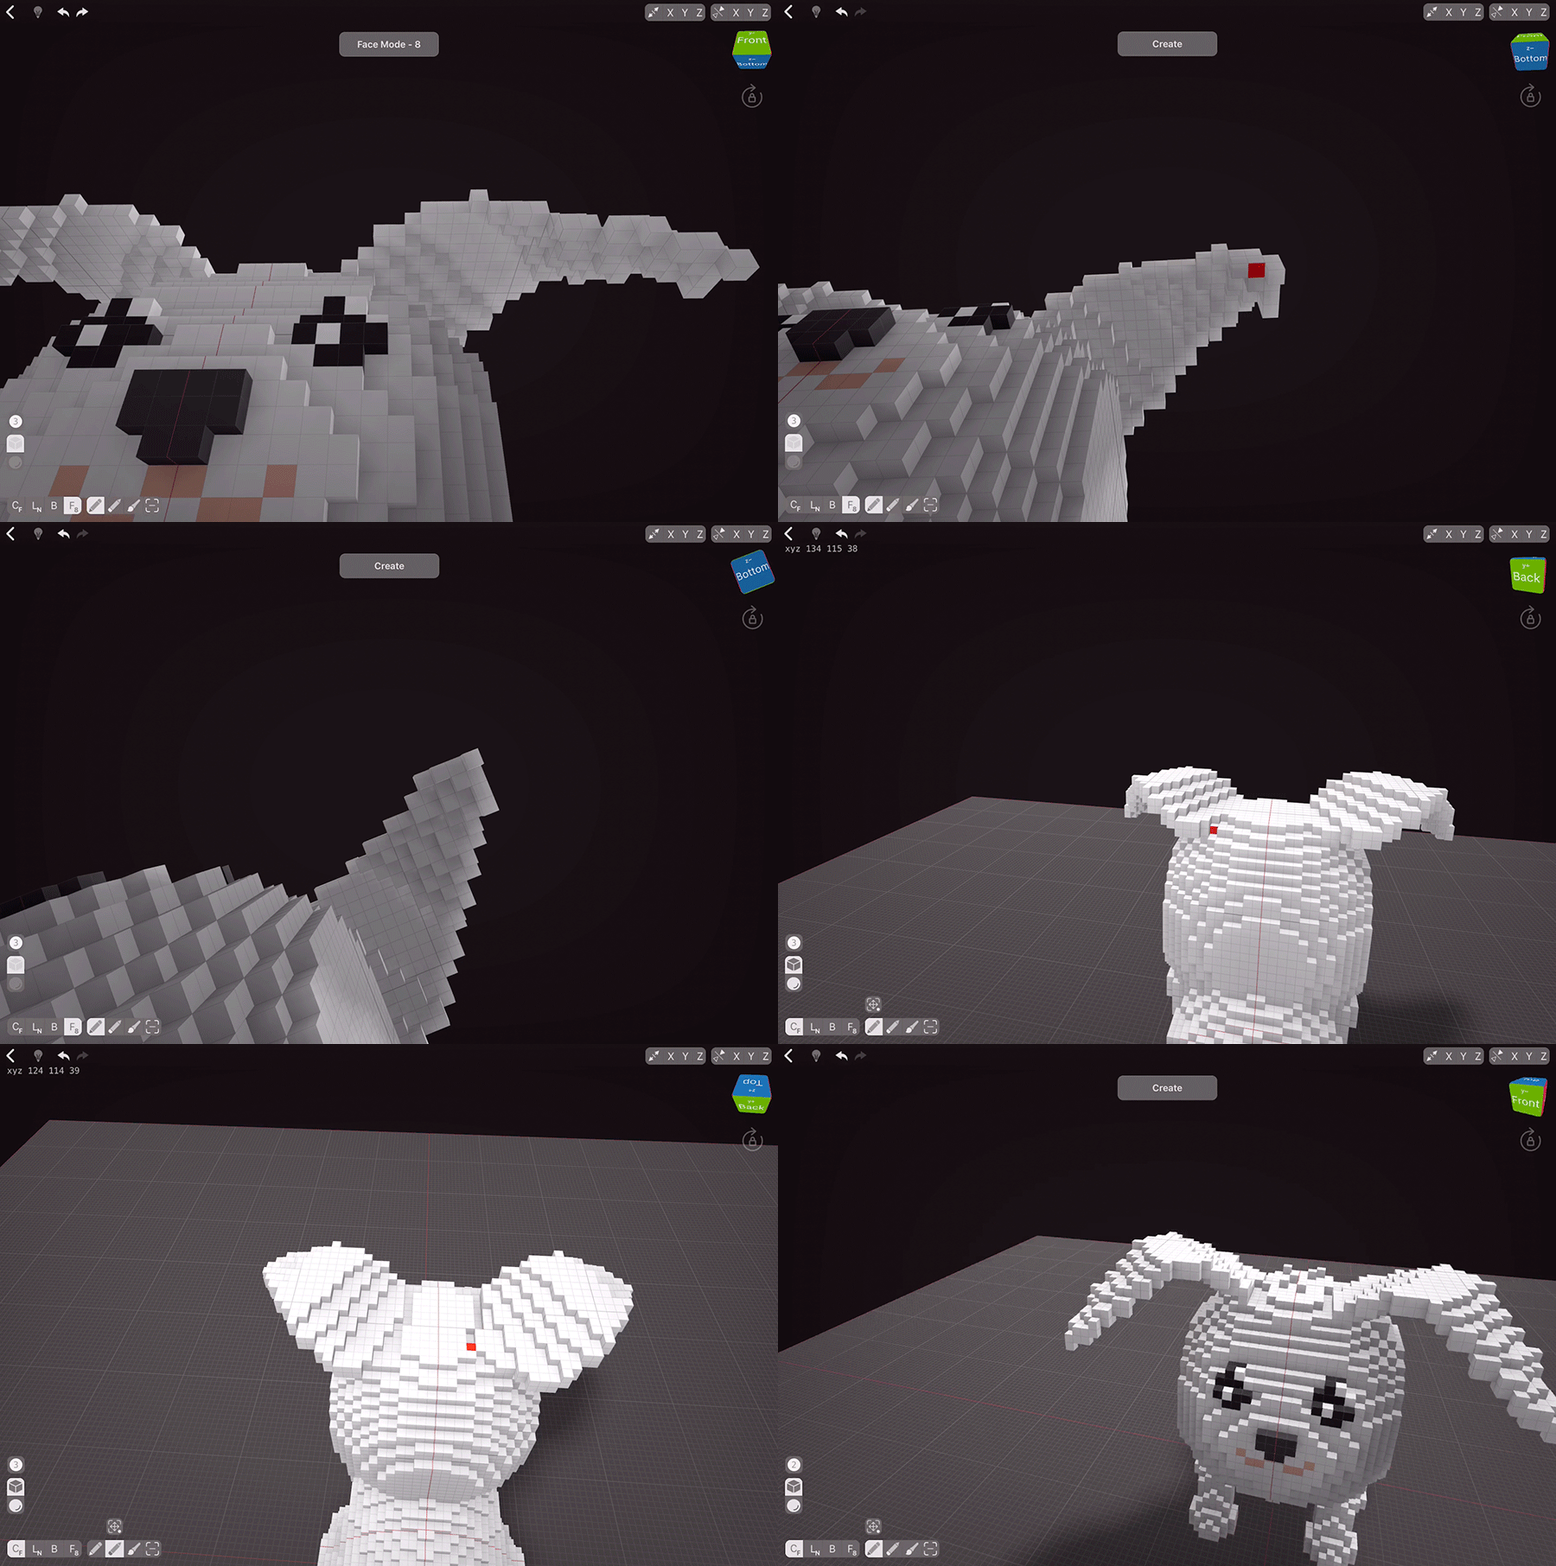
With our dog’s face done, it now looks like the ears could use some fine-tuning. As we placed our ears in different positions, we need to turn off the Mirroring before proceeding. Once turned off, let’s use Face 8 Mode to make ears taller. Face Mode works in a way where it considers either geometry or colour and then adds, erases or paints with that area. If we were to start from the most deep part, our ear would end up all flat. So we’ll start from the bottom part of the ear that stands out the most and will add one voxel layer to each element. Once done, we’ll repeat the process for the second ear.
Let’s also trim the top of the head a bit to create some fur. First, erase some voxels near the ear base, and then add some lonely voxels on top. Looks nice!
Spots
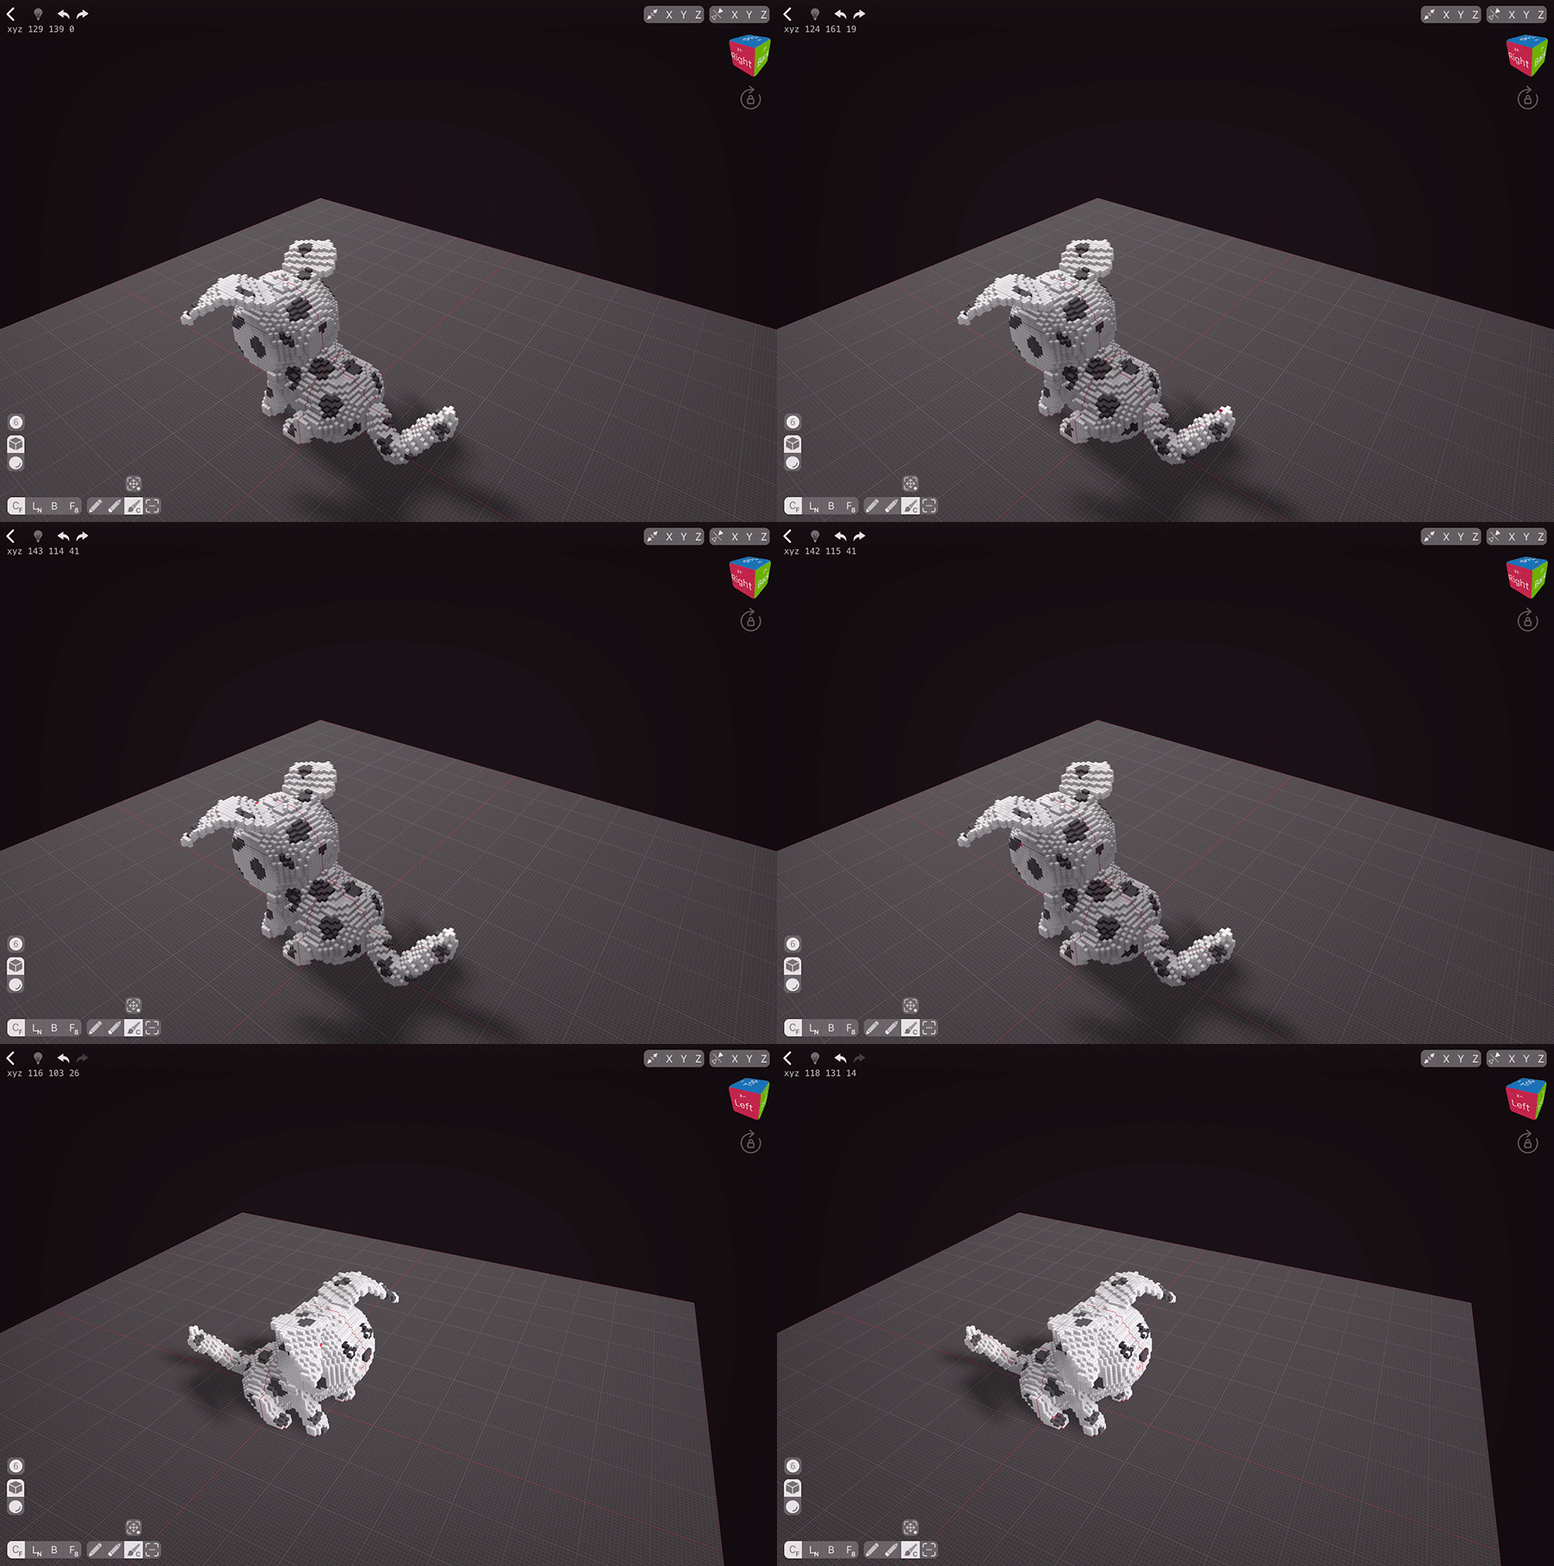
We’re done with body adjustments for now, let’s draw some spots! You can either draw uniform spots wide sphere brush or draw funky-shaped spots. I like funky shapes more, so I’m going to do that. To make sure our face stays intact, paint with Paint Color tool, that way your paint will only go over voxels of the colour you tapped first. Dalmatians all have different number of spots, so you can draw as many as you like.
Texturing
While this won’t be immediately noticeable, doing a bit of texturing on the white parts will help your pup look more alive. Choose the next shade of grey to the colour you used, and with Paint Color still on, draw around your model in quick motions always starting with the white voxels. You might not notice the difference straight away, but it will be noticeable on render and will bring your model onto the next level. If the next shade stands out too much, adjust the colour a bit by double-tapping it and moving the brightness slider.
The Next Step
We are now done with our dog. If you want, you can export your model as it is, but I want to add some background to it. In 101 Dalmatians, someone tries to wash off the spots from pup’s fur. Let’s give this dog a bath!
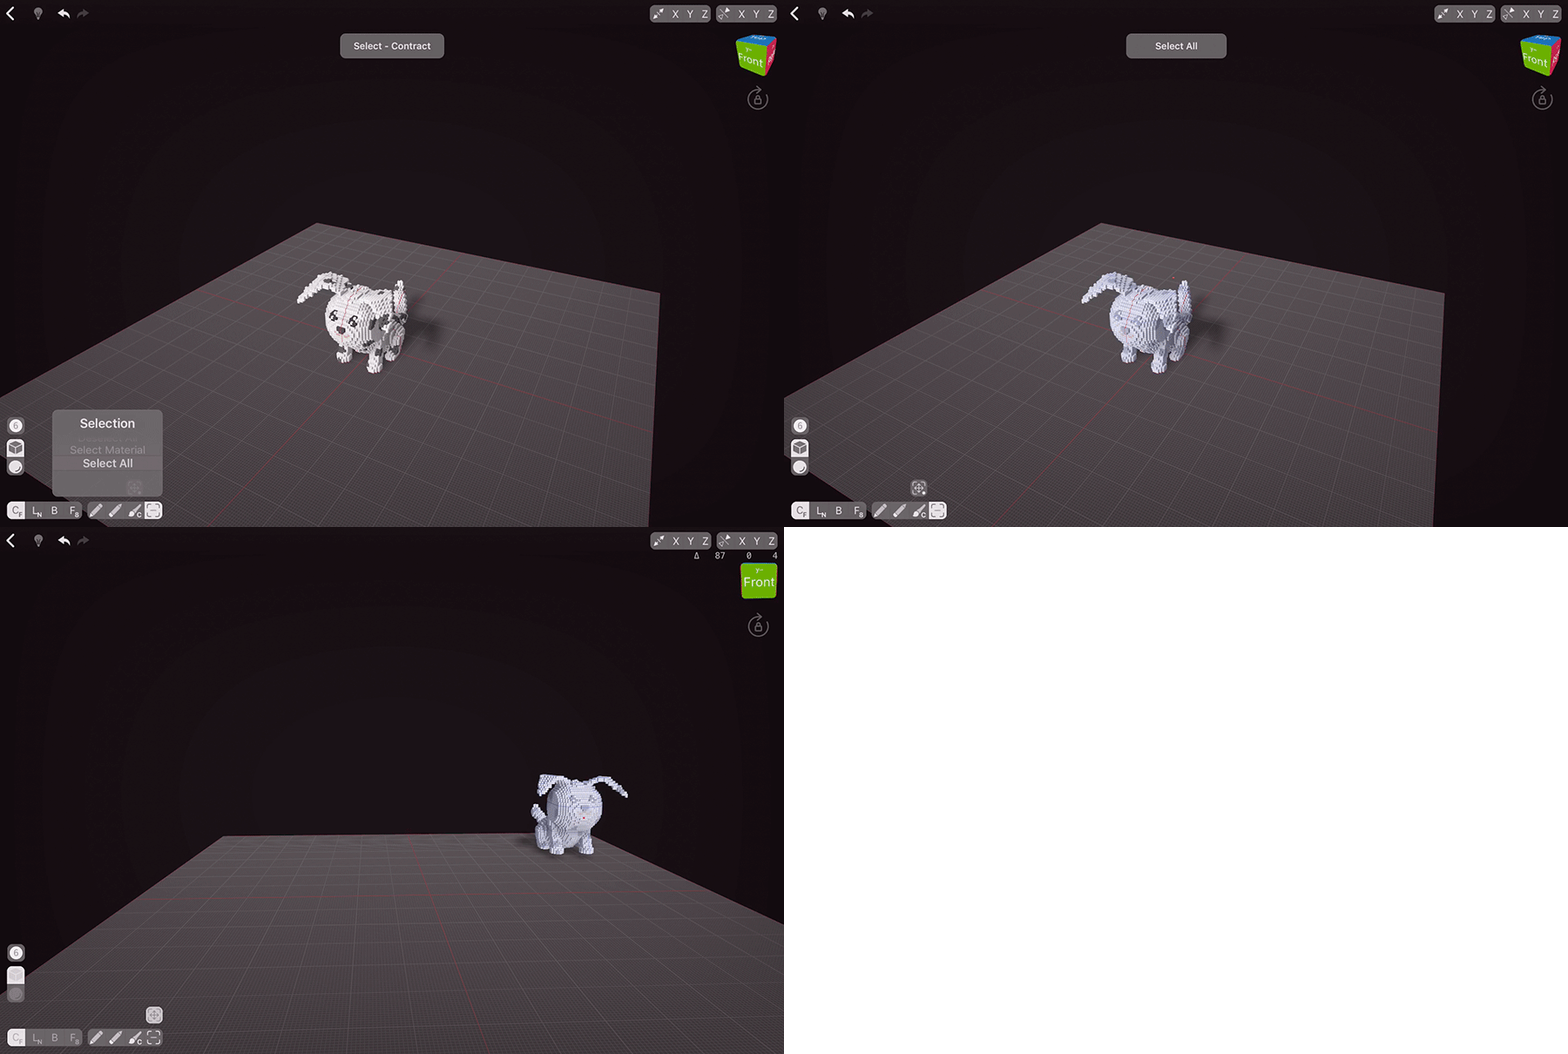
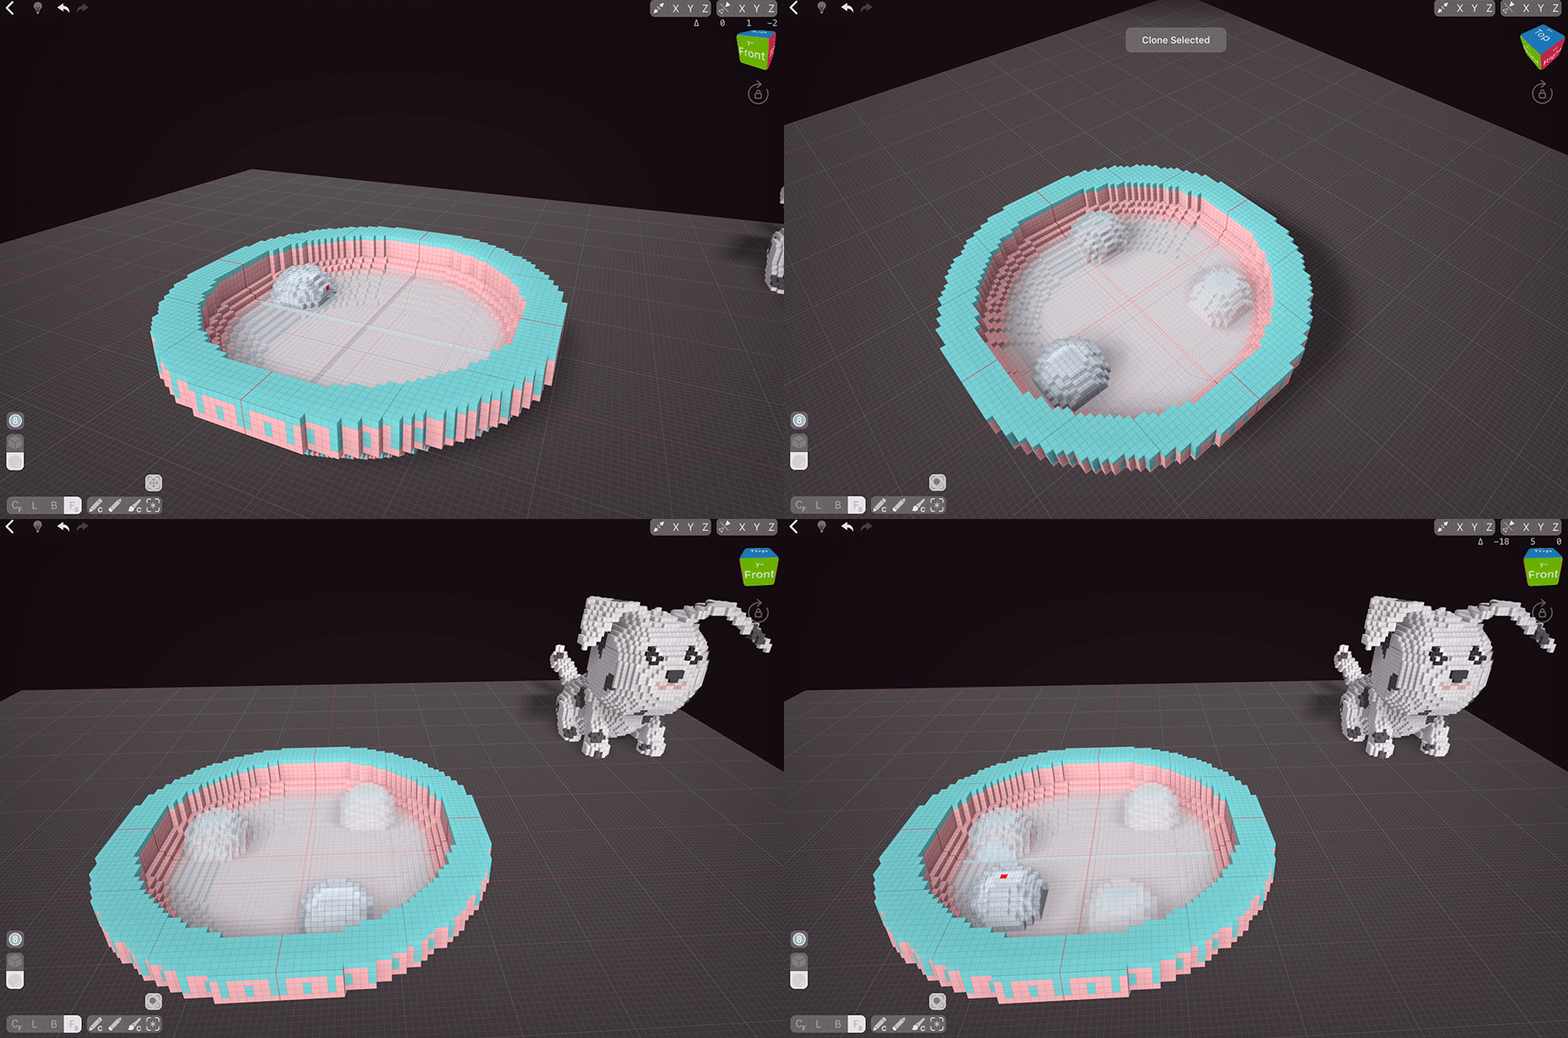
The easiest way to do that involves Mirroring. As Mirroring duplicates things around the scene centre, let’s move our dog into the corner for the time being.
To quickly select everything in our scene, hold and swipe up on the Select tool. The model will get selected. Now we can move it aside.
Bath
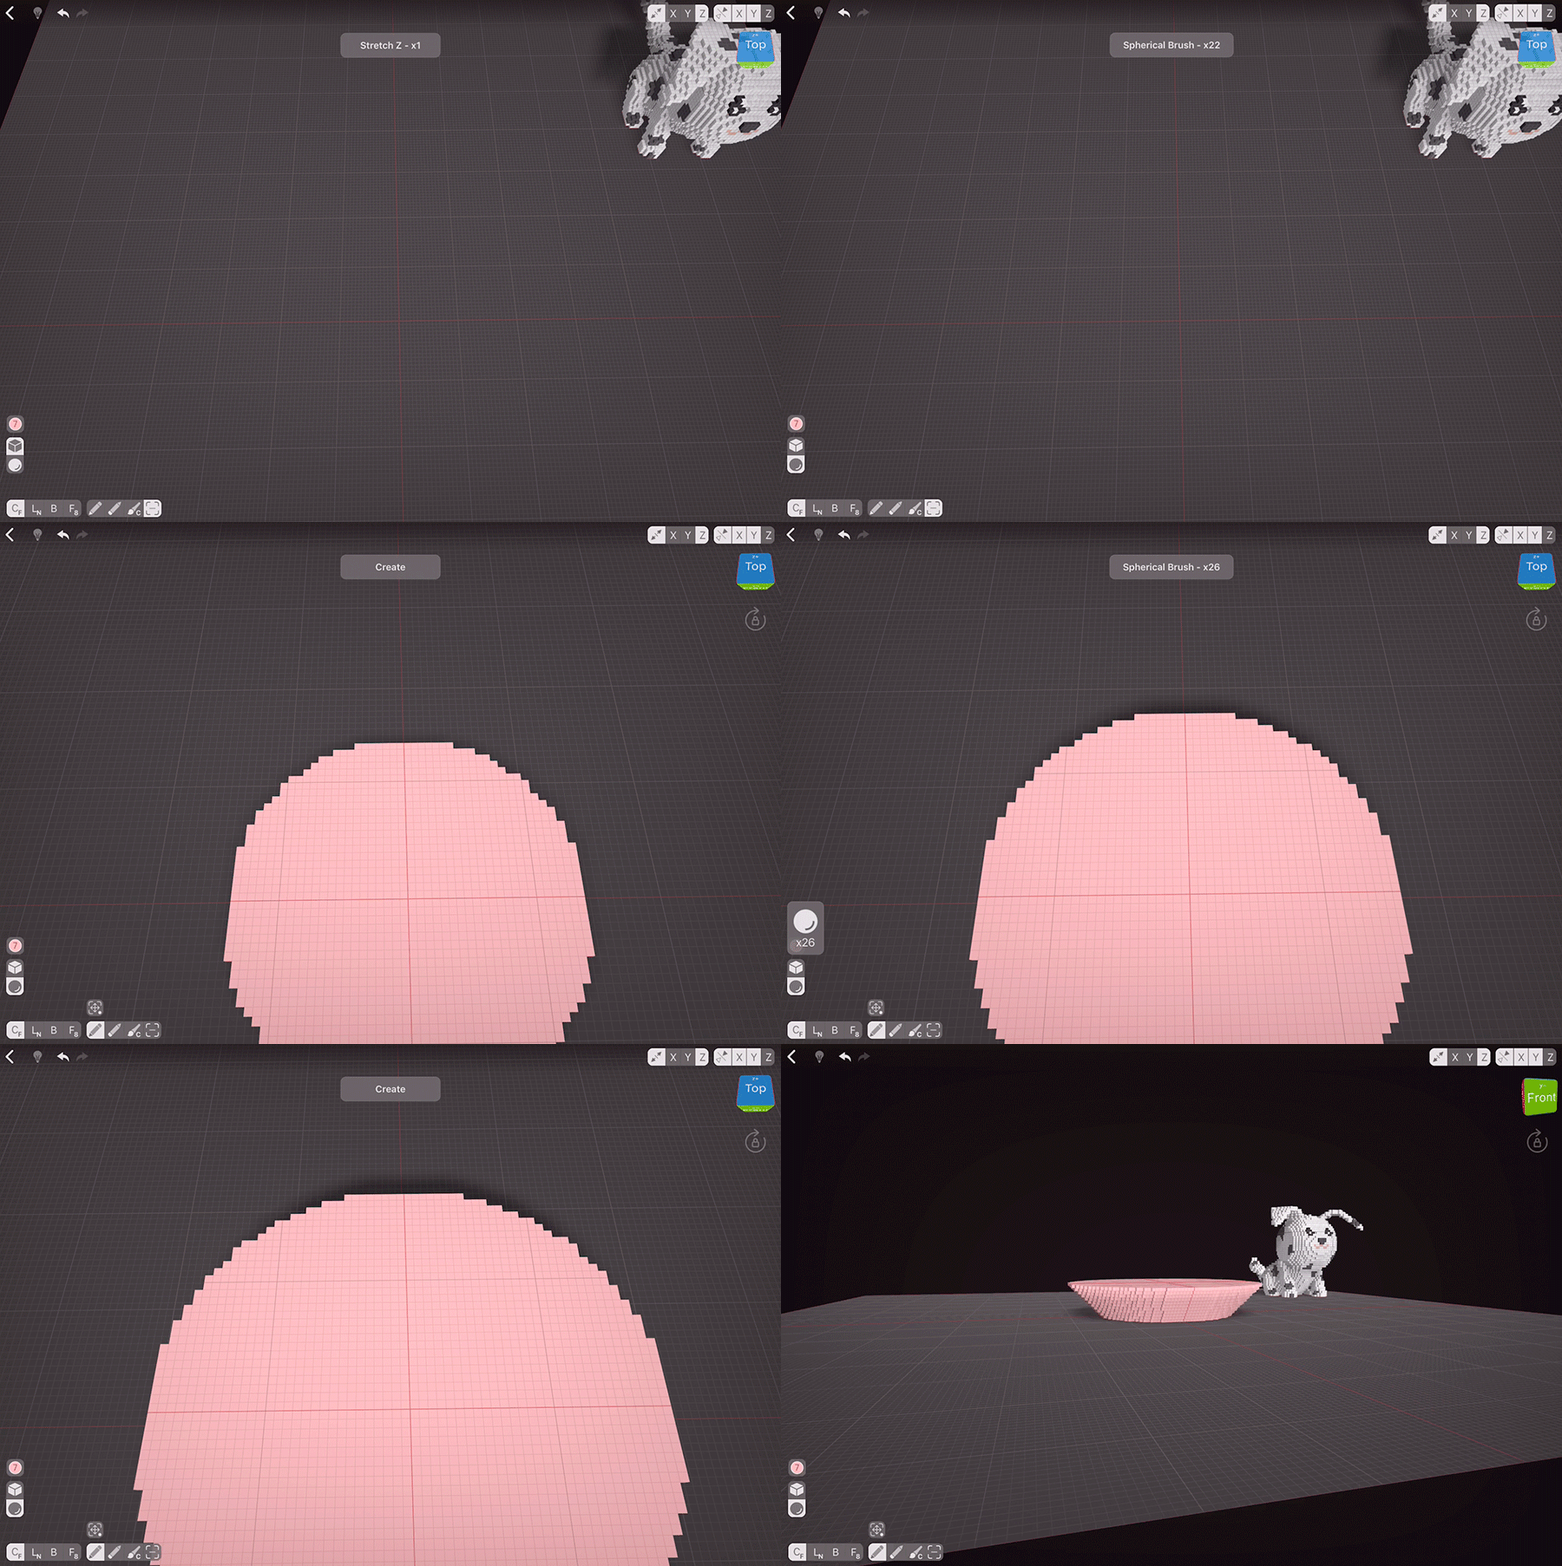
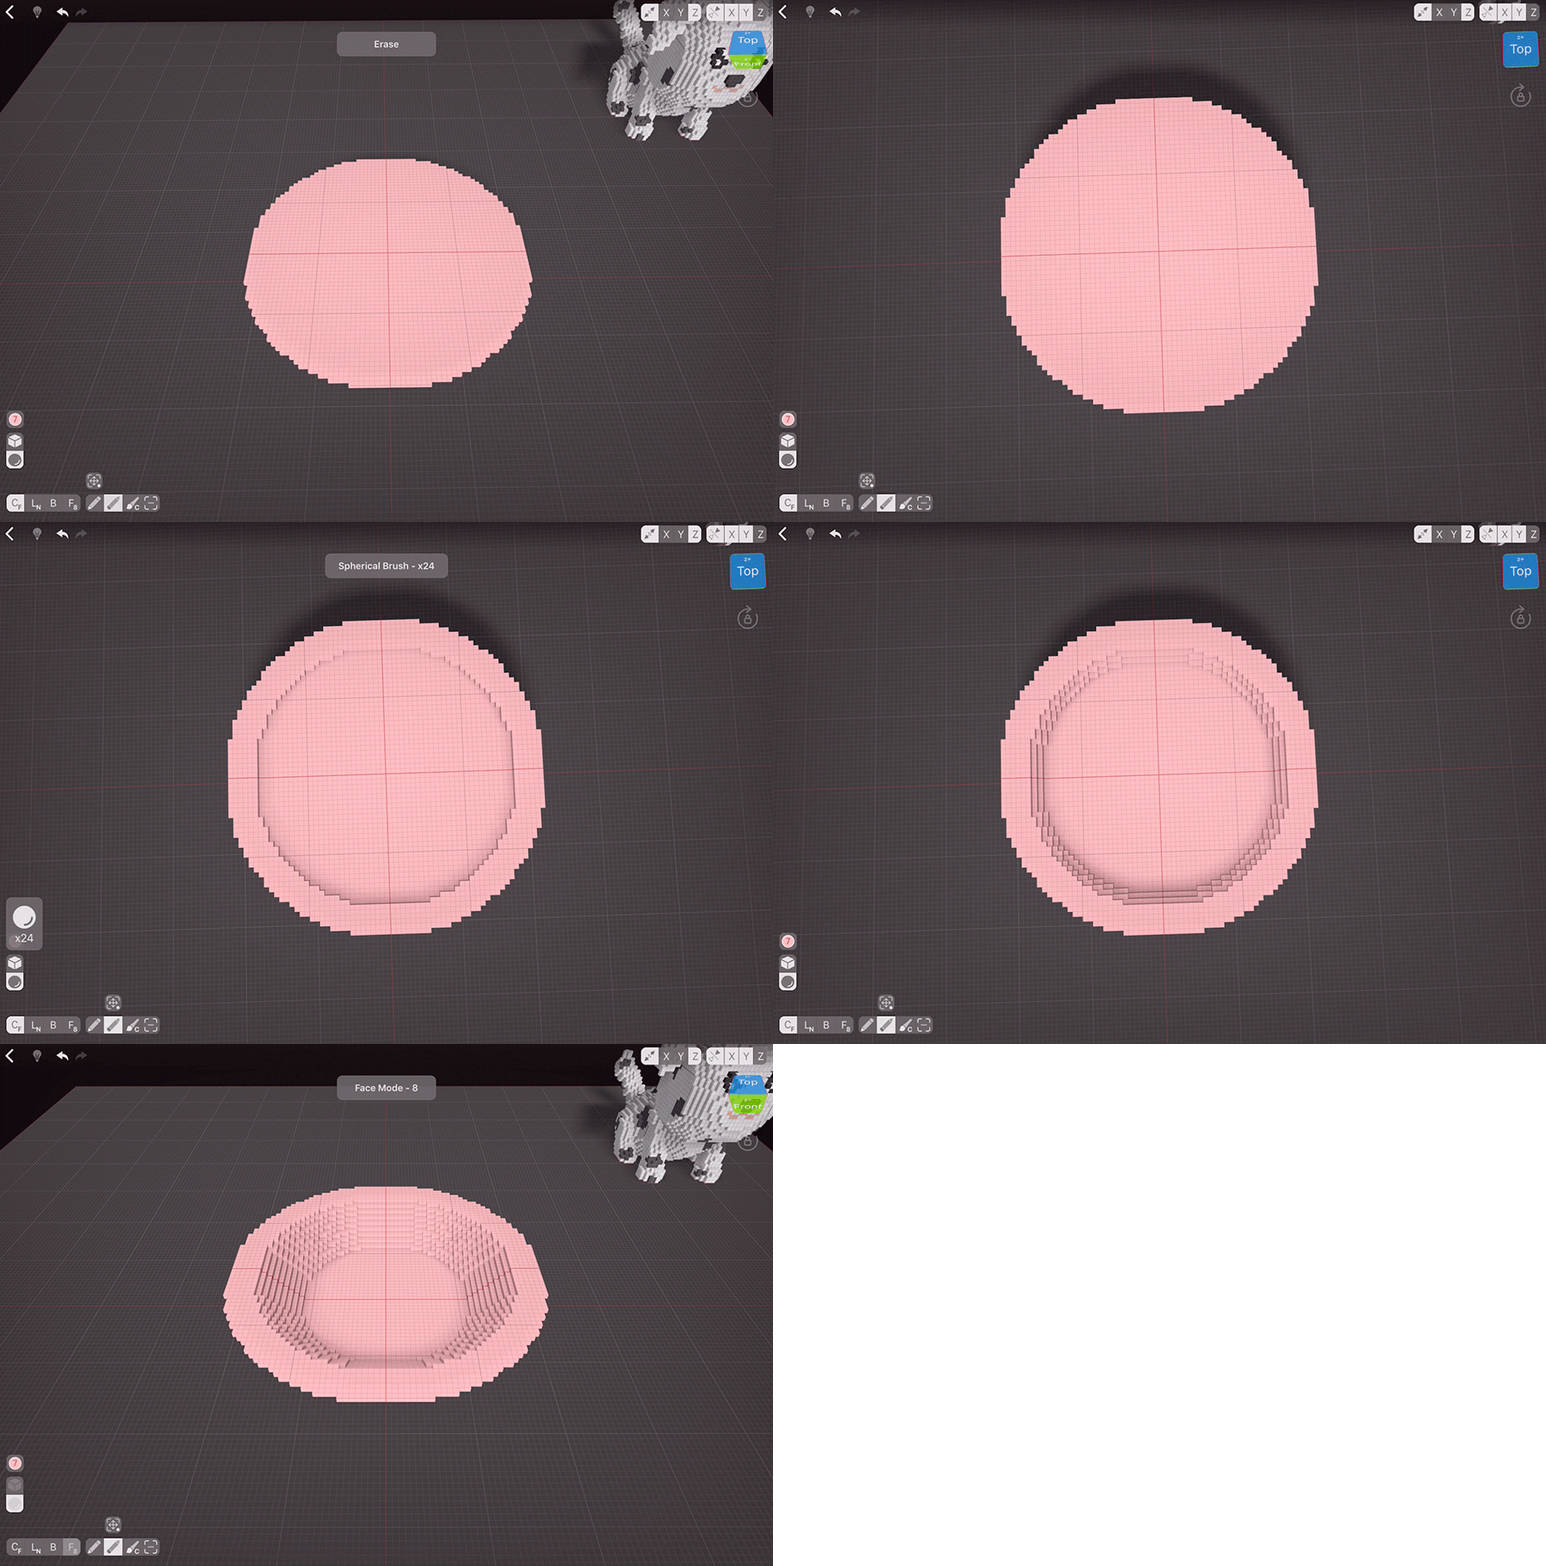
Now that we’ve freed up the mirroring centre, let’s turn on Mirroring on X and Y axes. To create the bath, we can use several approaches: create a sphere, then erase a smaller sphere out of it, but I’m going to go with circles. To make circles in VoxelMax, hold the Stretch on Z icon and choose x1 option from the drop-down menu.
Let’s start with smaller circles, say 22 voxels, and then go one voxel up for each layer. Be careful to tap the voxel next to the mirroring centre so your circles turn out pretty.
Once we’ve build up the bath base up to 32 voxels wide, let’s carve it out. Shrink the brush size down, choose Erase tool and repeat the process, but this time making the brush size smaller each time. Looks great!
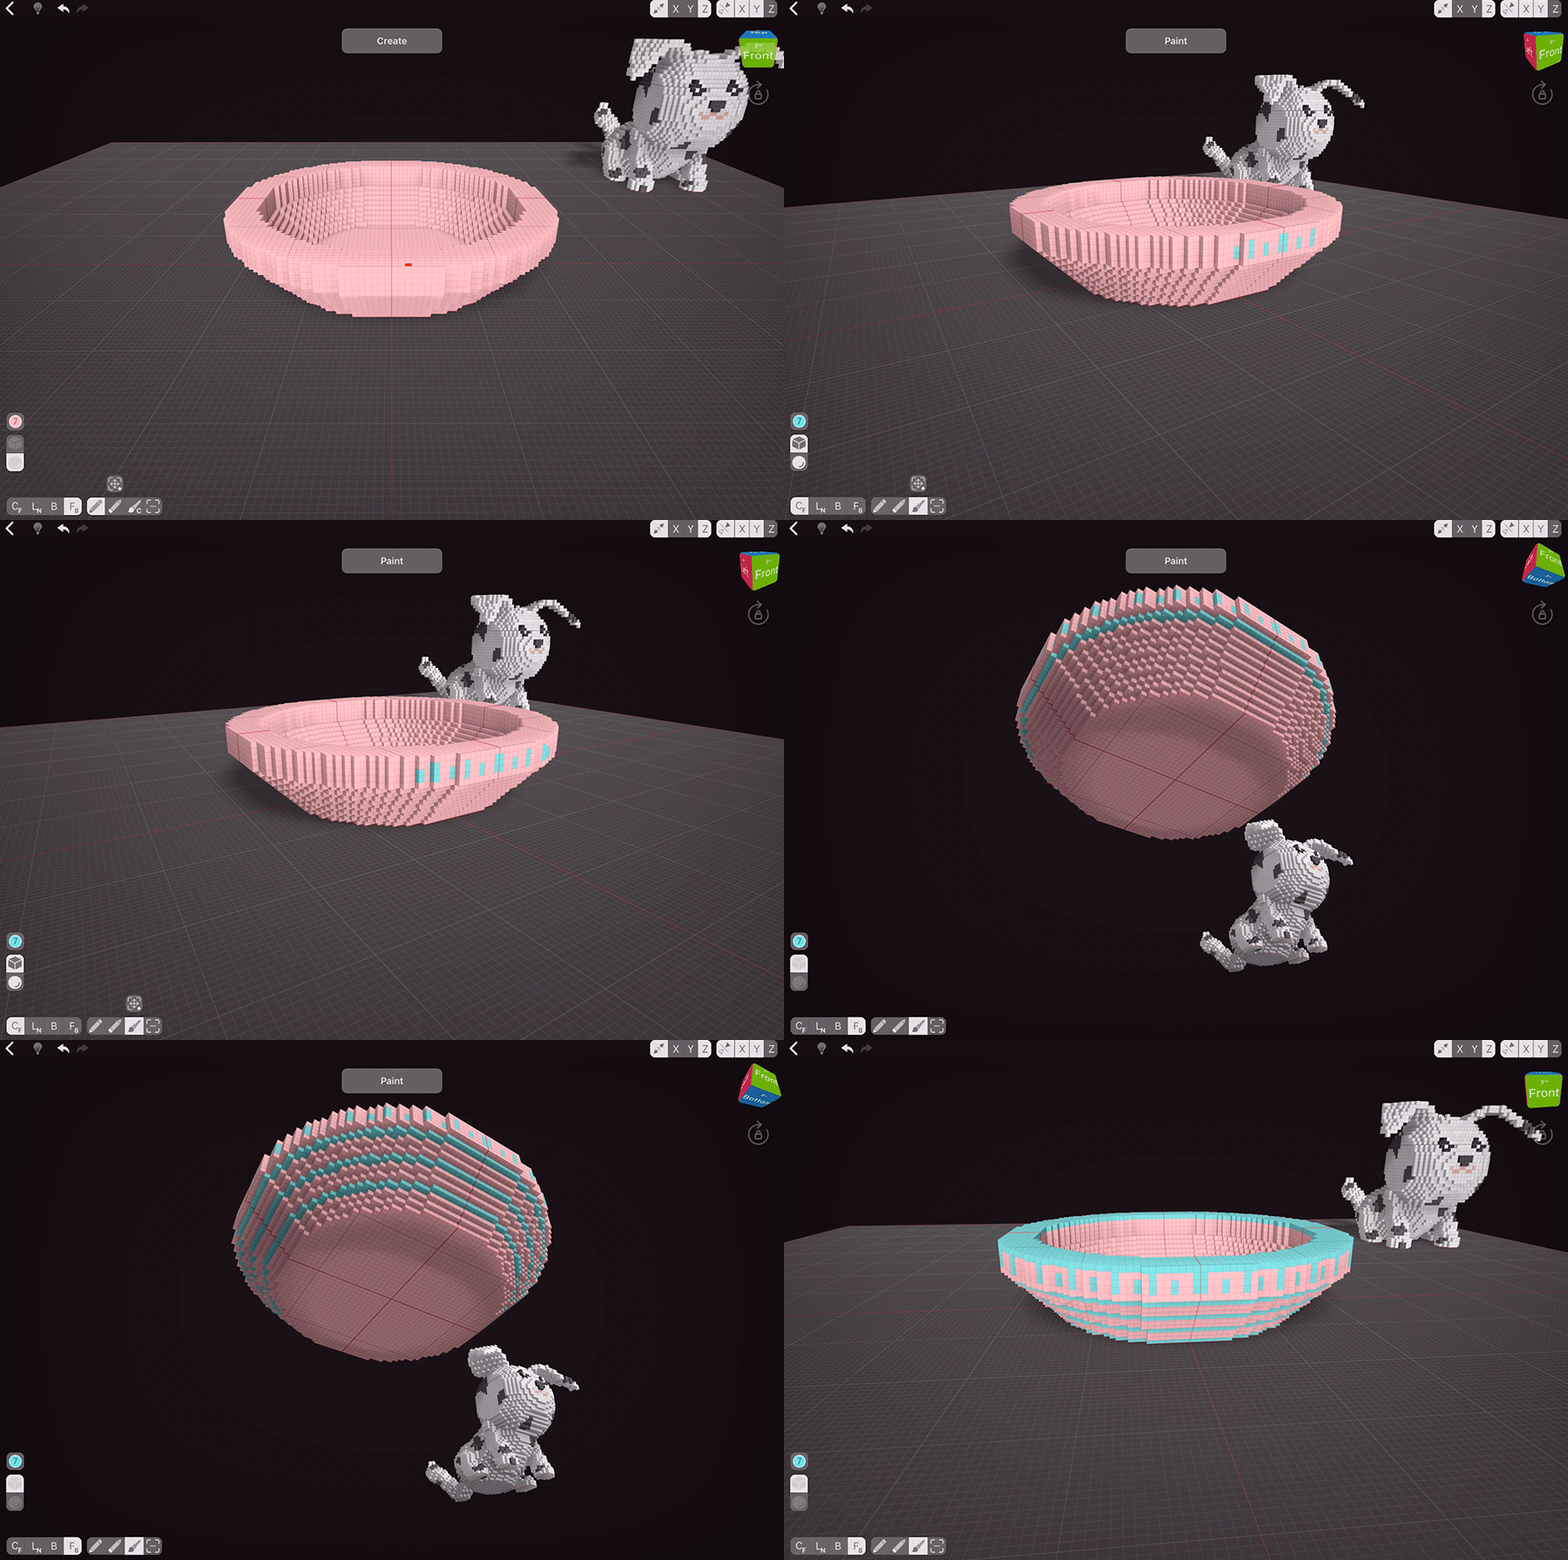
Let’s add some voxels on top using Face Mode. Just tap and drag up a bit till you like the result. After that, we can paint our bath. I chose a contrasting colour and drew a simple pattern, but you can create anything you want. To quickly line one layer of the bowl, tap it with Face Mode on the bottom, this will fill out one outer layer.
Water
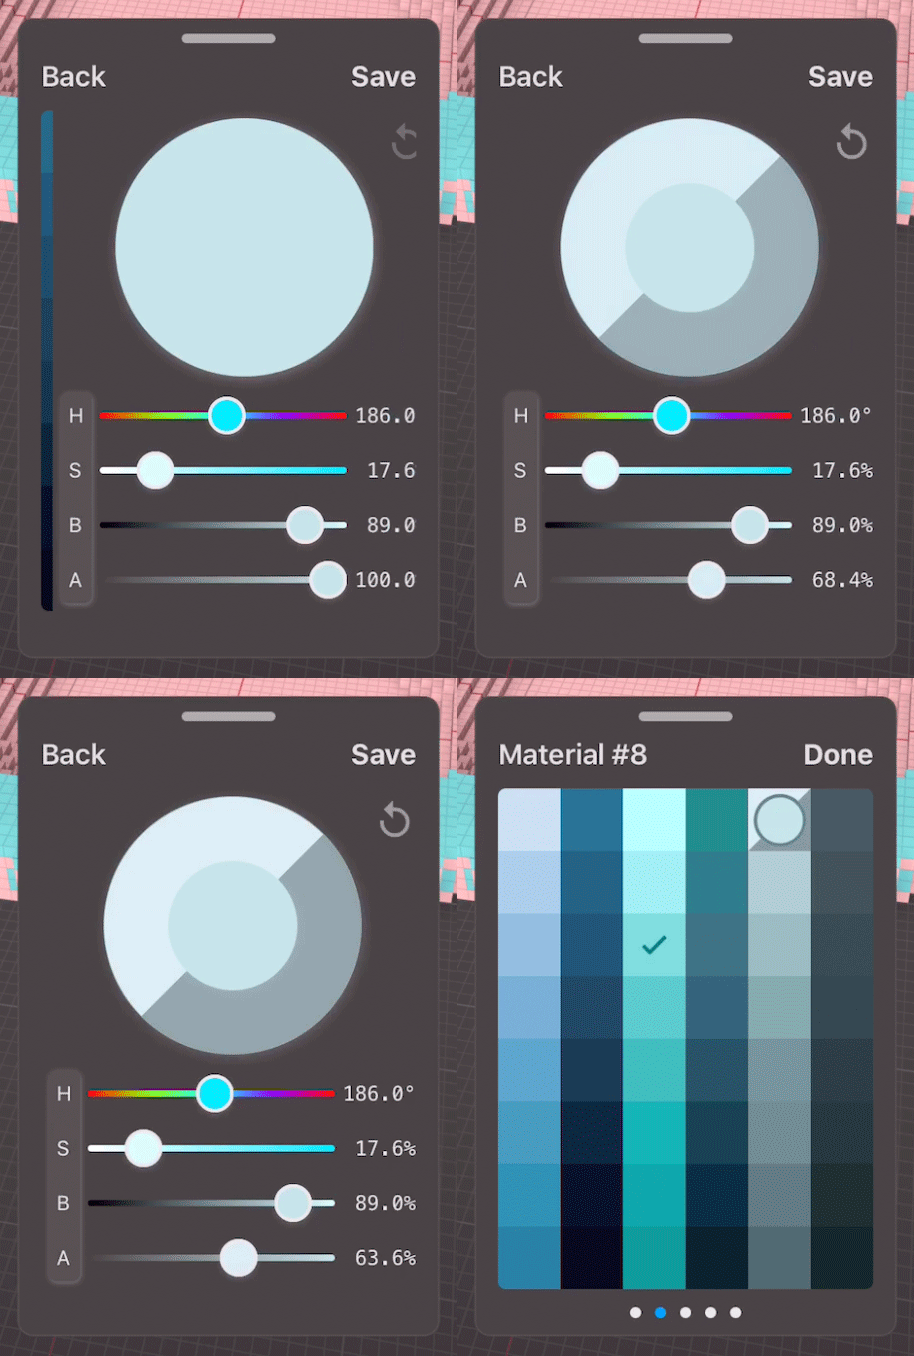
To create water and soap, let’s use Transparency. This is a cool feature that VoxelMax supports. First, we need to go to the last Material. Tap the Material name on top of the Palette panel, and then choose the last Material. Then, choose the colour you like for the water and double-tap it to adjust. The last slider is Transparency setting. Slide it back a bit, then hit Save. The colour icon will now be split in two, showing you the original colour and transparency preview.
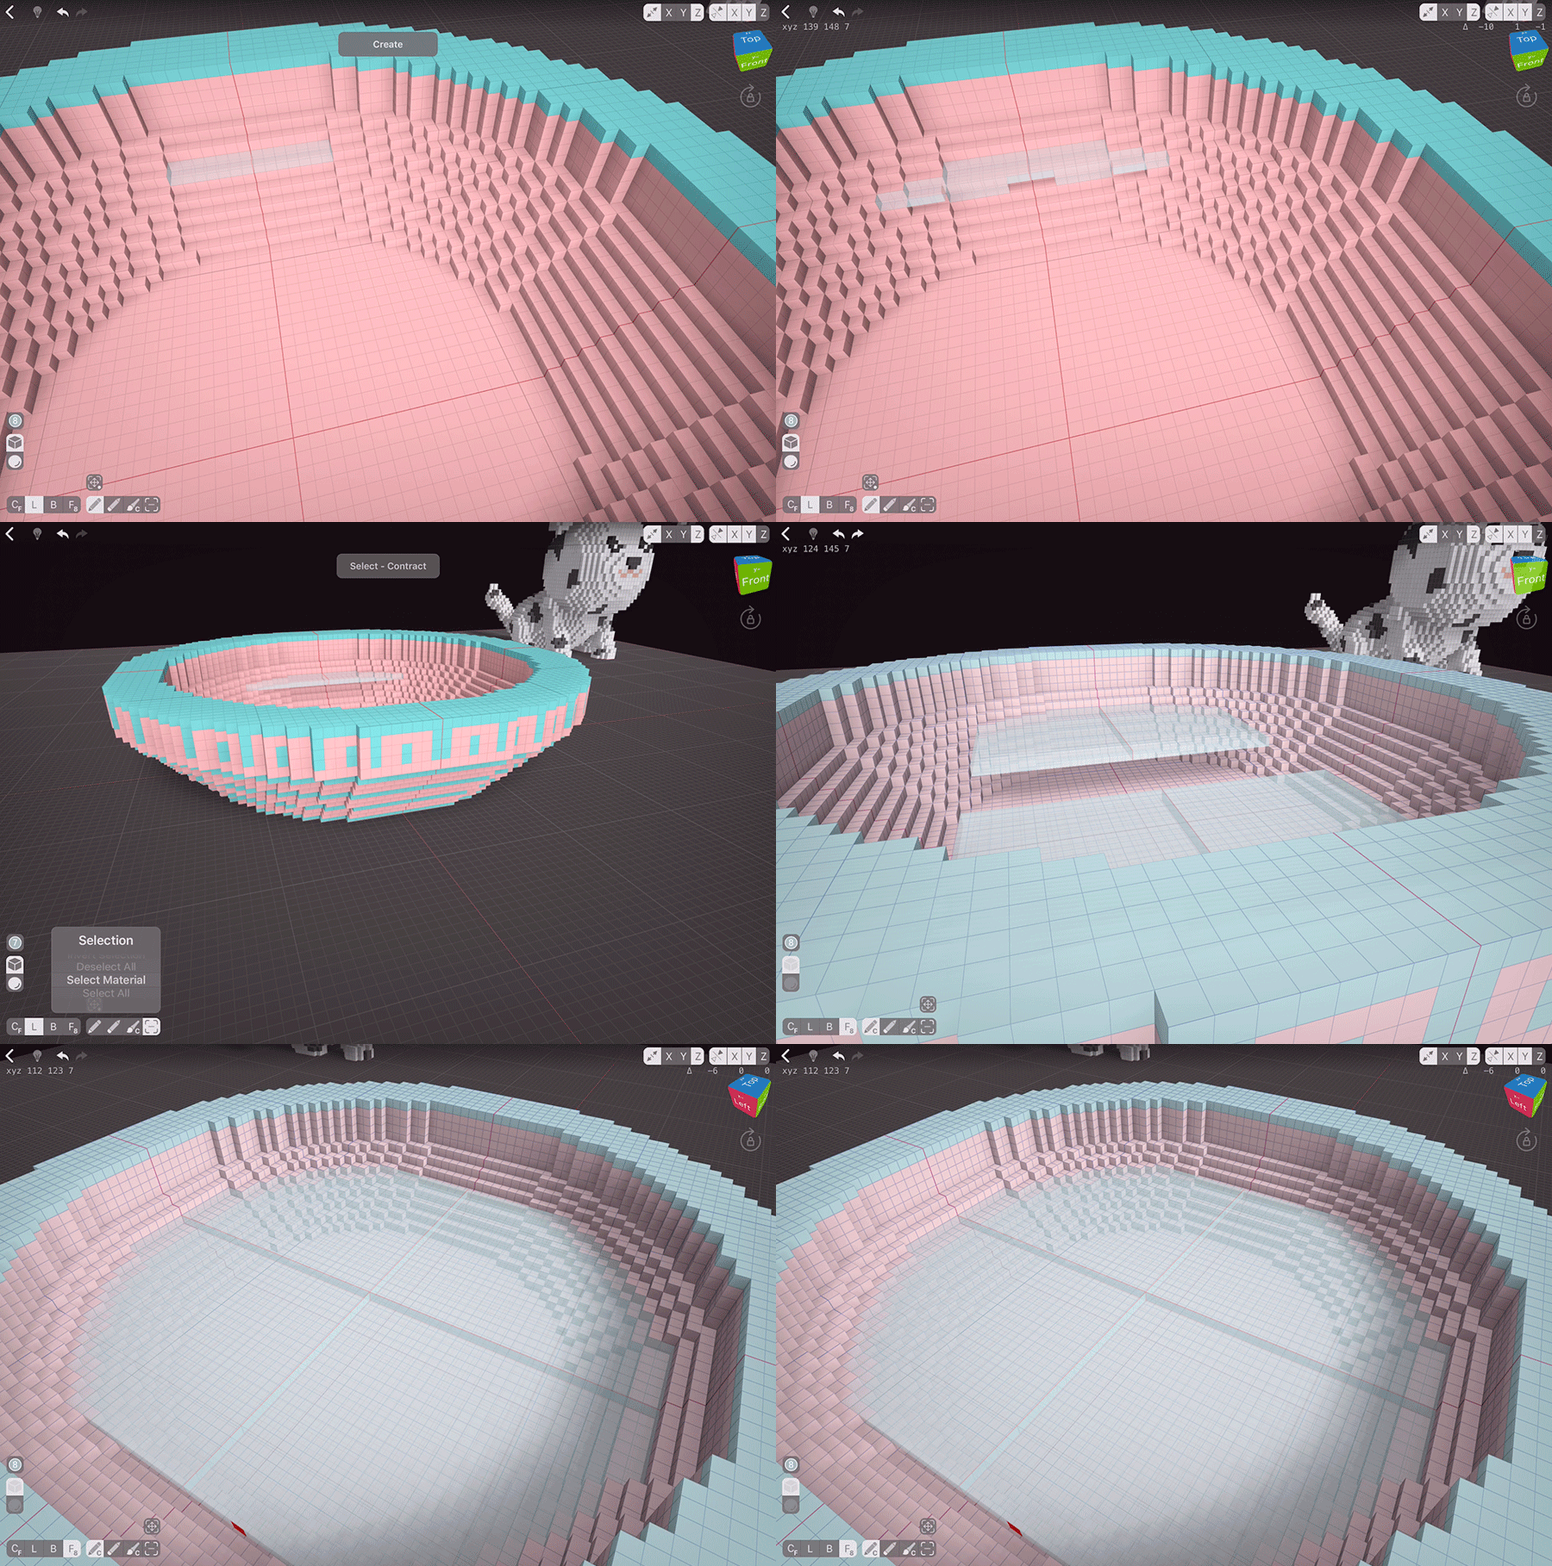
Add some lines of water to the bowl on the desired level, and then go back to your previous Material. In Selection tool options, choose Select Material. Selection works as mask in VoxelMax, and it will allow us to quickly expand water without replacing any bath voxels. Go back to the last Material and use Face Mode to fill in this water layer.
Bubbles
Plain water doesn’t look good enough to me, let’s create some bubbles as well! To do that, turn off the Mirroring and Stretch, and choose a sphere brush. You can go with any size you like. I’m using 6 voxels. Tap the free space, then rotate your model so you’ll see it from the bottom. Adjust your brush size one voxel down, and erase the insides of your sphere. Choose Select tool and double-tap your bubble to quickly select it. As long as the thing you want to select is not directly touching anything else, you can always use double-tap to quickly select it. Let’s move it to the bath and place it on the water surface.
Now choose Clone tool and clone your bubbles around. Clone as many as you want; I’m going to create another bubble of the smaller size and clone it around as well to make my scene more interesting.
Moving The Pup Back
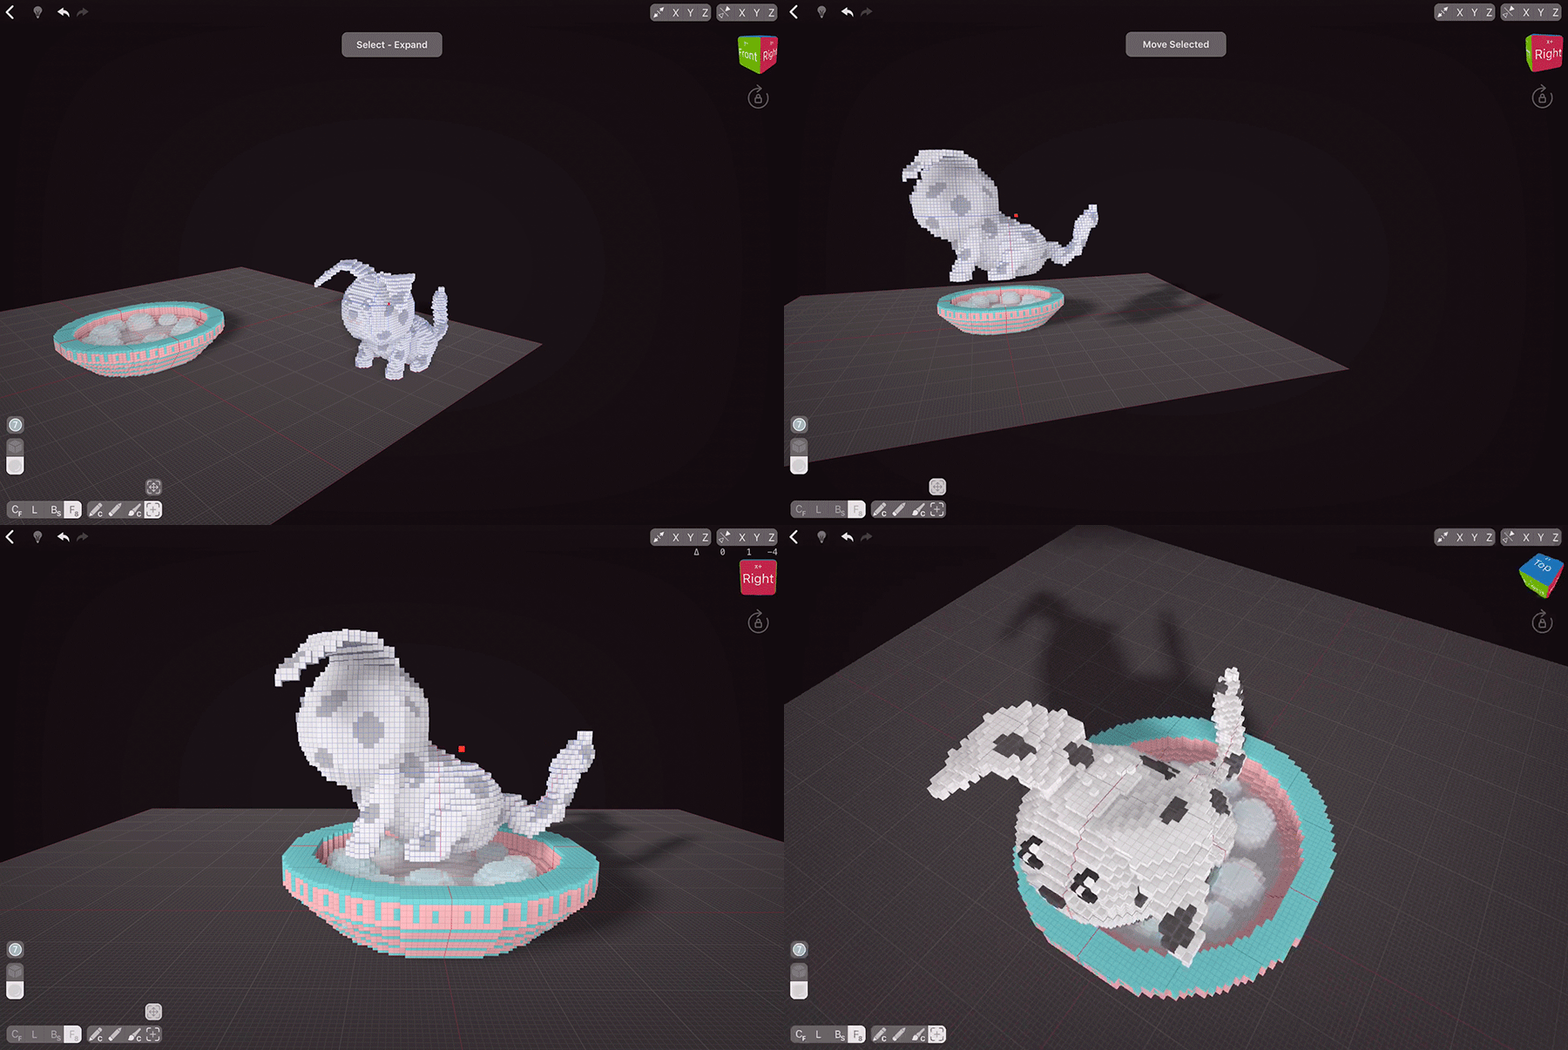
Now that our bath is ready, we can move our pup back. Double-tap it with Selection tool to quickly select it, and then move it to the bath. If your tail doesn’t fit in, you can adjust it with selecting bits and moving them around. Keep in mind that to adjust things you need to keep the dog in an empty space, as selected voxels will replace existing ones if they’ll be intersecting with the bath.
Floating Bubbles
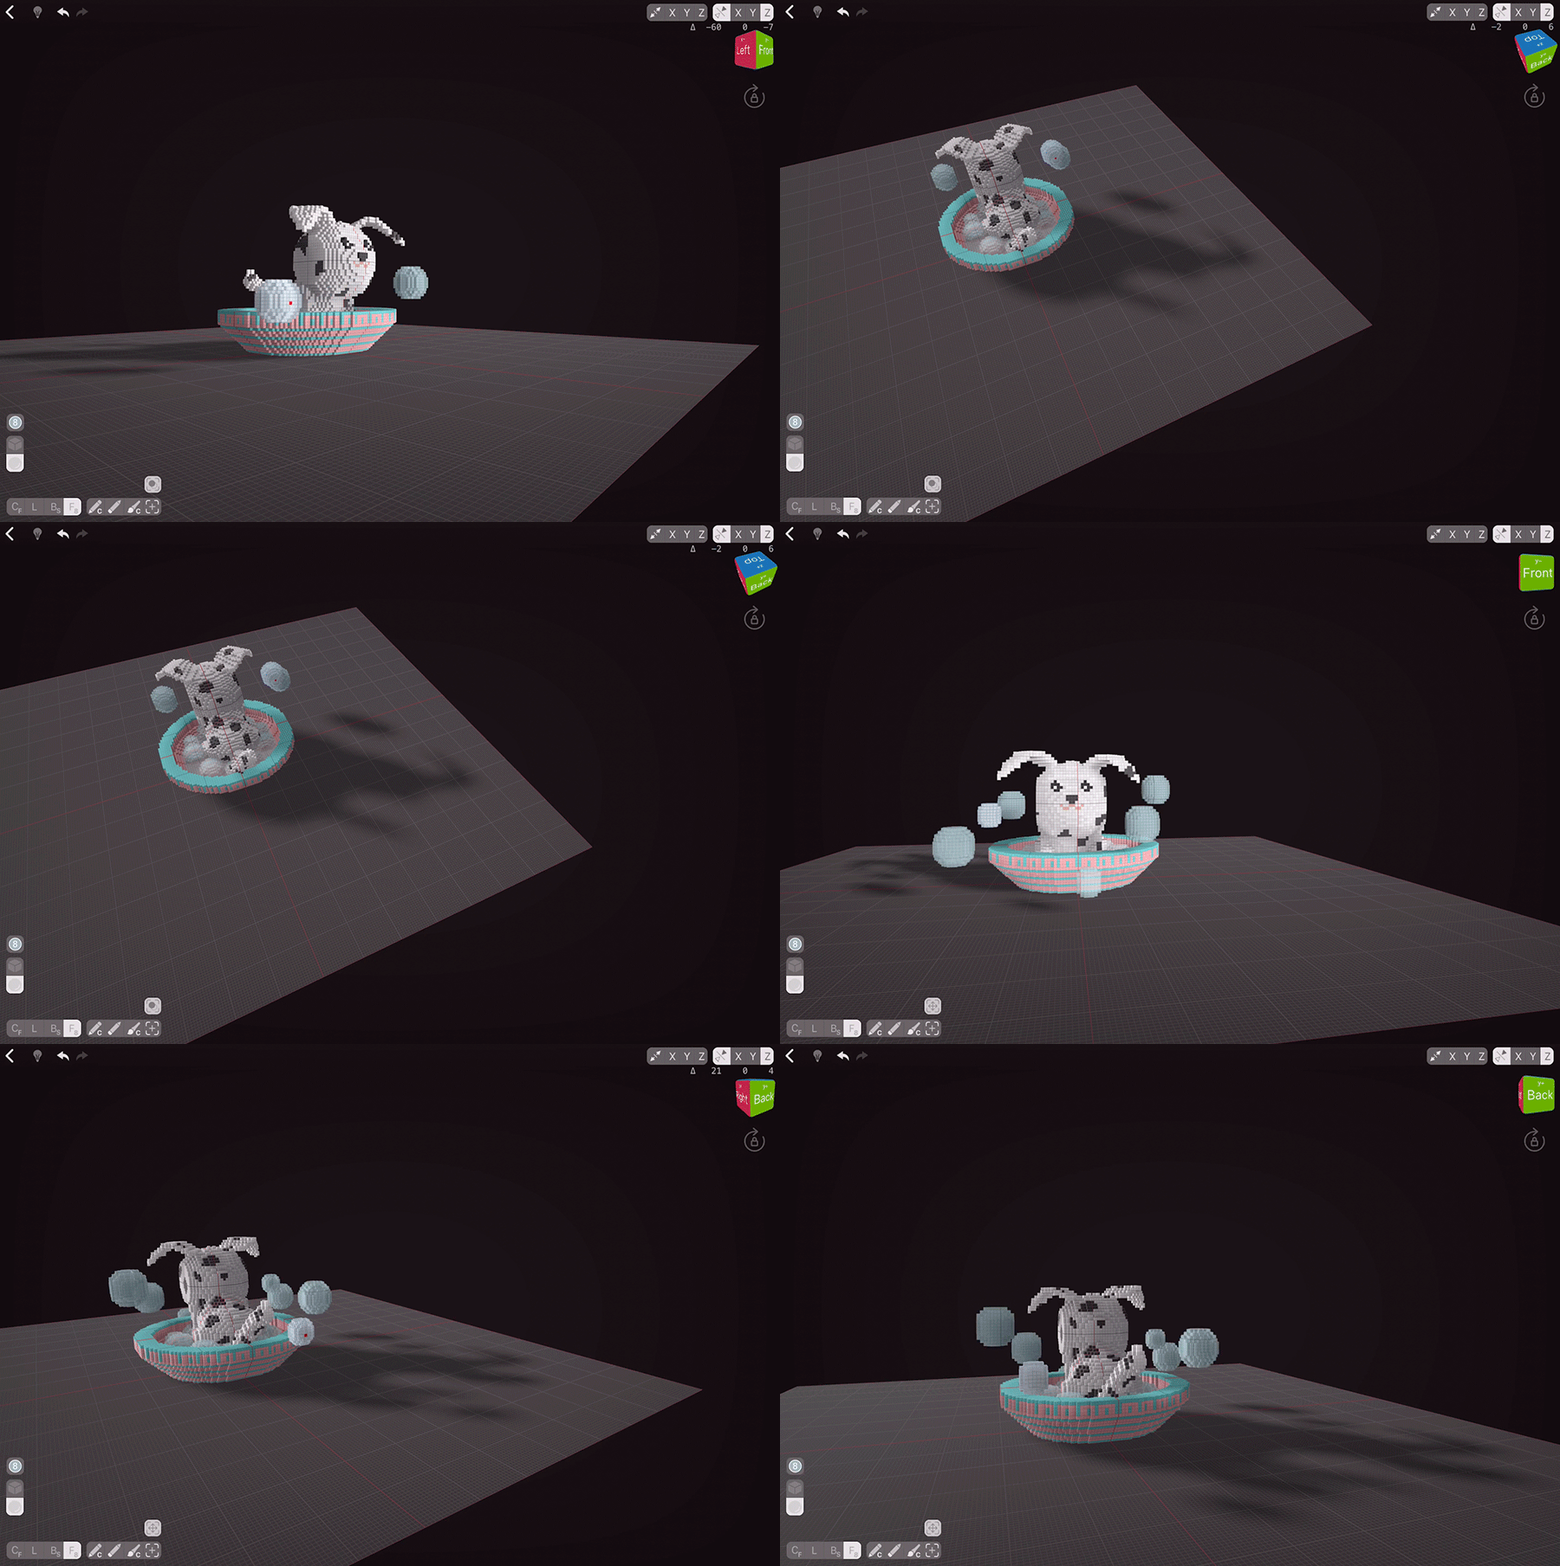
As our Dalmatian sits in the water, let’s make our scene more fun and create floating bubbles. As you might have noticed, we can’t create a sphere when we tap the working plane area; there’s a workaround. Let’s enable Mirroring on the Z axis, that way our half-sphere will be reflected on top of the scene. Then, let’s erase the insides as we did with other bubbles and double-tap to select. Now, let’s turn off the Mirroring and then drag our bubble up; you’ll see it’s now a sphere. Position it near our puppy.
Let’s repeat the cloning process. Once again, I’ll create bubbles of two sizes to make things interesting. Surprisingly, even small changes make our scene more diverse — slightly uneven ear position, one-tone-down texturing, two sizes of bubbles.
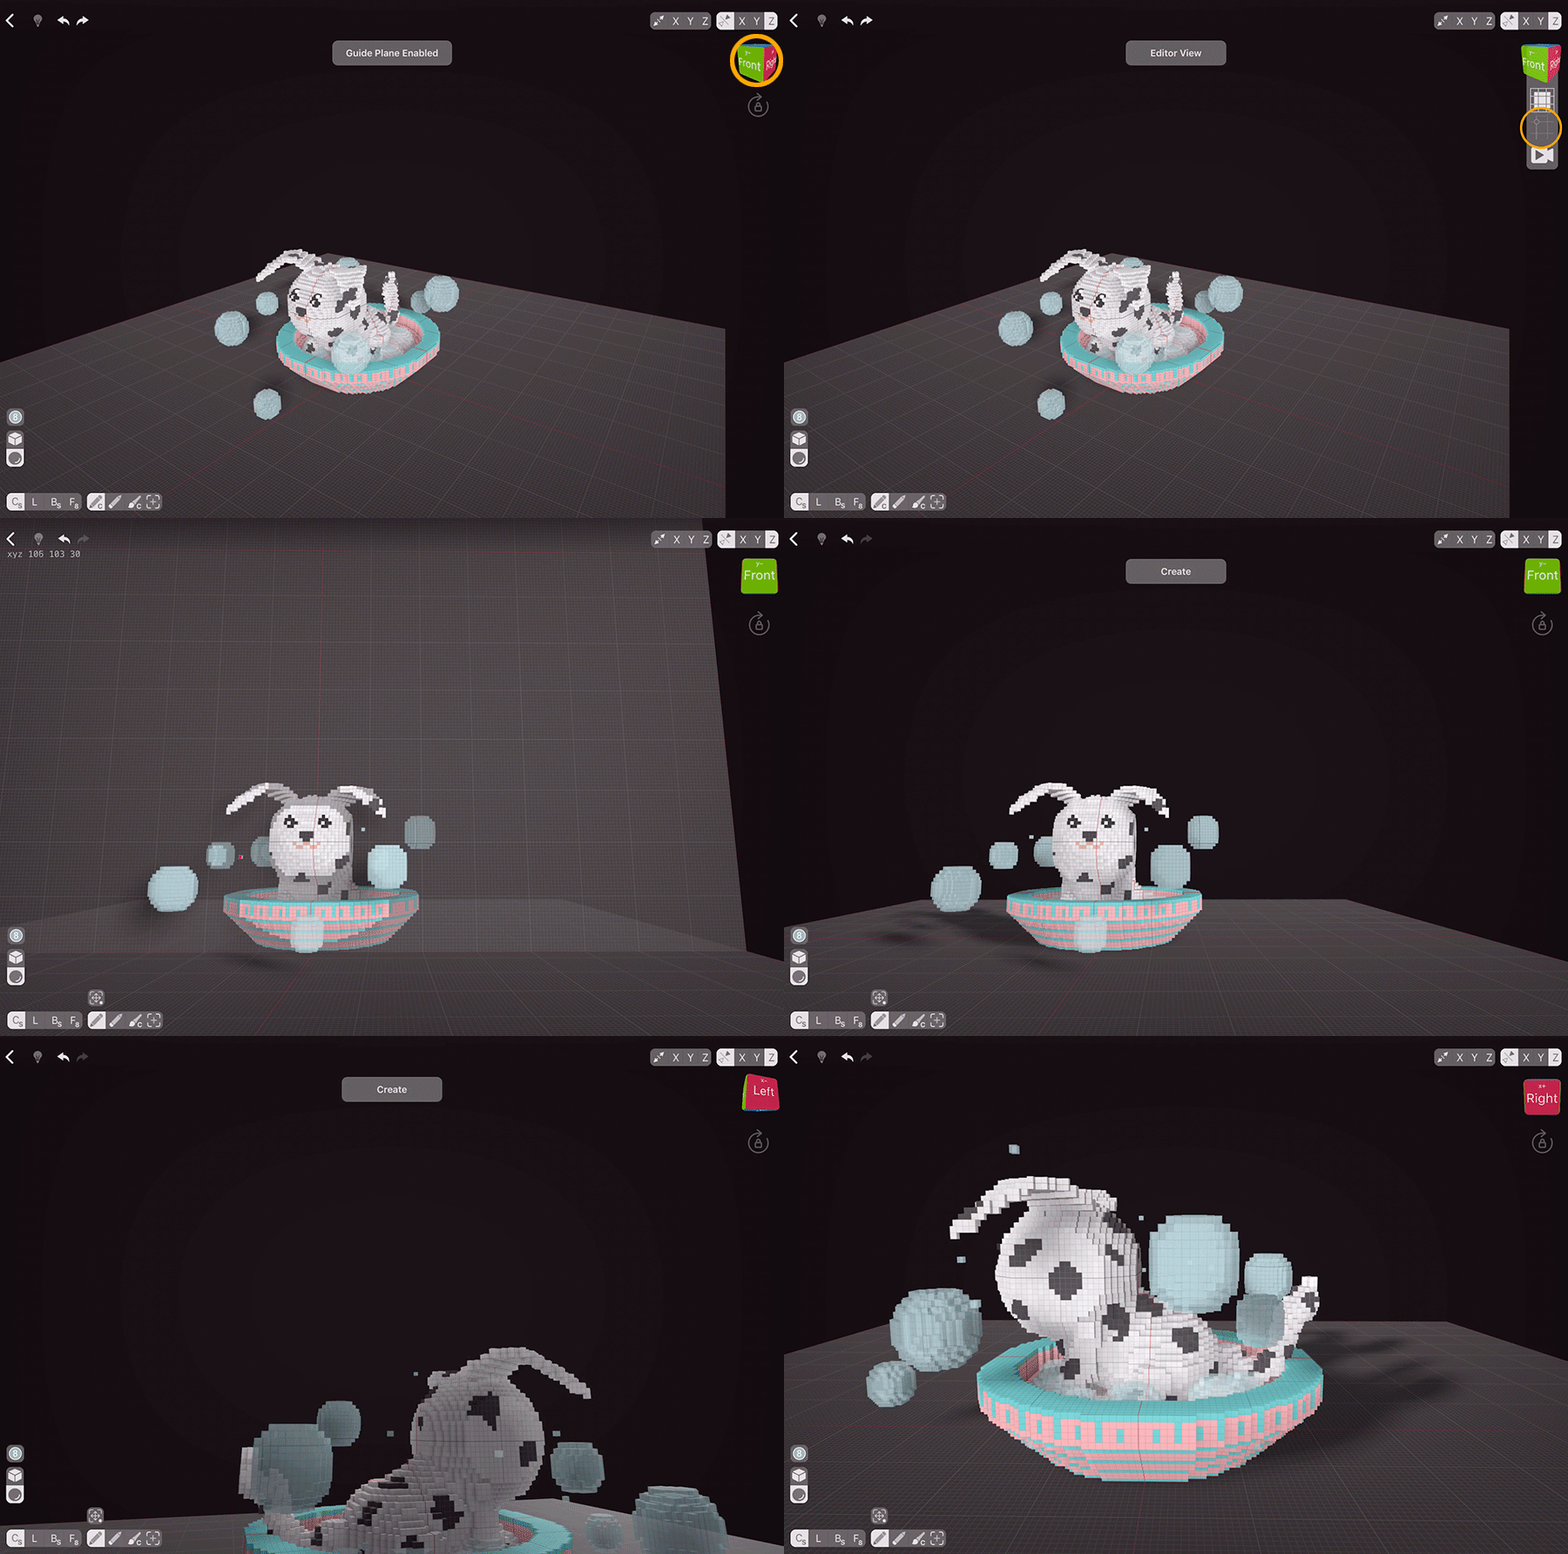
Let’s create little water drops as well. To do that, we need to enable the Constrain To Guide Plane option again. We can do that from the app itself, too. Hold the Perspective Cube and tap the Guide Plane icon to activate it.
Now let’s choose the Centered Single Mode. This mode creates (or erases, paints, selects) one brush-sized shape which can then be repositioned by dragging. This is perfect for small things like water drops, stars, fireflies and such. Tap any surface around the puppy on the side with 1 voxel sized brush and then move it up to position near the pup. Create as many as you like!
Spilled Water
I can’t believe this puppy will sit still, so let’s spill some water around the bath. Create a shape and fill it with Face 4 Mode. I personally think that uneven things work better for spilled water, but you can go about this however you like.
Water Material
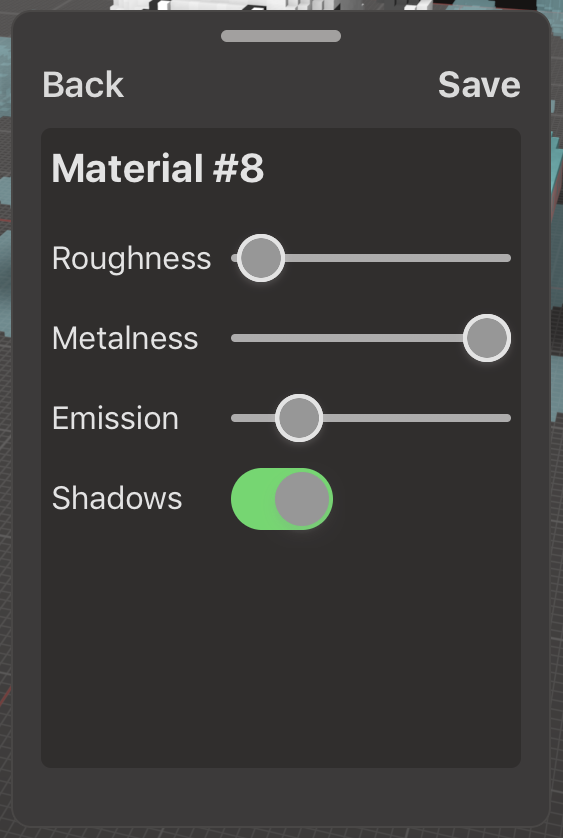
Despite being a mobile app, VoxelMax supports a lot of materials. Let’s adjust our water Material to make it cooler. Tap the Material name and then press edit. You can experiment with different settings to see what suits you best, and here are the settings I’ve used:
To set the light, tap one of the faces on the Perspective cube to activate it, and then tap it again to set the lights from that direction. I’m going to set the lights to Front face.
Exporting The Scene
Our scene is now done, and we can export and share it. To do that, hold the Perspective Cube and then choose the Presenter View icon (the camera one). Your model will start rotating on the turntable. Here you can adjust the angle, take a screenshoot or record a video with iOS built-in screengrab.
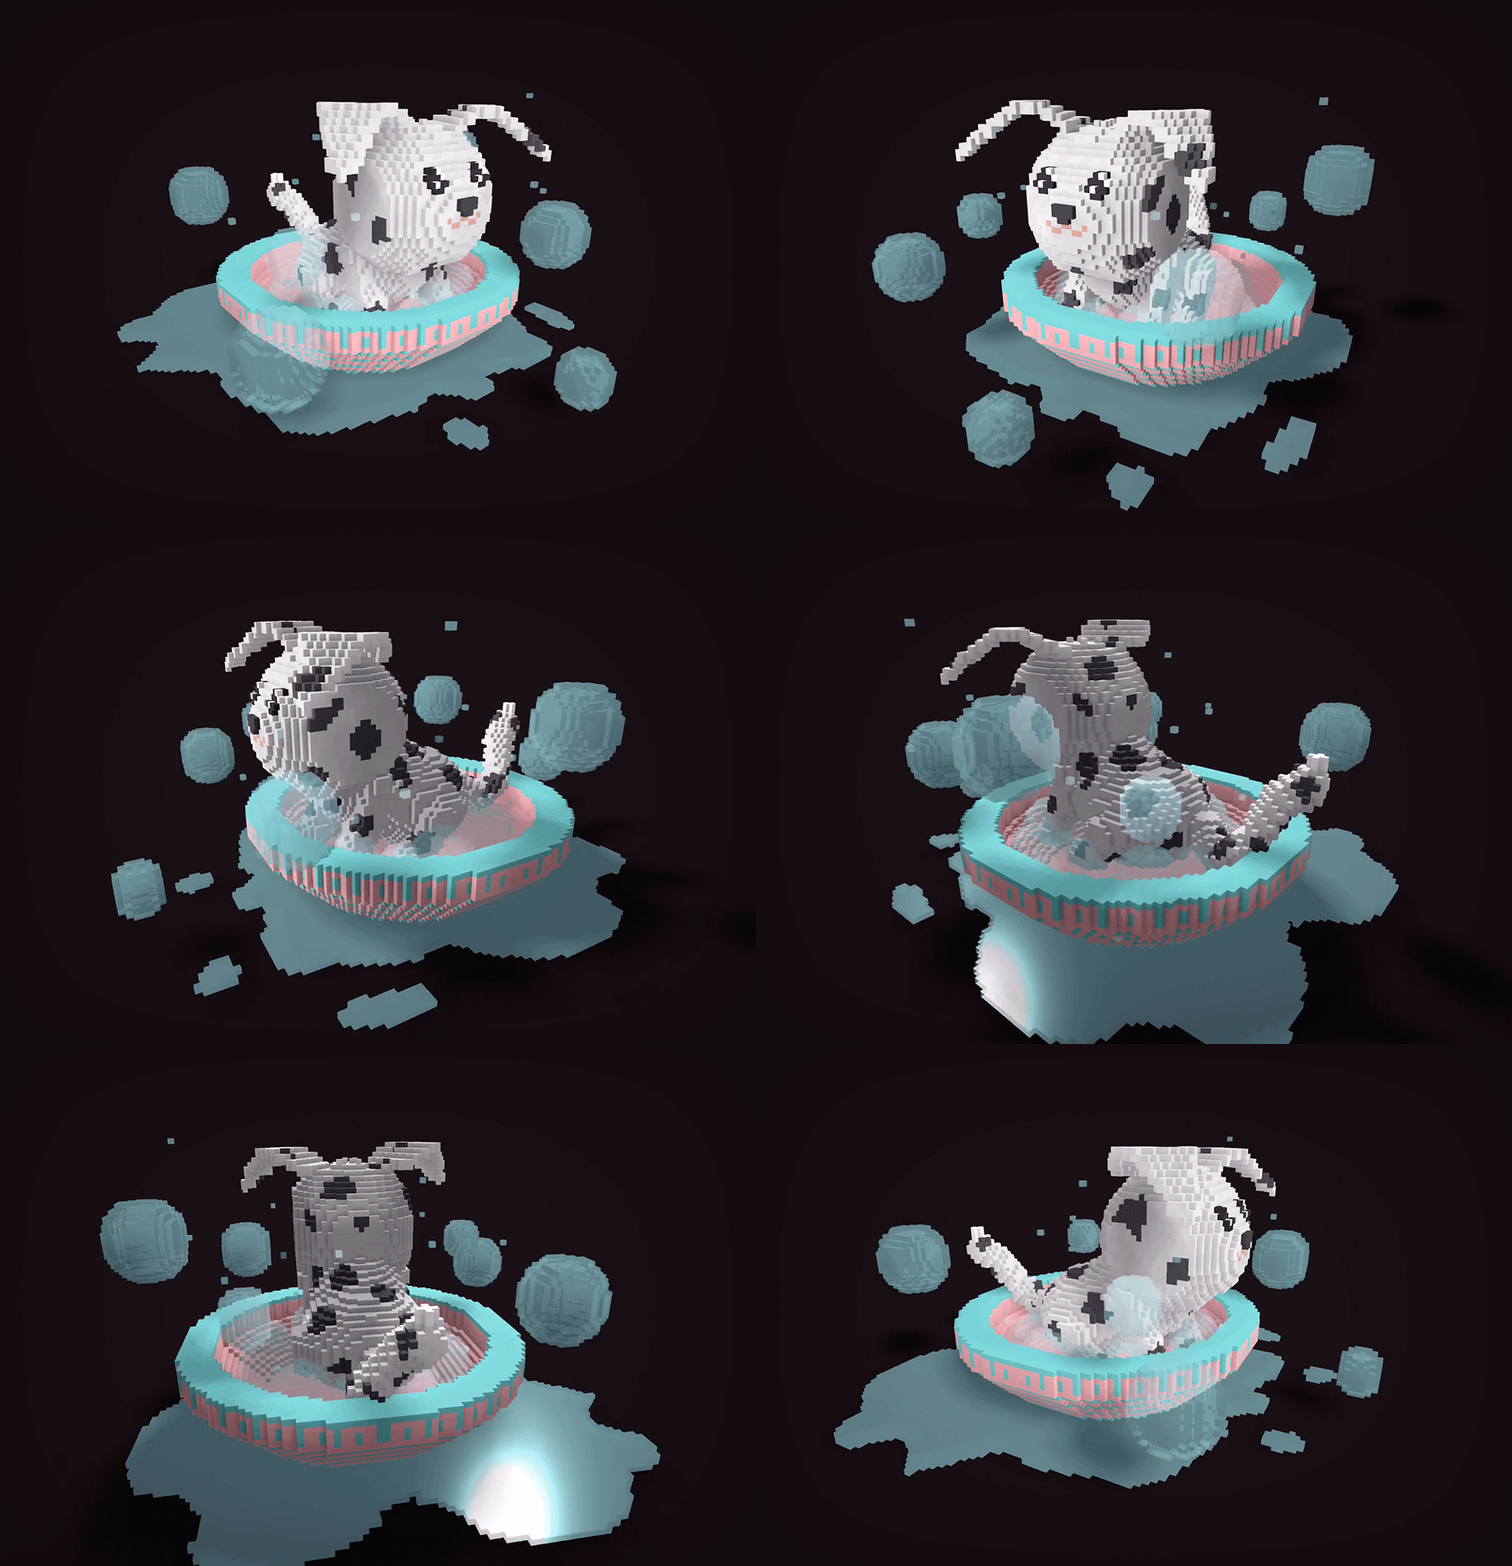
Here’s my result:
Share your creations on social media and tag us in it so we could enjoy them together!


