Intro
When creating low-scale scenes, we must keep in mind that our goal is to grab the essence of the thing we’re creating, and then add details that will make it unique.
When you think of a table, what are the key features that come into your mind? Probably the first image is a flat surface on 4 legs. But even with a lower scale, we can create so many different tables: coffee tables, dinner tables, working desks, interior pieces and many more.
While going through this tutorial, try to not only follow the instructions, but think of how you would’ve created some particular table, say one from your childhood home, the one you’re really familiar with.
Basic Shape
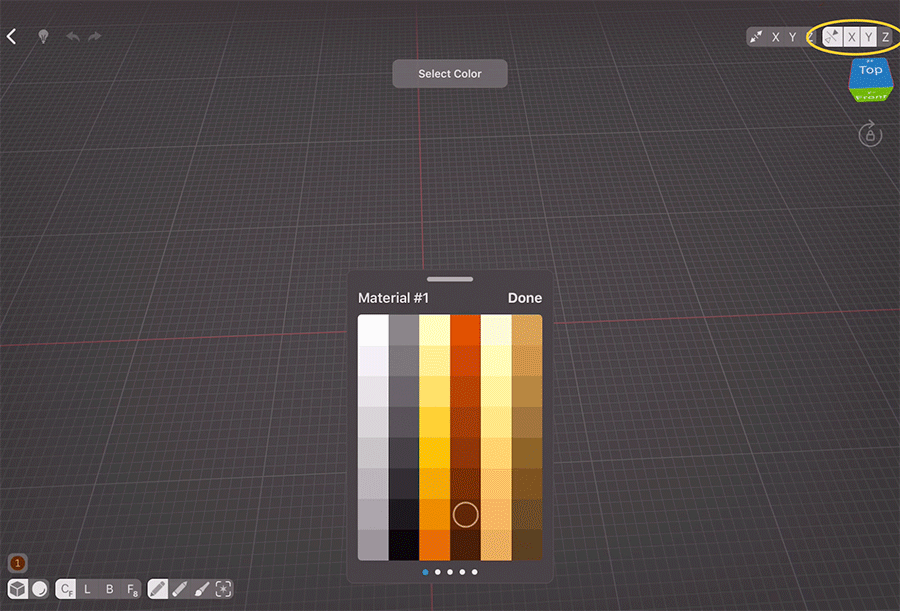
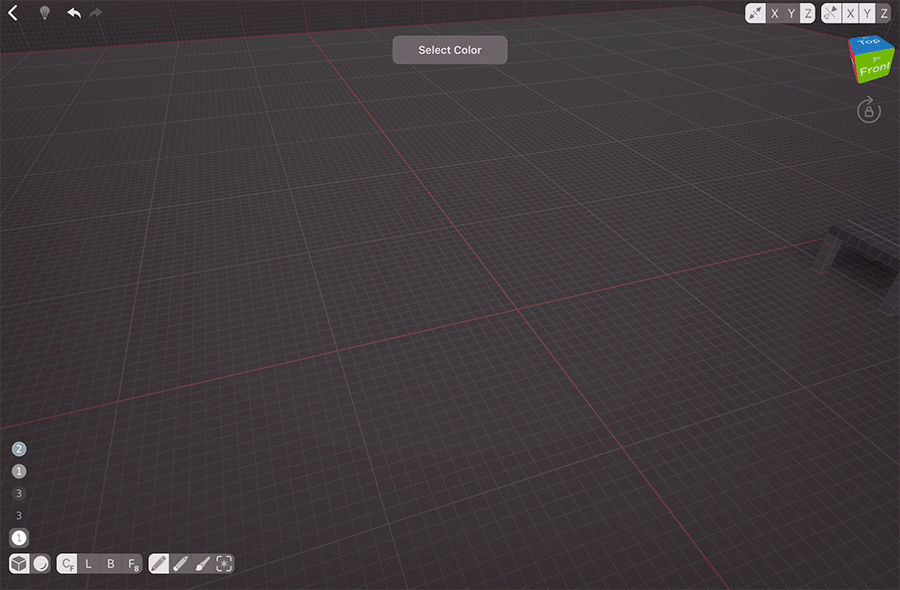
Let’s start with enabling Mirroring on X and Y axes and choosing the right colour. Then, let’s bring the brush size to 1 voxel to have better control of our creation. Red lines show the mirroring centre, so we’re going to create our table around there.
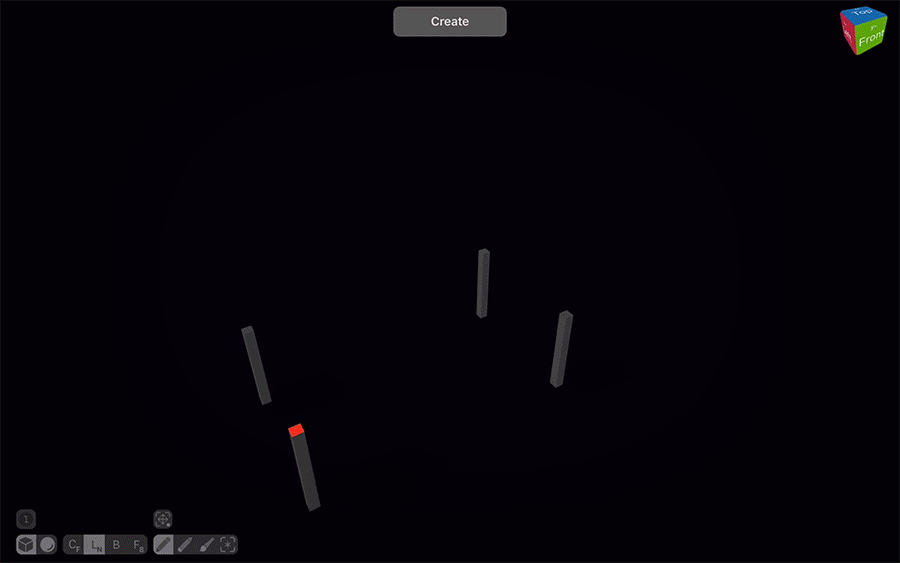
The best mode for us when we need to create the legs would be Line Normal — it creates protruding lines that go up or sideways from the voxel face that we tapped. So when we tap and drag the surface, 4 legs are instantly created.
Now, let’s switch to a lighter shade of brown and to Line mode. Add the tabletop base and then expand it with Face mode with Create Color tool. Face mode affects either volume or colour, so with Create Colour we are limiting the extrusion to our lighter brown.
Sturdy Table
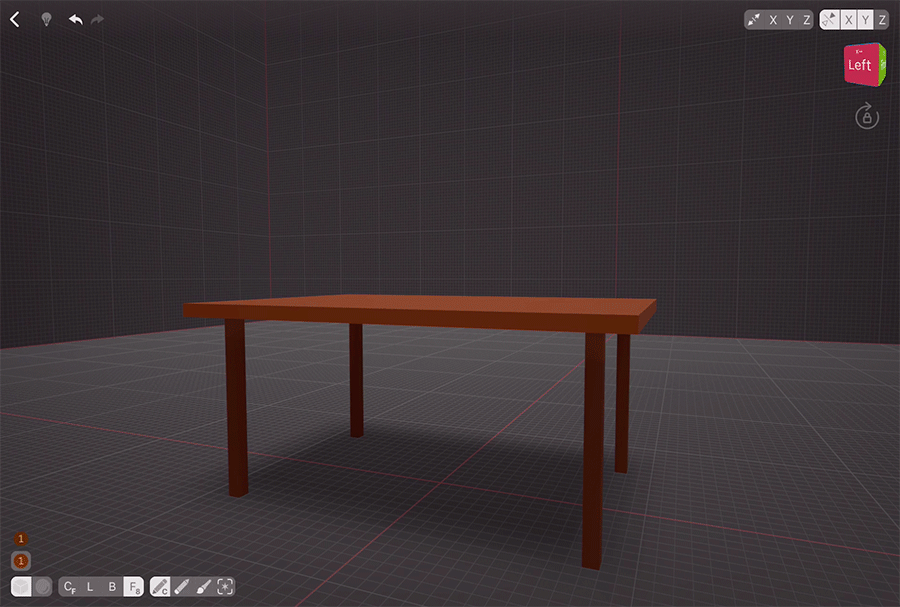
This looks okay, but I think our table needs to be more sturdy. Let’s make all the sides 2 voxels wide.
Painting The Table

Our table already can represent the basic idea of a table, but for it to be good, we need details. Let’s start with some wood design. With another lighter shade, let’s use the Box Mode with Paint tool to draw a simple design
Adding Details
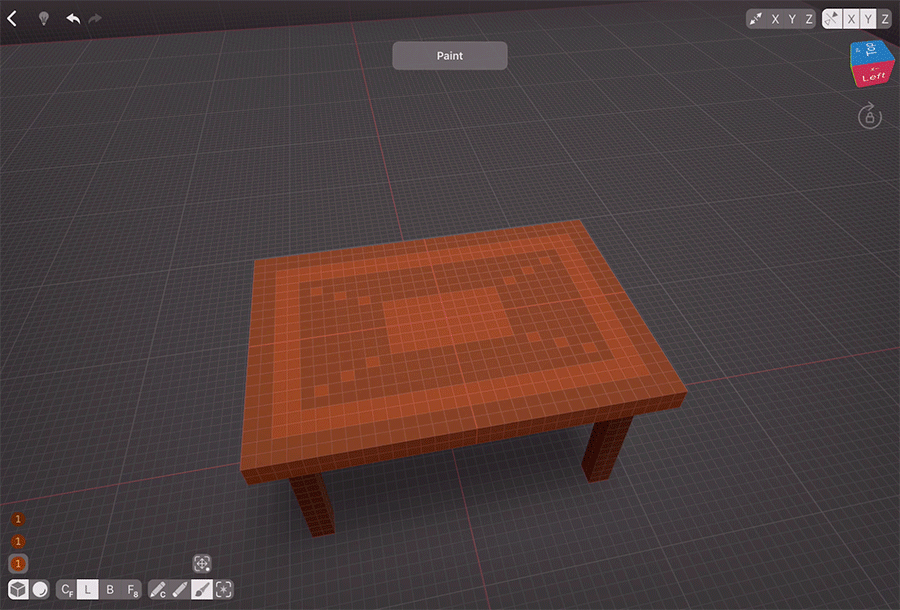
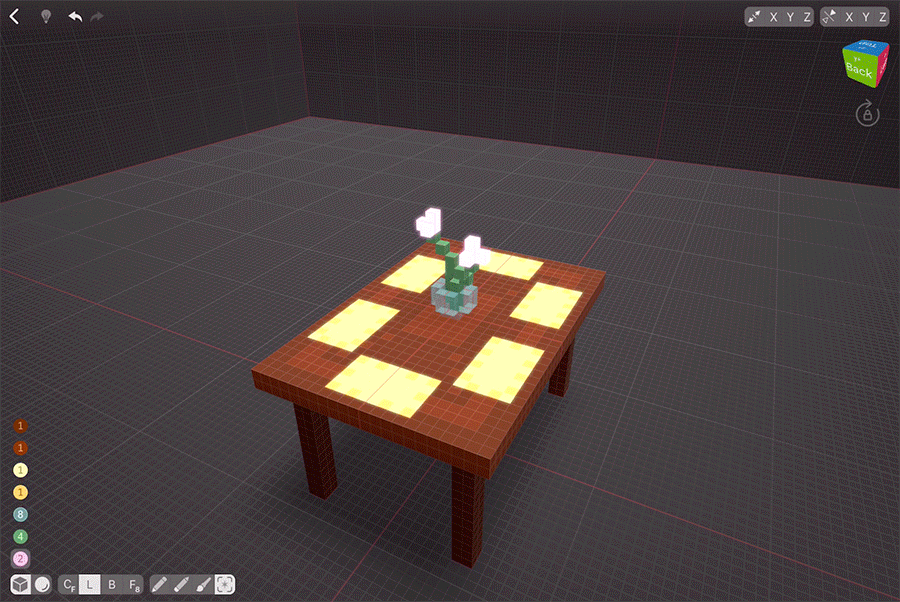
While this already looks good, let’s take it one step further: let’s make it a dining table. With Box Mode and Paint tool, let’s add some tablecloths. While technically we could add a new voxel layer instead of painting, with low-scaly creations it’s important to empathise more important things, than tablecloths, with new voxels. Painting them will do.
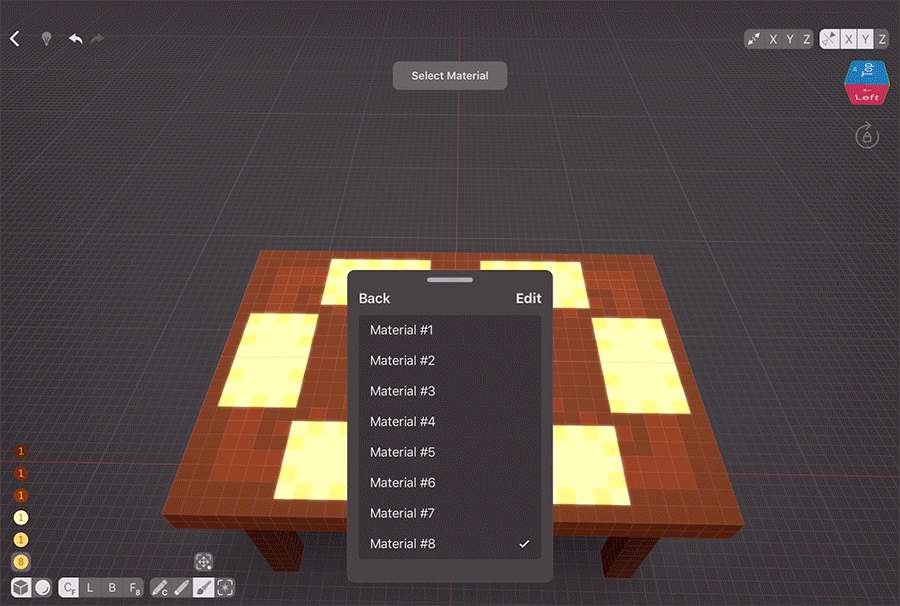
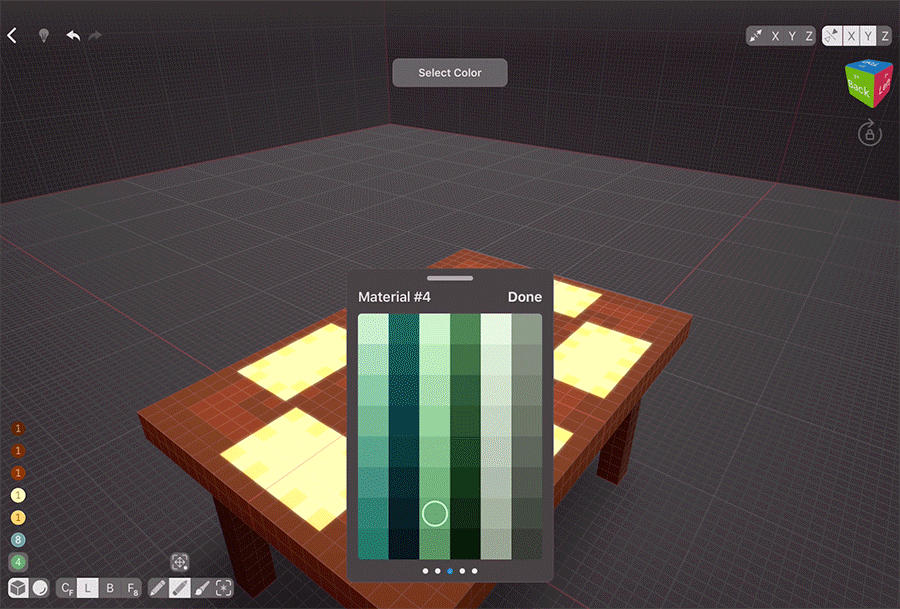
Looks like our table is still missing something. Let’s add a centrepiece. A vase would be nice. VoxelMax supports transparency, so let’s switch to another (preferably last) material and choose the colour we like. A nice shade of blue will do. Double-tap it to edit the colour settings. Tweak the bottom setting, called the Alpha channel, to lower the opacity. As we are working with low scale, our vase doesn’t need to be very complex.
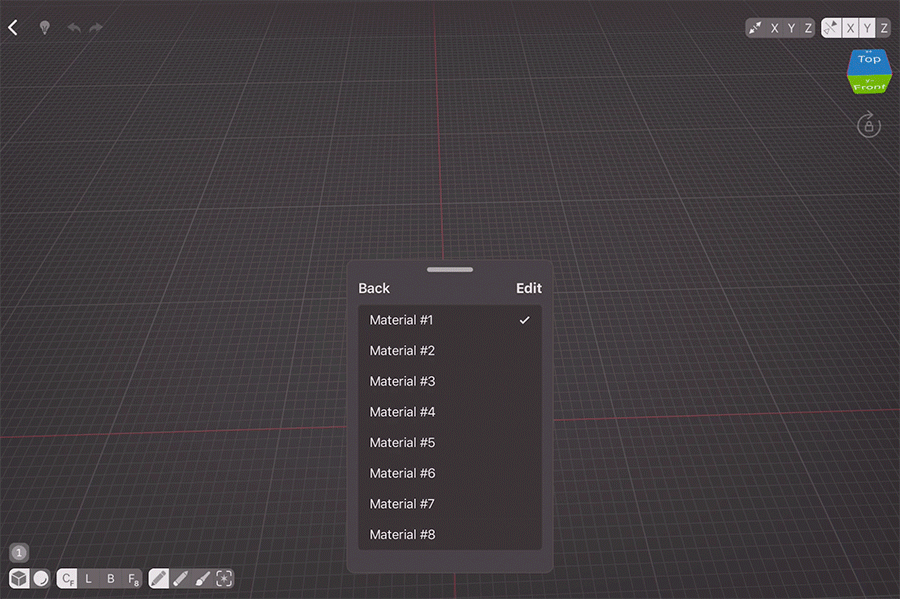
Let’s add flowers. As we used a new material for transparency, let’s switch to another material again to make sure our materials stay on separate layers. We also need to turn the Mirroring off. With Line Normal Mode we can create a stem. Now, we can select one voxel and then switch to Copy tool on top of Selection. Tap the icon till you see two circles (the tool switches between Move, Rotate, and Clone). When cloning, keep in mind that teach time you release the screen and then go and touch it again, a new copy is created, so you need to either position your cloned copy at the first try or switch to Move tool to adjust its position.
Once you’re happy with the shape of the first flower, let’s make another one. I’m going to clone part of the stem and then repeat the process.
With stems done, we can now add flowers. Let’s make it more fun and give the buds some glow! Switch to another material again and tap “edit”. Set the settings to your liking. I’m making a slightly glowy, metallic flowers today. I’m just going to go with the flow and attach several voxels to the stem the way I think would be best.
Texturing
Everything’s almost done, but something’s missing still: let’s texture our wood to make it look more natural. To do that, let’s choose another colour in the first material layer and tweak it so it closely resembles the colour of the tabletop. Then, with Centered Free Hand Mode and Paint tool set to Color, tap the wood colour. Swipe across the wood, making sure to initially touch only the needed colour. That way, when you cross any other colours, they won’t be affected. This feature is super useful for texturing, so try to keep that in mind for your future creations.
Finished Look
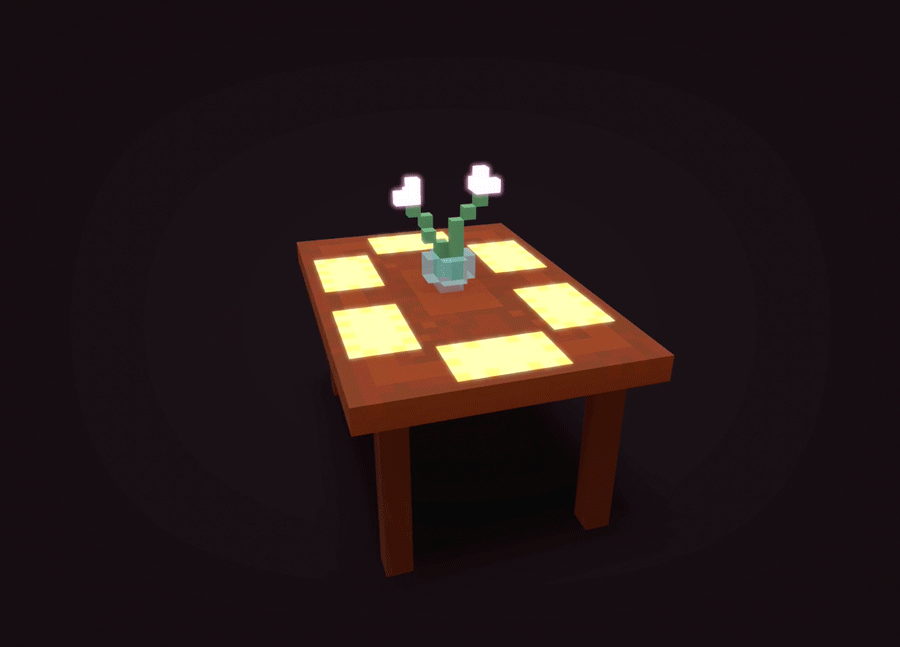
Our table looks ready, so let’s enjoy it in Presenter View. To enter it, hold the Perspective Cube and then tap the camera icon. Now you can enjoy the turntable of your model, screenshot it or record a video with the built-in screengrab.
Bonus: Mini Tables
You might’ve thought this table is a bit bland; I’m going to show you few more ways to create different tables in ever lower scale. Remember: your goal is to grab the essence of the thing you’re creating while giving it enough details to be interesting.
For the glass table, I’ve used metallic material for the leg and then transparent one for the tabletop. As you can see, it only took me some seconds to create a table.

My next table is iconic LACK. It’s so simple and yet has such distinctive features! It’s basically just legs and the top, but I recoloured the top to be one shade darker to emphasise the shape. I’m also going to set the material to a bit metallic one cause LACK tables are quite shiny.
Next table is a working desk with white legs and birch tabletop. Once again, I’m going to quickly texture it to give it some details.

Here, in under five minutes I’ve created 3 cute tables that look entirely different. Keep this in mind: even when you’re using a really small scale for your scene, you can still get creative with the way things look while making them recognisable.
Bonus: River Table
To support my previous statement, here’s a more complex table creation process — it still took me under 5 minutes to create this resin-river table.